The third period hits different when your legs are gone. Your edges get sloppy, your shifts feel twice as long, and the gap between you and the play keeps widening — no matter how hard you push. Sound familiar?
Getting into genuine hockey shape isn'T about logging miles on a treadmill or grinding through generic gym routines. The game demands explosive bursts, repeated sprints, and lateral power. Your training needs to match that — the same way serious teams sourcing custom ice hockey jersey programs focus on performance instead of generic stock gear.
These six hockey conditioning tips show you how to train with that kind of focus. Use them to prep for pre-season, get back on track after a break, or stop being the guy who fades in the third.
Tip 1: Build Explosive Leg Power With the Super Leg Circuit
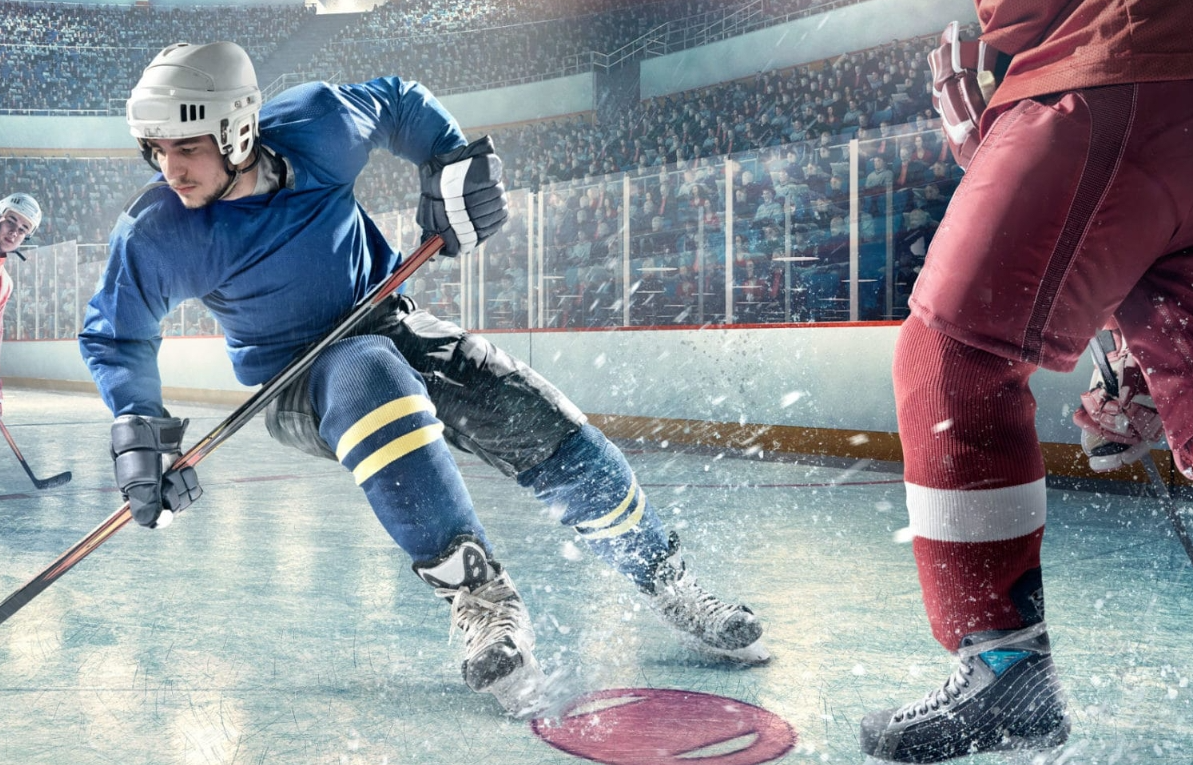
Leg strength alone won't save you on the ice. The players who dominate late in a game share one thing — power. That's the speed at which your muscles produce force. The ones who fade out simply can't match it. In hockey, every stop, start, and crossover needs an instant, explosive response. That gap between strong and powerful is huge.
The Super Leg Circuit is built around that idea — which is why many elite clubs and ice hockey jersey manufacturers now design lighter, stretch-focused training apparel specifically for off-ice conditioning sessions.
The Circuit (Four Exercises, Done in Sequence):
Box Jumps / Squat Jumps — 3–4 sets of 5 reps; rest 2–3 minutes between sets. Drop into a half-squat, drive up hard, and step down one foot at a time. That controlled landing is not optional — it's where you build eccentric strength.
Kettlebell Swings — 3–4 sets of 6–12 reps. Feet twice hip-width apart. Drive from your hips, not your arms. This trains the same hip extension that drives your forward skating speed.
Lunge Jumps — 3–6 reps per leg. Alternate legs hard, with full arm drive on each rep. This builds the single-leg power you need for crossovers and lateral cuts. Those moves happen dozens of times every shift.
Controlled Squats — 3–4 sets of 3–8 reps. Three-count descent, brief pause, then drive up fast. The slow lowering phase is the whole point.
Why the rep range stays low (3–6 reps): Push into higher reps, and the training shifts from power development to muscular endurance. For hockey explosiveness, your nervous system needs to fire at full intensity. Grinding through fatigue trains the wrong thing.
The 80-second circuit window has a purpose. A typical hockey shift runs 45 seconds of high-intensity play. This format pushes your body to produce power, recover fast, and go again. That's the real demand of a Thursday night game.
4-Week Progression by Level:
Week | Beginner | Intermediate | Advanced |
|---|---|---|---|
1–2 | 3 total circuits | 4 sets per exercise | 5 sets per exercise |
3–4 | 3 sets + arm-swing added | 4 sets + dynamic arm drive | 6 sets + sport-specific variants |
Start at a lower volume than you think you need. Use this benchmark: by set three of box jumps, your jump height should hold steady. It's dropping? You've gone past your recovery capacity. At that point, you're training fatigue — not power.
Tip 2: Use Tabata Hockey Jump Circuits to Boost Lactate Tolerance
Lactate buildup is the quiet reason your legs stop listening in the third period. Your brain says push — your muscles don't respond. Tabata training targets this problem, and the research behind it is hard to ignore.
The original 6-week Tabata protocol produced a 13–15% increase in VO2max and a 28% gain in anaerobic capacity. Moderate-intensity training, by comparison, improved VO2max by 10% — and added zero anaerobic capacity gains. For hockey, that anaerobic gap is everything.
Many competitive clubs working with OEM/ODM ice hockey jersey programs now integrate similar off-ice conditioning systems directly into team development plans.
The Protocol: 20 seconds of maximum effort, 10 seconds of rest, repeated for 8 rounds. Four minutes total. Hard, fast, and it works.
The Hockey Jump Circuit (rotate through these four movements):
Jump Switch Lunges — mirrors explosive skating strides and sharp edge changes
Russian Plyo Box Skater Jumps — replicates lateral crossovers; builds the side-to-side power you burn through every shift
Squat Jumps — builds anaerobic power for puck battles and shot drive
Lateral Hurdle Hops — trains the repeated lateral quickness that penalty kills demand
Every movement here is plyometric and built for hockey. The 20/10 work-to-rest ratio matches the stop-start intensity of a 45-second shift. Your body learns to push hard, recover fast, and go again.
Frequency and Progression:
Run this twice per week — Monday and Thursday work well. Start with one circuit per session. After four weeks, add a second circuit. Schedule it after skill work or on off-ice days. Never run it the day before a game.
Eight weeks of this won't just make you fitter. Your recovery time between shifts gets shorter. That desperate gasp-and-go moment before you hop back over the boards? It shrinks — and you'll feel the difference by the third period.
Tip 3: Improve Skating Stride Efficiency With Hip Abduction Training
Most weight room programs are failing hockey players — and hip abduction is the reason why.
Traditional lifts work in the sagittal plane: squats, deadlifts, lunges going straight forward and back. Skating is different. Every stride is a lateral push. It's a hip abduction movement that angles your blade against the ice. That sideways force drives you forward. Your glute medius and minimus control that entire system — and most programs never train them.
Many performance-focused ice hockey jersey suppliers now build compression-fit training gear specifically around these lateral skating mechanics.
The Four Off-Ice Exercises That Fix This:
Side-to-Side Jumps — 3 sets of 8–12 reps per side. Focus on the lateral push, not the landing. Hit full hip abduction on every rep.
Russian Box Jumps — 4 sets of 6 reps per side. Jump onto and off a 20–30cm box from the side, hip-dominant. This builds your nervous system for skating speed — not just raw strength.
Resisted Lunge Walks — Place a band around your knees or ankles. Step sideways for 5–10 meters, 3 sets of 20 steps per side. Add more band tension each week.
Slide Board — 3–5 minutes straight, or 20–30 reps per side for 4 sets. Push out at 45°, scoop back. No equipment? A towel on a smooth floor works. Put one disc under your foot, get into a hockey stance, and use the same movement pattern.
The slide board earns its own mention. It copies real ice glide. Your adductors get a full stretch for stride recovery. Your standing leg learns to hold a solid, stable base. Stride analysis data shows a 10–20% efficiency gain once power leaks are fixed. That's a major change.
Quick Self-Test:
Stand on one leg. Squat to a 60° knee bend. Watch your knee. More than 5cm of inward drift? Your glute medius is weak, and your stride loses power on every push. Elite skaters stay under 2° of valgus. That gap is where speed disappears.
Sprint data backs this up: players who train hip abduction on a regular basis show a 5–10% acceleration gain over 5–30 meter distances. On the ice, that's the gap between winning a puck race and watching it happen.
Tip 4: Develop First-Step Speed With Short Sprint Intervals
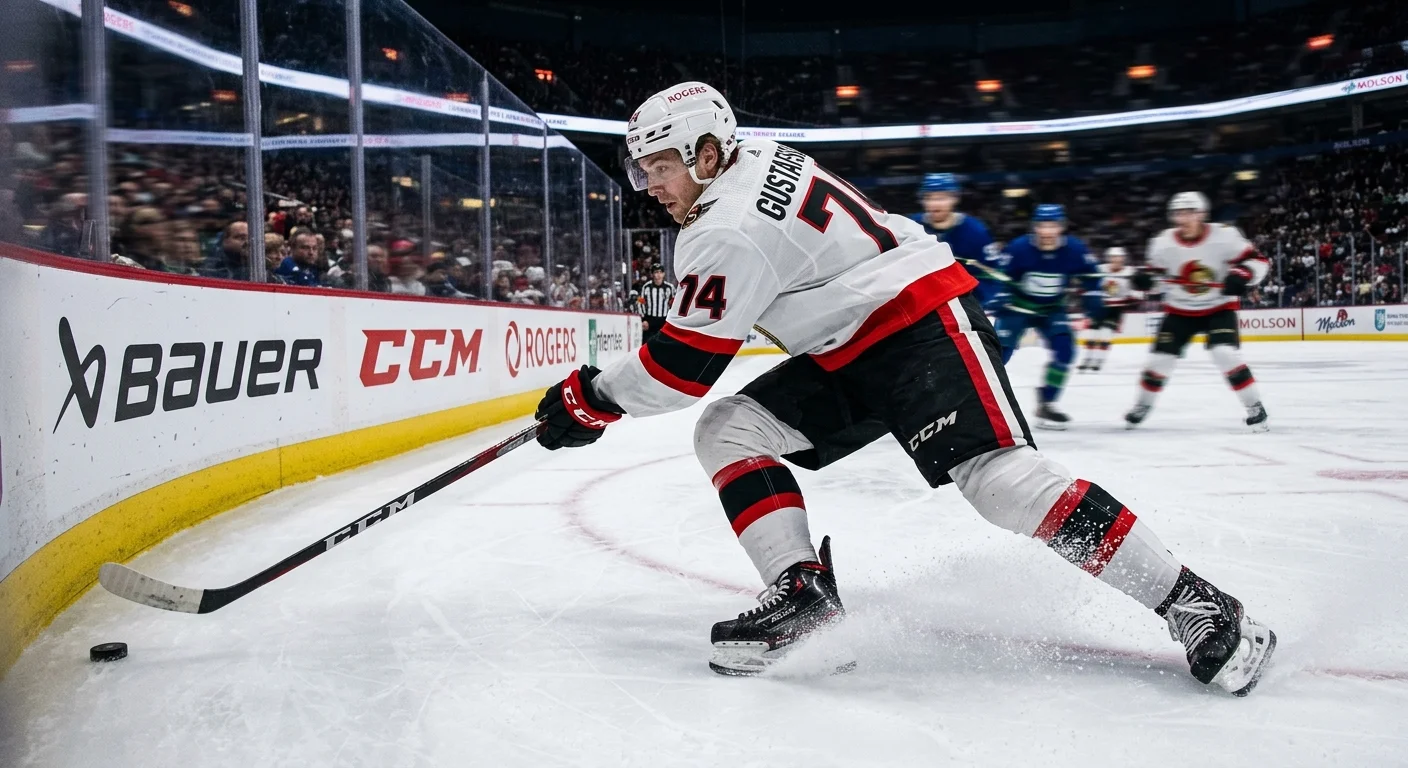
First-step speed is where hockey games are won — before anyone in the stands even notices. The puck drops into the corner. The player who gets there first isn't the strongest. It's not even the fastest at full stride. It's the one who moved a half-second sooner. That initial burst is trainable. Most players just never train it.
Short sprint intervals fix this. And the distances are shorter than you'd expect.
Teams buying gear through an ice hockey jersey wholesaler often prioritize lightweight practice jerseys for these high-intensity acceleration drills because excess fabric drag affects sprint mechanics more than most players realize.
The Core Sprint Protocol:
Distance | Reps | Intensity | Recovery | Focus |
|---|---|---|---|---|
10–15m | 5–10 reps | Max effort | Full recovery | First-step acceleration |
20yd (18m) | 4 reps | Max | Walk-back | Powerful mechanics |
80–120m | 4–5 reps | Build into final 20–30m sprint | 1–2 min slow jog | Speed ramp-up |
Stairs (30–50 steps) | 5–8 reps | Full sprint | Full recovery | Explosive starts |
Run these 2–3 times per week. Within four weeks, 20-yard sprint times improve by 5–10%. That's measurable, and you'll feel it on the ice.
Mechanics Matter More Than Effort:
Sprinting harder with bad form just reinforces bad habits. Focus on these cues every rep:
45° forward lean in the drive phase — think horizontal force, not vertical bounce
Toes up, ball-of-foot strike — keeps your ground contact time short
Knees driving to hip height — not shuffling, actually lifting high
Rigid core, elbow driving back — arm swing generates more speed than most players realize
Heel to glute during air phase — shortens your leg cycle and speeds up turnover
Two Drills That Transfer to Ice Starts:
Wall Drills — Stand an arm's length from a wall. Place hands flat against it. Keep your body in a straight line from ankles to shoulders. Drive one knee up hard, hold, then lower. Switch legs. This builds the forward shin angle and body lean your first two skating strides depend on.
Half-Kneeling Sprint Starts — Start on one knee with your front shin angled forward. Drive hard off the front leg. More steps in the drive phase means more power at contact. This copies your push-off angle coming out of a hockey stance — same geometry, just on dry ground.
A Load-Phase Interval That Delivers:
Try 15 seconds at 90% max sprint effort, followed by 45 seconds of rest. Do 15 rounds over 15 minutes. It's uncomfortable in the best way. This format builds anaerobic capacity and first-step power far better than any long-distance run. Endurance runs train you to sustain. This trains you to explode , recover, and explode again — which is what happens on every 45-second shift.
One honest benchmark: sprint speed dropping before rep six in the 10–15m set means your intensity is too high for your current recovery level. Pull back, not forward.
Tip 5: Integrate Explosive Movement Into Every Strength Session
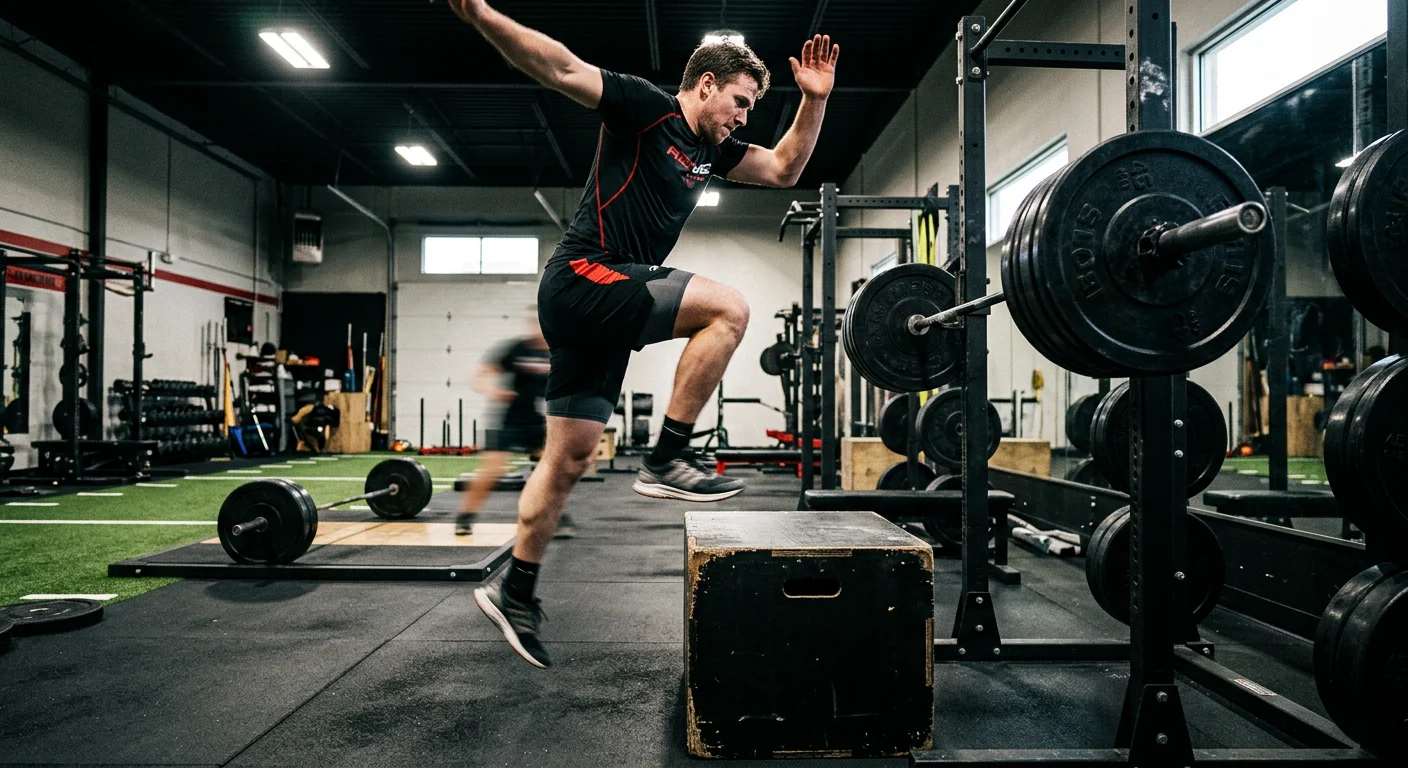
Heavy squats and deadlifts build a strong foundation — but strength alone doesn't move you faster on the ice. The missing piece is how fast your muscles can fire that strength into actual speed. That gap is what explosive pairing fixes.
The science behind it is called post-activation potentiation (PAP). A heavy lift — think 85–90% of your one-rep max — primes your central nervous system. For the next 5–8 minutes, your motor units recruit up to 50–70% faster than baseline. Competitive programs investing in private label ice hockey jersey collections often market these advanced training environments alongside
Do a heavy lift first. Then go straight into an explosive movement. You've just turned a strength session into a speed session. Research shows this pairing produces a 4.2% greater vertical jump output compared to jumps performed cold. Small number, real difference.
Three Pairings That Work:
Heavy Lift | Explosive Follow-Up | Sets | Rest |
|---|---|---|---|
Squat @ 85–90% 1RM (3–5 reps) | Box jumps — 5–8 reps, 20–24" box | 3–4 sets | 2–3 min |
Trap bar deadlift @ 80% (4 reps) | Broad jump over bar | 3 sets | 90–120 sec |
Heavy bench press (5 reps) | Med ball slam — 6 explosive throws | 4 sets | 60–90 sec |
One rule to protect the whole point: Track your jump velocity from the first rep to the last. A drop of more than 10%? Reduce the load. Speed is the metric — not weight on the bar.
Load and Frequency by Phase:
1.Off-season: 4–5 days per week, 40–75% 1RM lifts paired with max-velocity jumps. Volume can reach 120 jumps per session as conditioning builds.
2.In-season: Drop to 2–3 days per week. Prioritize speed over load — 30–50% 1RM, 24 jumps per session. Your legs need to perform Thursday night, not just survive Tuesday's session.
3.Beginners: Start with 2 sessions per week. Keep explosive finishers to 1–6 reps per set, 2–5 sets. Add 5–10% intensity each week — but hold off until you can maintain 90% of your unloaded jump speed.
Start with bodyweight jumps. Once your speed holds, add a kettlebell or vest at 10–20% of your bodyweight. A velocity-based training app takes the guesswork out of this completely.
Strength without speed is incomplete for hockey. This is how you build both — in the same session, every week.
Tip 6: Maximize On-Ice Practice Quality With Perfect Mechanics
Most players have this backwards: more ice time does not mean better ice time.
Every rep you skate at full quality teaches your central nervous system a permanent movement pattern. Every rep you push through on dead legs teaches it something different — slowness, compensation, bad habits locked in deep. The neuroscience here is clear. Practicing with fatigued muscles doesn't just fail to help. It works against you.
The 6–10 Second Rule
Stop high-intensity skating drills after 6–10 seconds of effort. That's the point where lactic acid builds up and starts breaking down your mechanics. Watch for these signals: foot speed dropping, strides getting shallow, posture rising upright. Any of those show up? The rep is over. Take 1 to 2 minutes of full rest before the next one. Quality beats quantity, every single time.
The Equipment Problem Nobody Talks About
Standard hockey pants and shoulder pads cut into your hip abduction range. That's a problem because wide, powerful lateral pushes drive your stride. Some elite-level coaches run dedicated skating days without breezers or shoulder pads — just to open up that range. They report 10–20% gains in stride width and foot speed.
A Quick Mechanics Checklist
1.Knee bend: Hold 30–45° flexion throughout. Upright posture kills your leverage.
2.Push angle: Aim for a 45° lateral angle at full leg extension — not straight back.
3.Stride width: Push hard to the side. Narrow strides cost you 15–25% of your power.
Elite NHL skaters hit 4–5 strides per second at 25–30 mph. That output comes from thousands of perfect repetitions — not thousands of tired ones. Train less on ice if you need to. But make every single rep count.
How to Structure Your Hockey Conditioning Program by Timeline
Here's what most hockey fitness advice skips: when you train matters almost as much as what you train. The same workout that builds you up in July can break you down in November. Your body changes across an eight-month season — your program needs to change with it.
Break the year into three phases. Each one has a different job.
Off-Season (8 Weeks After Your Last Game)
This is your construction phase. You're building your aerobic base, developing lower-body power, and sharpening sprint speed. Everything else you do later rests on this foundation. Push your intensity into glycolytic territory — heart rate between 176 and 190 bpm, at least 70% of your max effort. Land training comes first. Focus on neural activation, high-intensity jumps, and short sprints. Keep your cycles long (4–6 weeks) so your body has time to adapt and avoid breaking down.
Adult returners: start slow and build up.
- Weeks 1–2: Three sessions per week, land only. Dynamic warm-up, bodyweight squats, and jumps. Stay under 50% max effort.
- Weeks 3–4: Move to four sessions. Add glycolytic intervals — 20 to 30-second efforts at 70% max. Cap each session at 60 minutes.
- Weeks 5–8: Five sessions per week. Add skating simulation (10 minutes). Rest 48 hours between hard days. That buffer alone cuts injury risk by 20–30%.
Pre-Season (4–6 Weeks Before Opening Night)
Now you start bridging the gym and the ice. Intensity steps up every 4–6 weeks. Land training and on-ice work begin to overlap. This is also the right time for body testing — set your baseline numbers so you can track progress as the season starts.
In-Season (October Through May or June)
Your job shifts. You're no longer building — you're holding what you have . Volume drops. Power and speed take priority over new gains. Structure your week like this:
Day | Focus |
|---|---|
Monday | High-intensity land (strength + sprints, 60–90 min) + ice skills |
Tuesday | Ice practice with multi-directional warm-up |
Wednesday | Active recovery — light skate, flexibility work (20–30 min) |
Thursday | Power focus — explosives, lower body; pulse target 176–190 |
Friday | Short game-day prep |
Saturday | Match + post-game neural activation |
Sunday | Full rest |
One to two full rest days per week is not a suggestion — it's built into the plan. Also, every year, take 2–3 months off. That annual reset protects your joints, your nervous system, and your drive to keep playing.
Progress Benchmarks Worth Tracking
Numbers remove the guesswork. Use these as your measuring stick:
Super Leg Circuit time: Target under 90 seconds off-season; under 100 seconds in-season. Expect a 5–10 second drop every four-week cycle.
Shift recovery heart rate: After a 30-second hard shift, your HR should drop below 140 bpm within 60 seconds. That's the elite standard. Aim to hit it 10–15 bpm faster by the end of pre-season.
Anaerobic pulse check: Hold 70% max effort for at least 2 minutes without dropping off.
Phase goals: Off-season targets a 15% vertical jump gain. Pre-season aims for 5% body fat reduction. In-season? Zero regression — check this with testing every two weeks.
The structure is not fixed. It adjusts. Soreness lasting past 48 hours mid-cycle? Extend the phase. Your body is sending you signals. Act on them.
Common Hockey Conditioning Mistakes That Keep Players Out of Shape
Here's a hard truth about hockey training: working harder is not the same as working smarter. Most players get stuck right in that gap.
The mistakes below aren't rare. They show up in almost every amateur and beer league player. The frustrating part? Most of them feel like good training while they're happening.
Chasing fatigue instead of results. Burning lungs and dead legs are not a sign of a good session. That's already a wrong turn. PK Subban's coach Clance Laylor calls this out — too many players mistake exhaustion for progress. Skinny players fall into this trap the hardest. They pile on stationary bikes, battle ropes, gassers, and circuits to make up for weak muscle mass. The result? Dead legs in the third period. And the first and second period was never the problem to begin with.
Overconditioning without a strength base. High-volume conditioning on a weak body doesn't build stamina. It just floods your muscles with lactate. One athlete cut conditioning from his program and focused on strength first. He reported a massive jump in stamina. The conditioning came later. The strength came first.
Not knowing which energy system is failing you. Hockey runs on three systems: aerobic (all-game base), lactic (hard repeated shifts), and alactic (repeated explosive sprints). You can't fix the one that's breaking down until you know which one it is. Players who gas out in the first few shifts need alactic interval work — not more long cardio.
Relying on long slow runs. Jogging builds a baseline. It does not build the repeated sprint capacity hockey demands. Interval-based training is what moves the needle. Coaches who've worked with hundreds of players — including adults returning in their 40s and 50s — report that most clients who switch to hockey-specific intervals stop surviving shifts and start dominating them.
Waiting too long to start pre-season prep. Showing up to team training camp as your starting point puts you 12–16 weeks behind players who used the summer well. A periodized program built that far out lays the strength foundation everything else sits on.
In-season lifting mistakes that cost you power. Most players stop lifting or shift to high-rep, low-weight work to "avoid soreness." Both choices speed up detraining. Two to three heavy, low-rep sessions per week keeps your power intact through a long season. Skip those sessions, and you lose what you built.
The common thread through all of these? Effort without direction. Good hockey conditioning means knowing what you're training, why it matters for the sport, and when to push harder or pull back.
Conclusion
Getting into hockey shape isn't about random workouts and hoping for the best. Train for what the game demands. Explosive leg power, lactate tolerance, first-step acceleration, efficient skating mechanics — these aren't separate goals. They're one system. Build them together, and the results come fast.
Pick two or three of these hockey conditioning tips and start this week. Don't wait until the week before tryouts. The players who skate strong in the third period aren't more talented — they're just more prepared.
Here's what most people don't tell you: the right hockey player fitness program doesn't need to be complicated to work. It just needs to be intentional.
It just needs to be intentional — just like choosing the right ice hockey jersey wholesale price strategy when building a competitive team program.
Lace up, put in the work, and be the hardest-working player on that ice. Your third-period self will thank you.