Every successful hunting brand you admire started where you are right now — an idea, a niche, and zero products on the shelf. The gap between those brands and the ones that never launched? A clear roadmap through the private label apparel manufacturing process.
Building your own hunting clothing line isn't just for companies with deep pockets or decades of industry connections. Find the right OEM hunting clothing supplier. Pair that with a solid launch strategy. You can move from concept to field-ready product faster — and with stronger margins — than you expect.
This guide breaks down every critical step. From locking in your brand positioning to managing MOQs, quality control, and your first sell-through. No fluff. Just the exact process that works.
Step 1: Define Your Hunting Niche and Brand Positioning Before You Order a Single Piece
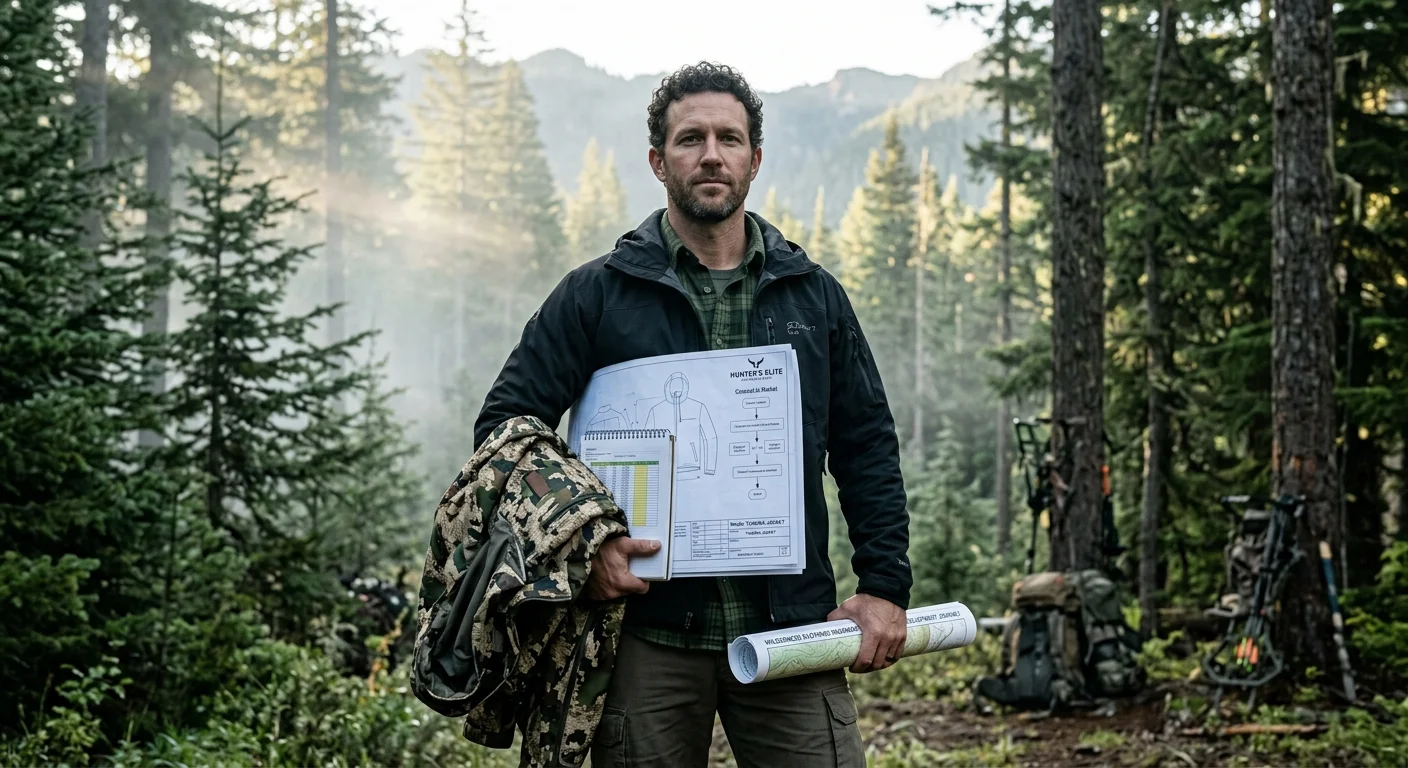
Most hunting clothing brands fail before they place a single order — not because of bad products, but because of fuzzy positioning.
Here's the truth: "hunting clothing" is not a niche. It's a category. Deer hunters want dead-silent fabrics. Waterfowl hunters need 10,000mm+ waterproof ratings and zero leak tolerance. High-mountain backcountry hunters obsess over cutting every gram from a 3–6 kg kit. Tactical hunters want Molle systems and Cordura reinforcement. These four audiences shop differently, pay different prices, and forgive different failures.
Pick one segment. Go deep.
Before you brief any OEM hunting clothing supplier, answer these three questions:
Who is your primary hunter? Deer, waterfowl, backcountry, or tactical?
What's your target price point? The deer hunting sweet spot sits at $120–250 per top. Waterfowl buyers spend $300–600 on waders alone. Backcountry hunters pay $250–450 for technical shells.
Where is the gap in your market? Run a competitor teardown. Buy 3–5 samples across price tiers. Measure thread count (target 3–4 stitches/cm). Count pocket configurations. Test fabric noise at 10 cm/s in a quiet room. You'll find holes competitors are ignoring. Women's fit is a classic example — the male-to-female SKU ratio in most hunting brands runs 3–5:1 . That's an open door.
Your niche decision shapes every choice that follows — fabric selection, camouflage pattern licensing, minimum order quantities, and how you brief your white label hunting gear manufacturer. Get this wrong, and no amount of great production can save you.
Nail it, and you'll launch with a product line that already has a buyer before it ships.
Step 2: Build Your Initial Product Line Strategy (Start With 3–5 SKUs, Not 30)
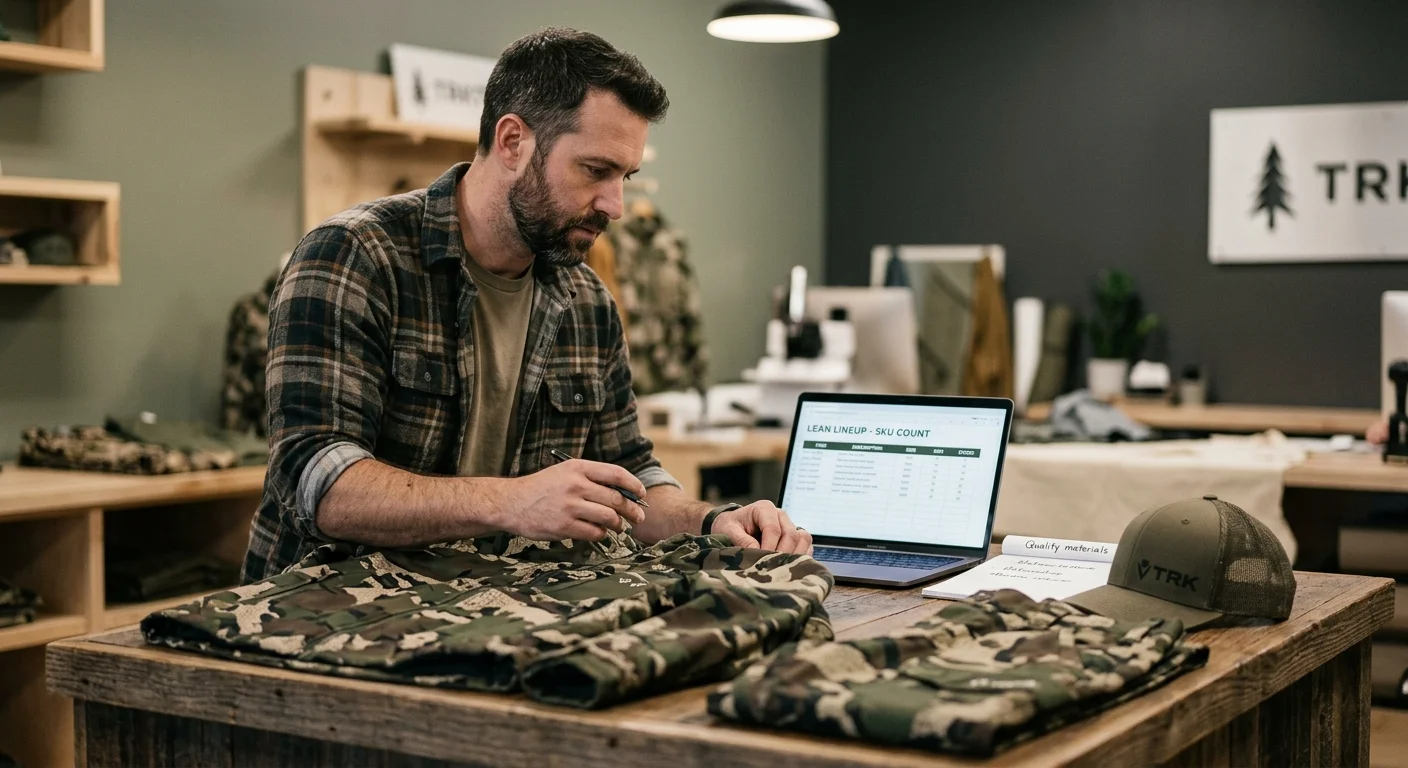
The fastest way to kill a new hunting clothing brand isn't poor quality — it's over-assortment.
New brand owners almost always make the same mistake: they want to launch with 20, 30, sometimes 40 SKUs. It feels ambitious. It looks impressive on a spreadsheet. But it's a cash flow disaster waiting to happen.
Here's the math that should stop you cold. Say your OEM/ODM hunting clothing supplier requires a MOQ of 300 units per style per colorway. Launch 30 SKUs across 2 colors and 5 sizes — you're staring at 18,000 units in your first production run. Cut that to 5 SKUs and you're looking at 3,000 units instead. That's a 6x difference in upfront capital . Same supplier. Same factory. A totally different risk profile.
Start with 3–5 SKUs that do two things: generate strong margin and drive repeat purchases.
This isn't a conservative strategy. Think of it as the Pareto principle applied to private label apparel manufacturing. In most retail assortments, 20% of SKUs generate 80% of revenue. You're not limiting your brand — you're concentrating your firepower.
Choose SKUs That Work Together
Your initial product line should function as a system, not a random collection of items. Here's a proven starting framework for custom outdoor apparel branding:
SKU 1 — Hero Jacket (waterproof camo hardshell): Your flagship, highest-ticket item. It drives brand perception and anchors your price positioning. Target retail: $180–$320.
SKU 2 — Mid-Layer or Softshell : Sells through faster than the hero jacket. This becomes your volume driver.
SKU 3 — Camo Cargo Pants or Bib Overalls : High wear-and-replace frequency. Hunters in heavy use conditions replace these every 6–12 months. That's a repeat purchase engine built right into the SKU.
SKU 4 — Bib Overalls or Second Pants Option : Expands your bottoms coverage without adding complexity.
SKU 5 — Branded Cap or Small Accessory : Low unit cost, high add-on rate. It boosts average order value and keeps your brand visible in the field year-round.
Lead with the jacket-plus-pants bundle. Price the bundle to push combined cart value to $280–$450. Accessories become the upsell. This structure protects your gross margin — target 50–65% on each unit — and maximizes revenue per customer.
Control SKU Complexity From Day One
Keep your first run to 2–3 colorways maximum . Limit sizing to what your target hunter needs — S through XXL, five sizes. Cap your total variants per SKU at 20–25. Go beyond that and your MOQ spreads too thin across size-color combinations. Your per-unit economics fall apart fast.
Validate first. That means seeing one or two repeat buy cycles with a sell-through rate above 70%. Then you expand. Add colorways to proven sellers. Introduce a new SKU in the same category. That's how you scale a private label hunting gear line without risking your working capital on products the market hasn't confirmed yet.
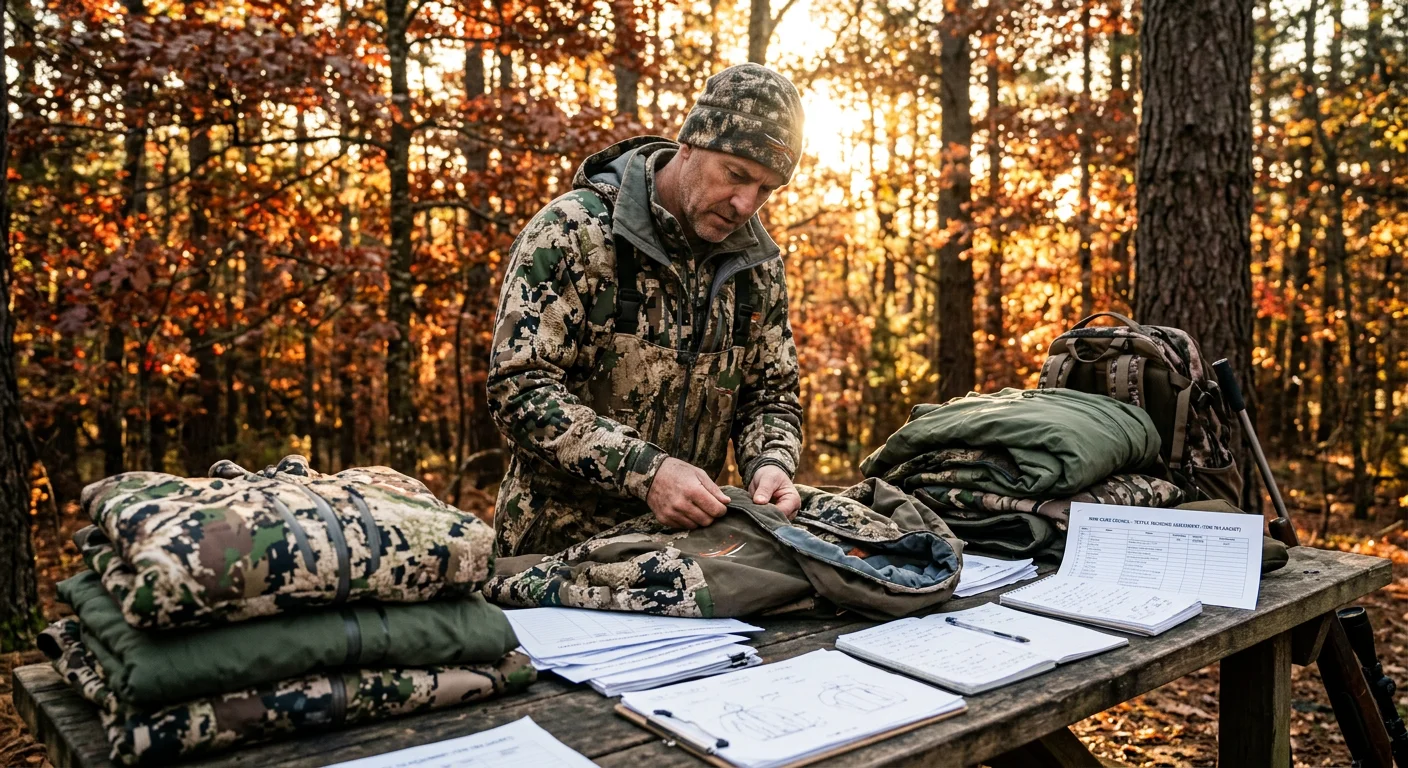
Step 3: Prepare Your Tech Pack and Branding Assets (What to Send Manufacturers)
Most first-time brand builders lose weeks here — and sometimes thousands of dollars — going back and forth with their OEM hunting clothing supplier over missing details.
The fix is straightforward: send a complete tech pack from day one.
A tech pack is your product's blueprint. Without one, manufacturers fill in the blanks themselves. Your camouflage pocket placement, fabric GSM, zipper spec — all of it becomes someone else's guess. One missing detail can cost you an entire sampling round.
What Your Tech Pack Must Include
Every style needs its own dedicated pack. Build it around these six core components:
Flat sketches : Front and back technical drawings showing every seam, panel, and detail
Fabric specification : Fiber composition, GSM weight, finish, coating or lining notes, and Pantone color codes for exact color matching
Size/spec sheet : A full measurement chart covering chest, waist, sleeve length, and inseam — plus tolerance ranges to keep production consistent
BOM (Bill of Materials) : Every trim the factory needs — zippers, buttons, drawstrings, elastic, labels, threads, fasteners
Artwork files : Logos, prints, and embroidery placement with exact dimensions and color references
Construction notes : Stitch type, seam sequence, panel order, and finishing requirements
Preferred file format : One master PDF + an Illustrator sketch file + Excel BOM and size chart. For artwork-heavy elements like camo prints, submit AI or PSD files.
Your Branding Assets Checklist
Custom outdoor apparel branding lives in the details your customer touches — the label inside the collar, the hang tag on the rack, the polybag it ships in.
Get these ready before you contact any white label hunting gear manufacturer:
Vector logo : AI or EPS format — these scale to any size without distortion
Label artwork : Neck/brand label, care label, size label, and hang tag — each with dimensions, color specs, and placement notes
Packaging artwork : Polybag design, custom box, and shipping carton markings
Targeting the U . S. market? Your labels must meet FTC textile requirements: fiber content, care instructions, and country of origin. Selling across multiple markets? Build separate label versions for each territory now. Fixing this after production is a real headache.
One Rule That Saves You Revision Rounds
Send a physical reference sample alongside your digital files. Mark it up — what to keep , what to change , and what to match — including fit, fabric hand-feel, pocket dimensions, and collar shape. A marked-up sample tells the factory in 30 seconds what three pages of written notes cannot.
Name every file with a consistent format: BrandName_StyleName_StyleNo_V1_Date . Each revision gets a new version number. This one habit cuts out the most common problem in private label apparel manufacturing — factories building from outdated specs.
Step 4: How to Find and Vet Private Label Hunting Clothing Manufacturers
The manufacturer you choose will make or break your brand — not your logo, not your marketing, not your price point. Get this wrong and you'll spend six months chasing late shipments, fixing quality disasters, and explaining to customers why their jacket leaks.
Here's how to find the right OEM hunting clothing manufacturer — and cut the wrong ones before they cost you money.
Build Your Initial Candidate List (Target: 20–30, Then Cut to 5–10)
Start with search. Use these keyword combinations on Google and Bing to find manufacturers:
"custom hunting clothes manufacturer""hunting clothing OEM low MOQ""camo hunting apparel private label"
Add a country modifier — China, Vietnam, Portugal — to narrow results. Then move to B2B platforms.
On Alibaba, filter hard. You want Manufacturer/Factory only — not trading companies. Use these non-negotiable criteria:
Gold Supplier + Trade Assurance verified (platform-backed payment protection)
3–5+ years in operation — hunting clothing is complex; inexperienced factories waste your sampling budget
Export markets include the US, Canada, or EU — these buyers set the quality bar you need to clear
Industry trade shows give you the strongest sourcing signals. SHOT Show (Las Vegas) brings the world's hunting and tactical apparel OEM community into one room. ISPO Munich draws technical outdoor fabric specialists. Before each show, filter the exhibitor directory by "Apparel / Hunting / Private Label" and book meetings early. In person, you can handle real samples — check stitching, test fabric noise, feel coating quality. Ten minutes of hands-on review tells you more than a month of emails ever will.
Collect 20–30 candidates from all channels. Cut any without a dedicated hunting or outdoor apparel production line. You should be left with 5–10 factories worth a real conversation .
The Four Dimensions That Separate Good Factories From Bad Ones
1. Hunting-Specific Production Experience
Generic sportswear factories are not hunting clothing factories. Ask for 3–5 physical samples of real hunting garments they've made — camo soft-shells, silent-fleece pants, waterproof hunting jackets, blaze orange safety vests. Check these details:
Stitch density: 3–4 stitches/cm is your baseline
Silent fabric construction: brushed or fleece inner surfaces reduce movement noise
Functional details: underarm ventilation zippers, articulated knee panels, dedicated shell loops and magazine pockets
No real hunting garments to show? Not just camo-printed windbreakers, but actual field-use pieces? Move on.
2. True Private Label Capability
Your manufacturer needs to handle brand labels, hang tags, care labels, and size labels in-house. Confirm they support OPP polybag packaging, custom carton printing, and barcode placement . The strongest private label hunting gear partners cover everything under one roof: pattern making, fabric sourcing, production, branding, and export documentation. That's the difference between a vendor and a real manufacturing partner.
3. MOQ Reality Check
Here's what minimum order quantities look like in practice:
Situation | Typical MOQ |
|---|---|
Standard fabric, existing colors | 100–300 pcs per style/color |
Custom camo print or specialty fabric | 300–600 pcs (fabric minimum: 600–1,000m) |
Brand labels (woven/printed) | 1,000–3,000 pcs (shared across styles) |
Always clarify: is the MOQ calculated per style, per colorway, or per total order ? Some factories consolidate fabric orders across colorways. That one question can cut your minimum by 30–40%.
4. Sampling Timeline and Lead Time
Benchmark these numbers as you compare quotes:
First pattern + sample: 3–7 days
Revised confirmation sample: 5–10 additional days
Bulk production (stock fabric): 25–35 days from deposit
Bulk production (custom camo or laminated fabric): 45–60 days
QC + packing + shipping: 7–15 days depending on destination port
Ask whether the sampling fee — usually $50–150 per style — gets credited toward your bulk order. Most legitimate factories say yes. The ones that refuse are telling you something worth hearing.
Three Risk-Reduction Moves Before You Commit
Request fabric swatches, not just photos. Ask for 3–5 physical fabric samples relevant to hunting: brushed silent fleece, waterproof softshell, stretch woven. Each swatch should list fiber content, GSM weight, and waterproof/breathability ratings on the label.
Score every hunting apparel factory the same way. Build a simple evaluation sheet. Track response time (target: under 24 hours on business days), answer quality (do they give real numbers or vague reassurances?), and whether they suggest improvements on their own — like switching to a quieter brushed fabric or adding a safety-orange panel for legal compliance. Factories that think like a partner, not just a printer, are worth paying more for.
Protect your first order with a contract. Use Alibaba's Trade Assurance to lock in unit price, delivery date, and quality specs before any money moves. For direct contracts, your confirmed sample or PP sample becomes the legal quality benchmark. Add third-party inspection rights — SGS or Intertek using AQL standards — plus a late-delivery penalty clause. Keep your first production run to 20–30% of your projected annual volume . That's not playing small. That's running a controlled test before you scale.
Step 5: The Sampling Process — How to Get From Concept to Field-Ready Prototype
Sampling is where brands are made or wasted. Most first-timers blow their budget here because they don't know what to expect.
Here's the reality of hunting clothing development: a finalized tech pack to a field-ready prototype takes 2–6 rounds of samples across 2–6 weeks . The timeline depends on your garment's complexity and how fast you respond to each round. Simple repeat styles need 2–3 rounds. Complex functional hunting jackets — articulated panels, silent fleece construction, custom camo prints — need 3–5.
Know What Each Round Costs You
Sampling fees are paid by the buyer. Development samples for technical hunting gear run $80–150 per piece . That's 1–3× your projected FOB unit cost. Pattern-making fees add another $50–200 per style .
Here's the upside: most reputable OEM hunting clothing suppliers credit 50–100% of sampling costs against your bulk order once you hit 300–500 units. Get that written into your PI before you start.
What to Send Before the First Sample Ships
Your factory builds only what you give them. Send your complete tech pack. Include key measurements to ±0.5–1.0 cm precision, fabric GSM and fiber content, camo rapport dimensions, and pocket placements with exact sizing. Also send at least one physical fit reference garment.
How to Evaluate Each Sample Round
Your proto arrives — don't just try it on. Test it like a hunter:
Noise check : Walk fast, draw, crouch. Mark each friction point.
Waterproof field check : Wear it for 30–60 minutes in real rain. Check shoulders, seams, and armpit zippers for moisture getting through.
Mobility : Raise your arm to 120°. The sleeve hem should not ride up more than 4–5 cm .
Send written feedback within 48–72 hours . Every day you delay adds a day to your total timeline.
Step 6: MOQ, Unit Costing, and How to Price Your Hunting Clothing Line for Profit
Here's where most new hunting brands quietly lose money — not in design, not in sampling, but in the spreadsheet nobody told them to build before placing their first order.
MOQ, unit cost, and retail pricing aren't separate decisions. They're one connected equation. Get any variable wrong and your margins collapse before your first jacket ships.
Understand the MOQ Structure Before You Quote Anything
Factories don't give you one MOQ number. They give you three — and you need to ask for all of them:
Per style : e.g., 300 units per jacket style
Per colorway : e.g., 100 units per color (3 colors = 300 units minimum)
Per size : e.g., no fewer than 20 units per size run
Custom camo prints or laminated fabrics come with an extra catch. Fabric mills require 600–1,000 meters minimum . That forces the factory to raise the garment MOQ on your end. Most first-timers never see this coming.
The sweet spot for new hunting clothing brands is 100–500 units per style per color . Below 100 units, you pay sample-tier pricing. Above 500, you're scaling before the market has tested your product.
How Order Quantity Shapes Your Unit Cost
Order more, pay less per unit. The price drop in private label apparel is steeper than most brands expect. Here's what it looks like for a standard hunting jacket:
Order Quantity | Estimated Unit Price |
|---|---|
100 units | ~$28–32 (baseline) |
300 units | ~$24–27 (15% drop) |
500 units | ~$20–24 (25–30% drop) |
1,000 units | ~$18–22 (35–40% drop) |
Need to test at 75–100 units — below a factory's standard MOQ? Negotiate a 5–25% price premium to cover their fixed setup costs. Most factories accept this. It keeps the relationship going without hurting their margins.
Build Your Landed Cost First. Then Price.
Your factory FOB price is not your real cost. Your landed cost is. Here's the full formula:
Landed Cost = Factory Price + Freight + Import Duty + Customs Fees + Warehousing + QC Inspection + Packaging/Labels
Take a real example — 500 units of a waterproof camo hunting jacket at $22 FOB:
Cost Component | Per Unit |
|---|---|
Factory price (FOB) | $22.00 |
Ocean freight | $0.80 |
Import duty (~12% on CIF value) | $2.88 |
Customs & documentation | $0.20 |
Warehousing (first month) | $0.50 |
Third-party QC inspection | $0.60 |
Packaging & labels | $0.50 |
Total Landed Cost | ~$27.50 |
That $22 jacket now costs you $27.50 before you sell a single unit.
Price for Margin, Not for Competition
Use the 2.5–3.5× landed cost multiplier as your retail pricing baseline:
2.5× → $68 (entry-level, high-volume DTC play)
3.0× → $82 (mid-market standard)
3.5× → $96 (premium channel pricing)
Professional apparel brands follow one rule: total cost should never exceed 30–35% of your retail price . Cross that line and you won't have enough margin left to cover marketing, returns, and overhead. The brand stalls out fast.
Aim for a gross margin of 60–65% on each unit. That's the minimum for building a hunting clothing brand that lasts — not one that burns out after a single season.
Step 7: Quality Control — Don't Skip These Production Checkpoints
Quality failures don't show up during sample review. They show up when a customer posts a photo of a leaking seam on Instagram. That post spreads faster than any ad you'll ever run.
There are three checkpoints you cannot skip.
Checkpoint 1: Top-of-Production (TOP) Sample — Lock Your Standard Before Bulk Starts
Your pre-production sample (PPS) gets approved. Then the factory pulls 2–5 pieces from the actual bulk production line — same operators, same fabric roll, same trim lot — before cutting begins. Compare those pieces against your confirmed sample.
What you're checking:
- Stitch density : 8–10 SPI on main seams; ±1 SPI tolerance
- Key measurements : ±1 cm on chest/body length; ±0.5 cm on collars and cuffs
- Zipper function : 10–20 open/close cycles — zero jams allowed
- Color accuracy : Delta E ≤1.5 vs. your approved lab dip
TOP review has one outcome: approved for bulk , or hold and fix . Any pattern change after approval needs a new TOP sign-off. No exceptions.
Checkpoint 2: In-Line Inspections — Catch Problems While You Can Still Fix Them
Schedule inspections at 20–30%, 50–60%, and 80% production completion . Use AQL 2.5 for major defects and zero tolerance for critical ones. Pull 3–5 pieces per size and measure every key point of measure.
Pay close attention to these:
- Camo pattern alignment at chest seams: ≤1.5 cm mismatch for mid-market; ≤1.0 cm for premium
- Cargo pocket stress test: load 0.5–1.0 kg for one minute — no bar-tack failure
- In-line defect rate above 5% major defects ? Stop the line now
Checkpoint 3: Post-Production Testing — Waterproof Claims Need Proof
Pull 5–10 pieces for destructive testing before inventory ships: - Waterproof: minimum 5,000 mm hydrostatic HEAD for rain jackets; spray at 70–100 l/m²·h for 30 minutes — no interior moisture - Seam strength: ≥180–250 N on shoulder and armhole seams - Wash shrinkage: ≤3% on woven shells after three launderings at 40°C - Color fastness: dry crocking ≥ Grade 4; wet crocking ≥ Grade 3–4
Orders above 3,000 pieces or $30,000 in value need third-party verification. Bring in SGS, Bureau Veritas, or Intertek. The inspection runs $200–400 per visit . That's cheap insurance against a five-figure return shipment.
Step 8: Launch Your Hunting Clothing Brand — Channels, Content, and Pre-Launch Strategy
Your product is ready. Your quality checks passed. Now the real work starts — a great hunting jacket sitting in a warehouse makes zero revenue.
Most new brand owners spread themselves across every channel at once. Then they wonder why nothing sells. Don't do that. Pick one or two channels, dominate them, then expand.
Choose Your Channel Stack
Your own DTC website (Shopify) is your highest-margin asset. A well-run hunting apparel store on Shopify captures 60–70%+ gross margin with a 2.5–3× landed cost multiplier. Compare that to Amazon — ~17% referral fees on apparel, plus FBA storage and fulfillment. Your total platform cost hits 25–35% of revenue. That gap adds up fast.
Use your independent store as your brand headquarters. Drive 70–80% of your marketing traffic there. Push hard to capture email and SMS subscribers. Every dollar you invest in your own list is a dollar you won't pay as a platform fee next time you sell.
Amazon has its place — but keep it tight. List 1–3 anchor SKUs to pull in search traffic and collect early reviews. Use those listings as price anchors. Send premium and bundle purchases back to your DTC store.
Wholesale and trade shows make sense at scale. SHOT Show exhibitor costs run $2,000–$10,000 per event . Standard dealer pricing sits at 40–55% of retail with MOQs of 50–200 units per colorway . In your first six months, that's a distraction. Lock your DTC foundation first.
First six months rule: one or two channels, full stop. Running a small content-heavy team? Go DTC + Amazon (1–3 test SKUs) . Have existing trade relationships? Go DTC + 1–2 regional dealers . Don't expand until your repeat purchase rate and sell-through confirm the product works.
Build in Public — Before the Launch, Not After
Brands that sell out their first run don't start marketing on launch day. They build an audience for 60–90 days before a single unit ships.
Here's what that looks like for hunting apparel:
Waterproof field tests on YouTube : Post 10–20 minute videos with real numbers — hydrostatic head ratings of 10,000mm , breathability at 10,000–15,000 g/m²/24h , camo concealment comparisons at 100m, 200m, and 300m in real field conditions. End every video with one CTA: subscribe for the full test data sheet and pre-sale discount.
Short-form content on Instagram and TikTok : "Day in the field with our prototype — 12 hours, 8 km, 3 tree stands." Post every day in the 30 days before launch. One short video plus two or three Stories per day.
Reddit hunting communities (r/Hunting, r/Bowhunting): Post weekly build logs — real failures, real fixes. "Our first pants failed at the knee on the third crawl test. We added a 500D Cordura reinforcement patch. Here's the before/after." Share the setbacks. Ask for feedback on pocket layouts and sizing. Link to your email waitlist.
Stick to a four-post weekly rhythm: Monday test data updates, Wednesday factory and sampling behind-the-scenes, Friday field vlog, Sunday community Q&A or poll ("Silent fabric vs. heavier waterproof rating — which matters more to you?").
Showing failures is not weakness. It's the strongest trust signal in a category packed with brands that post nothing but polished product shots.
Pre-Launch Email Strategy — The Sequence That Converts
Target: 500–2,000 email subscribers before launch day. To sell 300 units at a 3–8% pre-sale conversion rate, you need 4,000–10,000 qualified emails on your list. That's not a typo. Build your list to match that number.
Give subscribers a real reason to sign up. Offer a 25% early-bird discount code valid during the pre-sale window. Add exclusive content — something like a complete sizing and layering guide for late-season whitetail.
Then run this email sequence:
T-14 to T-7 : Two emails per week — product story, test results, Build in Public content
T-6 to T-1 : Three to four emails per week — price reveal, video reviews, FAQ, early-bird rules
Launch day : Send a reminder email 1–2 hours before the cart opens. Send another the moment it goes live.
Scarcity works — but only when it's real. Cap your early-bird offer at your first production run quantity — say, 200 units. Put a live counter on your landing page ("37 early-bird spots remaining"). Hit zero, the window closes.
Add One Mid-Tier Hunting Influencer
Budget for one or two hunting content creators with 5,000–100,000 subscribers and an engagement rate above 3–5% . Send full kits for a real-season test — not a weekend shoot. Ask for at least one long-form video (10–15 minutes of genuine field use) plus one short-form clip. Real field failure stories from a trusted voice convert better than any paid ad you'll run.
Production done. Channels locked. List built. You don't need a massive budget to compete — you need clear, sequenced execution. To build the private label hunting clothing line that backs this launch, BerunClothes.com handles OEM hunting clothing production from tech pack to branded packaging. Your focus stays on building the audience that sells it out.
Conclusion
Starting a private label hunting clothing line isn't just for big brands with deep budgets. Any serious outdoor entrepreneur can do it — with the right process.
You now have the full roadmap. It covers finding your niche, designing your first SKUs, vetting OEM hunting clothing suppliers, getting through the sampling stage, and launching with a strategy that moves product.
The brands that win aren't the ones with the flashiest camo patterns. They're the ones that stay consistent and partner with manufacturers who care about the vision as much as they do.
So here's your next move: don't let this guide sit in a browser tab. Pick one action today — sketch your first product concept, request a quote, or reach out to a manufacturer. Just start.
At Berun Clothing , we've helped dozens of outdoor brands go from raw idea to shelf-ready product. Start your private label journey with us →