Hockey gear isn' T cheap — and neither is replacing it before you have to. Push worn-out equipment past its breaking point, though, and you're not just hurting your wallet. You're putting your safety at risk every time you hit the ice. The frustrating part? Most players replace gear too early or too late. Nobody ever gave them a clear benchmark to work from.
Many teams investing in custom hockey equipment programs face the same challenge: balancing long-term durability, player safety, and replacement costs over multiple seasons.
Are you a parent trying to figure out if your kid's helmet has another season left in it? A recreational player wondering why your skates feel dead? A competitive athlete deciding whether to patch those cracked shin guards? How long hockey equipment lasts depends on way more than just the calendar.
This guide breaks it all down by gear category. You get a no-nonsense repair vs. replace checklist, plus practical maintenance strategies that can add real life to everything in your bag.
How Long Does Hockey Equipment Last? (By Gear Category)
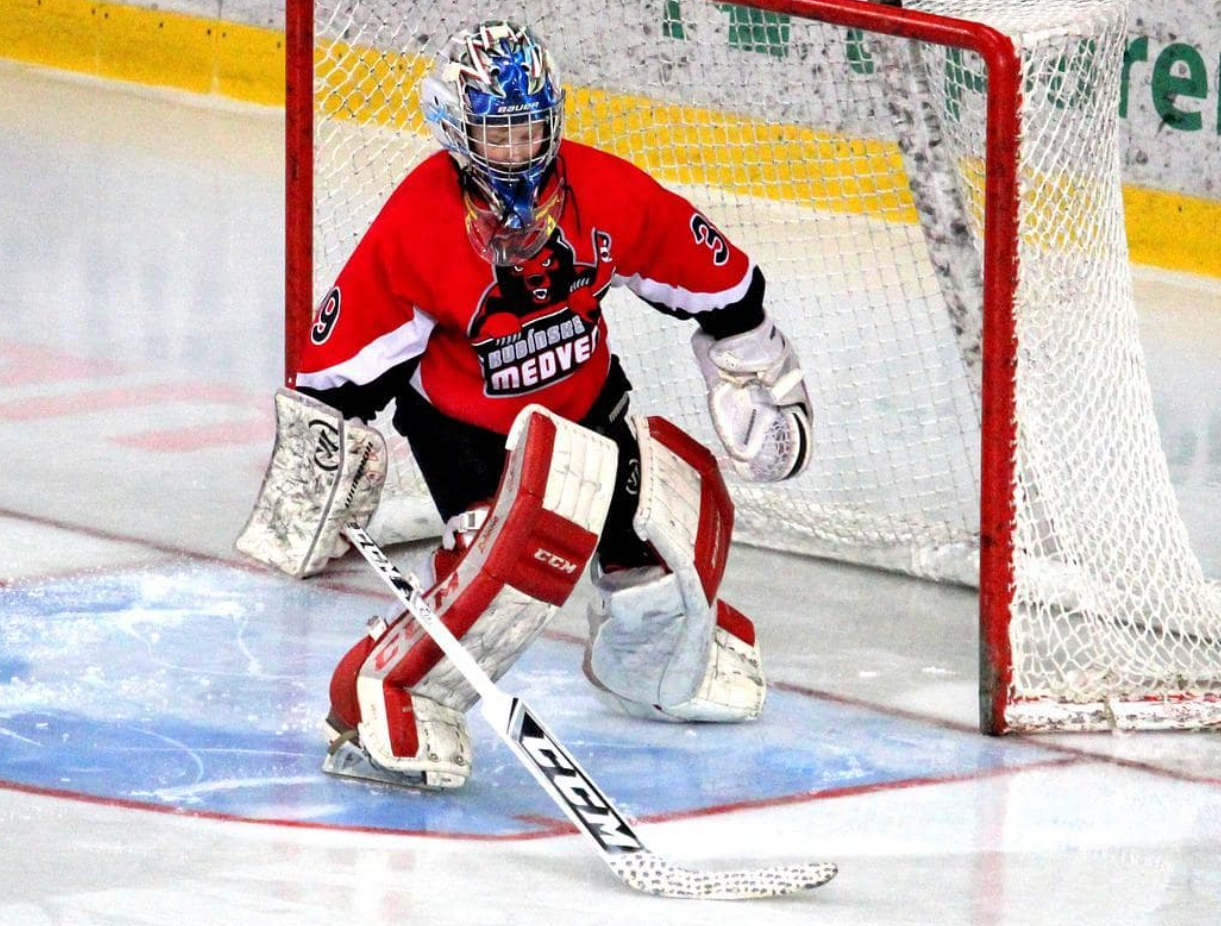
Here's the honest answer: it depends on how often you play, how hard you play, and how well you care for your gear. A competitive player logging four sessions a week burns through equipment two to three times faster than a weekend recreational skater.
The table below gives you real benchmarks — not vague estimates.
Gear | High-Level (3–5x/week) | Adult League | Casual/Youth |
|---|---|---|---|
Stick | 1–3 months | 3–6 months | 6–12+ months |
Skates | ~1 year | 1–3 years | 2–4 years |
Helmet | 3–5 years* | 3–5 years* | 3–5 years* |
Gloves | 1–1.5 years | 1–2 years | 1–2+ years |
Shoulder/Elbow/Shin Pads | 3–6 years | 3–6 years | 3–6 years |
Hockey Pants | 3–5 years | 3–5 years | 3–5 years |
*Helmets carry a hard expiration date. HECC and CSA certifications stamp a maximum lifespan inside the shell — 6.5 years from the manufacture date. Past that point, the foam and plastic break down beyond safe levels. This holds true no matter how good the helmet looks from the outside.
Four variables shift every number in that table:
Frequency — Playing 3–5x per week can cut stick life from 12 months down to just 6–8 weeks
Intensity — High-contact play shortens pads and pants by one to two full years
Maintenance — Air-drying your gear each day can extend its life by 20–50%. Trapped moisture speeds up foam breakdown and bacterial growth
Material quality — Premium carbon sticks like the Bauer Vapor HyperLite ($300+) last 20–30% longer than mid-tier options. Even so, heavy use degrades performance faster across all price points
Check your gear every three months. Look for cracks, thinning foam, worn straps, and any drop in fit or protection.
Hockey Helmet Lifespan & Certification Expiry — Know When to Replace
Your helmet is the one piece of gear with non-negotiable rules — and those rules change based on where you play.
In the USA , HECC certification expires 6.5 years from the manufacture date . That date is stamped on the rear HECC sticker. Once it passes, your helmet is no longer certified. Show up to a sanctioned USA Hockey league game with an expired lid, and a referee can eject you on the spot.
In Canada , CSA certification works on a different system. There's no expiration date on the sticker — just a manufacture year. Officials judge eligibility by condition, not a fixed deadline.
No matter which standard applies to you, most hockey equipment manufacturers and safety experts recommend replacing any helmet within 5–7 years . That applies even to helmets sitting in a closet untouched. Here's the reason: HDPE shells and VN/EPP foam break down at a chemical level over time. The material degrades whether or not it ever took a hit.
The Invisible Damage Problem
Most players miss this part. A helmet can look fine on the outside and still fail to protect you.
Watch for these four signs:
Padding that's shifted or feels loose — foam delamination raises impact force transfer by about 30%
A liner that feels thinner than before — more than 10% thickness loss means the EPP/VN foam has compressed past recovery, dropping energy absorption below 50% of original capacity
Hairline shell cracks — hard to spot with the naked eye, but they spread under stress and cause drop-test failures
Unusual stiffness or a chemical smell — both are signs of foam breakdown. This tends to speed up after the five-year mark
One heavy impact means replace it — no exceptions. Foam compresses for good on first use. Multiple hard hits cut protection by 40–60% , based on ASTM and HECC testing data. There's no "airing it out" fix for a helmet that's already taken a major blow.
How to Check Your Helmet Right Now
Flip it over — find the HECC sticker on the rear exterior and read the expiry date
Check the interior — the hockey equipment manufacturer's production date is stamped inside the shell
HECC label is hard to read? — A temporary policy covers helmets made from 2016–2018. You can still use the helmet if it's under seven years old, undamaged, and the label is still identifiable. A label that's gone or removed entirely? Not certified. Full stop.
Buying a used or new helmet? Make sure it has more than three years of HECC/CSA life left at the point of purchase. Anything less, and you're starting the clock too close to zero.
Ice Hockey Skates Lifespan: Boot Stiffness Loss Is Killing Your Performance
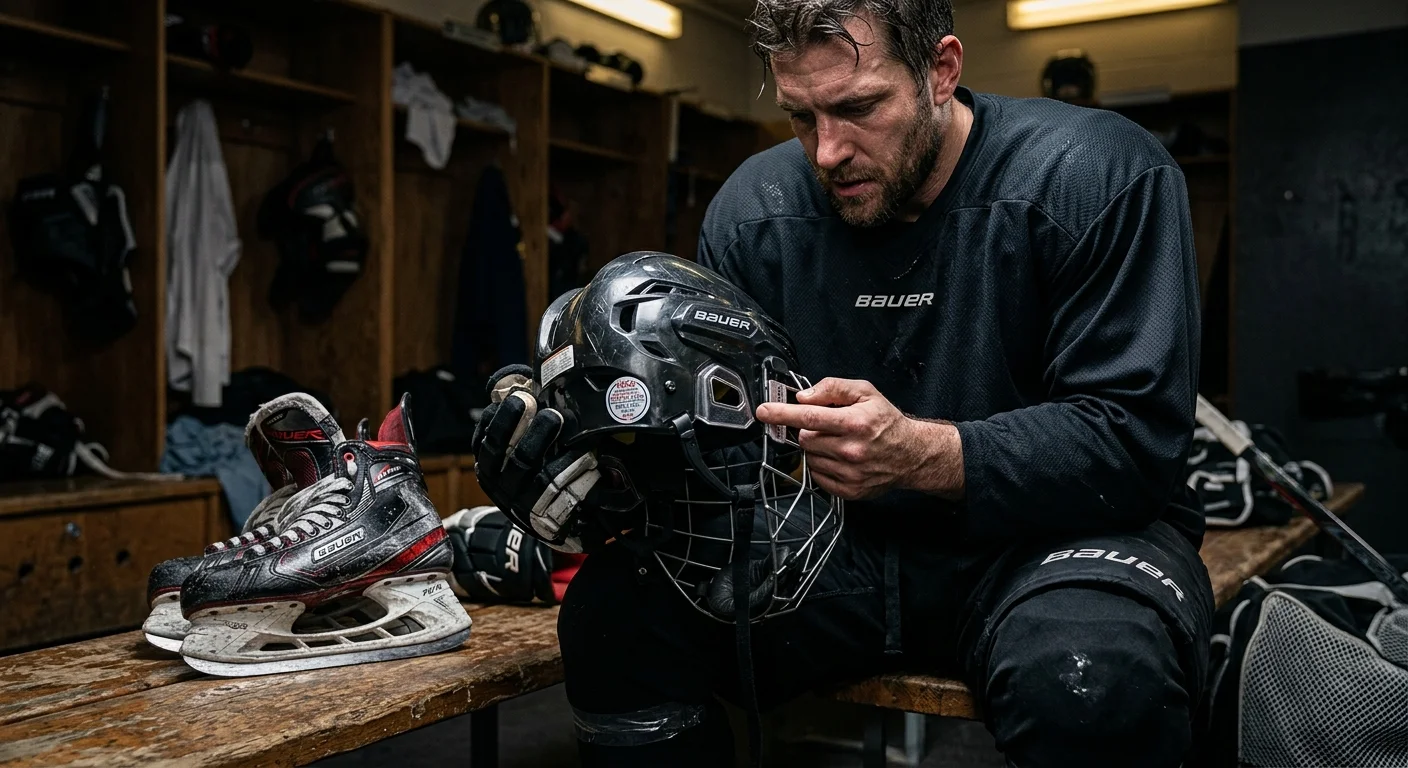
Boot stiffness is the silent performance killer most skaters never see coming. Edges start feeling vague. Strides feel sluggish. You can' t figure out why.
Here's what's happening. A new boot resists lateral compression at over 50 lbs of force. A worn-out boot flexes at under 30 lbs. That 25%+ stiffness drop causes 10–20% stride power loss — not because your legs got weaker. The boot is absorbing energy that should be driving your blade into the ice.
The quarter package deforms. Force leaks out. Your game gets worse, and you may not notice until it's too late.
How to Spot Stiffness Loss Before It Costs You
Squeeze the sides of the boot with both hands. The top collapses under manual pressure — especially toward the ankle — the structure is gone. Top-line Bauer skates show this same failure pattern after just 1.5 years of heavy use by competitive players.
Watch for these warning signs:
Ankle inward collapse — restricts natural flexion, wrecks edge control and weight transfer
Reduced kick power — your leg force isn't reaching the blade with full power
Foggy edge feel — beginners and intermediates notice this first; it stalls technique development without any obvious cause
Failed re-break-in — new stiff skates need 10–15 hours to break in. Your skates need re-breaking-in after a year and it doesn't take? Replace them.
Replacement Timeline by Player Type
Player Type | Sessions/Week | Stiffness Breakdown | Replace Around |
|---|---|---|---|
Recreational | 1x | After 2–4 years | 2–4 years |
Intermediate | 2–3x | After 1–2 years | 1–2 years |
Competitive/Elite | 4x+ | After ~1 year | ~1 year |
What You Can Repair
Not every worn skate needs replacing. Some issues are worth fixing — and can buy you another 6–12 months.
Worth repairing:
- Rivets — 10–14 per skate; remove the footbed and check for rust. Orange corrosion means replace them
- Holder replacement — rivets fail and disconnect the boot? A new holder brings back structural integrity
- Bake-fit thermoforming — re-molding heat zones resets a 10–15 hour break-in cycle on a boot that still has solid structure left
- Blade steel — sharpen on a regular schedule, but track wear with calipers. Under 0.5mm hollow remaining, or more than 50% of original radius worn, means new steel
Don't repair — replace:
- Boot collapse or visible quarter package deformation
- Toes punching through the top of the boot interior
- Heel counter breakdown — ongoing ankle wear raises real injury risk, including Haglund's deformity
- Uniform stiffness loss that fails the manual squeeze test
One blade maintenance point worth knowing: over-sharpening wears out steel faster than most players expect. Each extra pass removes 0.1–0.2mm of steel. That cuts blade lifespan from 50–100 sharpenings down to 20–40. Air-dry your skates after every session. This alone extends rivet and steel life by one to two full seasons.
Hockey Stick Lifespan: Why High-Level Players Replace Every 1–3 Months
Jason Spezza preps three fresh sticks before every game — plus one half-ready emergency backup. He retires his stick after one game. Not one season. One game.
That extreme probably doesn't apply to you. But it tells you something real about how carbon fiber works. From the very first shot, the resin inside the shaft starts to compress and harden. Micro-damage builds up inside the material. You can't see it. Fiber layers in the blade and shaft begin to separate. No visible crack shows up at first — but your shots lose their pop, your passes go off-target, and you end up forcing the puck harder just to match the same speed.
The stick isn't broken. It's just slowly dying.
The Performance Decay You Can't See
Gemel Smith of the Dallas Stars used one stick for half a season. It never snapped. But by his own description, it had gone completely "whippy." That change in flex is the key warning sign.
Run these four checks if you think your stick is fading:
Flex feels soft or "off" — your body is already adjusting your mechanics to make up for it
Shot trajectory goes inconsistent — same motion, different results every time
Blade edge chipping or softening — the layers inside are starting to separate
Hitting sound has changed — the sharp crack fades into a flat thud
Replace It or Tape It?
Condition | Action |
|---|---|
Visible crack in shaft or blade | Replace now — no exceptions |
Blade delamination (layers peeling) | Replace now |
Soft flex, shots lack pop | Replace — the performance is gone |
Surface scratches, minor abrasion | Tape extends life short-term |
Tape fixes cosmetic wear. It does nothing for structural damage.
Replacement benchmarks by intensity:
Pros / elite (daily practice + games): 1–3 months, sometimes per-game
Competitive adult league: 3–6 months
Recreational / casual youth: 6–12+ months, sometimes longer
A quick note on durability: stiffer flex ratings hold up longer under elite-level force. Pro stock sticks are built tougher — higher flex, no warranty — because those players have the strength and shot mechanics to break down lesser sticks fast. A mid-flex stick matched to your actual shot style will last longer than one you're constantly fighting against.
Track your stick the same way you track skate edges. The feel tells you the truth. Trust it.
Protective Pads Lifespan: Shoulder, Elbow, Shin Guards & Hockey Pants
Foam doesn't announce when it's done. It just stops doing its job — silently, invisibly.
That's the core problem with protective pads. A cracked helmet is obvious. A dead stick feels wrong on first touch. But shoulder pads, shin guards, and elbow pads can look fine on the outside while delivering a fraction of their original protection. The shell holds its shape. The straps still buckle. Nothing looks broken. The foam inside, though, has compressed past the point of recovery. The next hit lands harder than it should.
Here's the science: EVA and PE foam handles around 500–1,000 compression cycles before it fails. Past that limit, the material hits what's called compression set. It stops rebounding. No rebound means no energy absorption. Protection drops by 50–70% — even when the pad looks solid from the outside.
How to Test Your Pads Right Now
Don't trust looks alone. Run these four checks:
Shoulder pads — Press your thumb into the bicep foam or the cap over the shoulder joint. Hold for three seconds, then release. A permanent dent deeper than 3mm means the foam is gone. Compress the same spot ten times fast. No spring-back? Replace it.
Elbow pads — Press the elbow cap. Less than 1mm of recovery signals failure. Bend your arm twenty times while wearing them. Padding that shifts more than 1cm is no longer sitting over the joint where it needs to be.
Shin guards — Drop them from six inches onto a hard floor. No bounce? The foam is dead. Any visible plastic crack wider than 1mm means automatic replacement — no further testing needed.
Hockey pants — Squat and jump a few times. The inner liner bunches, gaps, or shifts more than an inch? The internal padding is out of position and no longer protecting you.
Replacement Benchmarks by Pad Type
Pad Type | Competitive/Youth | Recreational Adult |
|---|---|---|
Shoulder pads | 2–3 years | 3–4 years |
Elbow pads | 1–2 years | 2–3 years |
Shin guards | 18–36 months | 3–4 years |
Hockey pants | 12–18 months | 2–3 years |
Hockey pants wear out faster than most players expect. Heavy use — think 50+ games per season, around 300 hours of ice time — puts the inner liner and pelvic protector under constant stress. At that pace, foam breaks down 20–30% per 100 hours . Most pants need replacement inside 12–24 months at that volume.
Youth Players: Growth Beats Wear Every Time
For players still growing, fit failure comes before foam failure — nearly every time. A 12-year-old who adds 1.5 inches to their calf in one season has already outgrown their shin guards, even if the foam passes the drop test. Check measurements once a year:
Calf or arm circumference up 1 inch or more → new pads, regardless of condition
Shoulder width up 0.5 inches → reassess shoulder pads right away
Chest or waist growth that creates gaps or pressure points → replace the pants
Adult players don't face this issue. For adults whose size is stable, it comes down to foam integrity and shell condition. The pads pass the rebound tests and fit well? Keep them. They fail? Replace them — not early, not late.
One rule applies to everyone: a pad that took a serious, high-force hit — a hard board check, a close-range deflected puck — needs testing right away, even at six months old. High-force contact crushes foam for good, the same way it does in a helmet. Age alone doesn't tell you much. The foam's response tells you everything.
Hockey Gloves Lifespan: Reading Palm Wear Before Your Hands Pay the Price
The palm is where gloves go to die — and most players don't notice until their hands are already paying for it.
Grip friction against your stick wears down the palm material over time. For frequent players (3–5x per week), palms start thinning within 1–3 months . Full glove lifespan runs 1–2 years at that pace. Occasional players stretch that to 2+ years. The failure sequence stays the same either way.
Palm Wear Moves Through Three Stages
Thinning — grip feels less secure. The leather or synthetic slowly compresses and wears away.
Stiffening or cracking — digital and perforated palms dry out fast. This can happen within 2–3 months of regular play. A little aftershave or conditioner slows this down.
Wear-through — once breakdown starts, failure speeds up. Exposed hands mean blisters, cuts, and real stick control loss.
Material determines how fast you get there:
Palm Material | Lifespan |
|---|---|
Kangaroo leather | 2–3+ years |
Micronash / Nash | 1–2+ years |
Digital / Mustang | ~1 year |
Perforated synthetic | 2–3 months |
Cheap synthetic | 6–12 months |
The Fold Test
Press the palm padding and release. Fresh foam snaps back. Dead foam stays compressed. Original thickness runs 10–15mm . Drop below 50–60% of that, and protection drops with it. Padding failure cuts impact absorption by 30–50% .
Repair vs. Replace
A single rip or palm thinning? A $20–50 re-palm job buys 3–6 months. Multi-point tears, compressed padding throughout, or combined palm-and-foam failure? Go with new gloves ( $100–300 ). Also, wrapping clear shin tape around your stick's top hand grip cuts down palm abrasion. Small habit, real difference.
Inspect palms every three months. Your stick control depends on what's left of them.
The Repair vs Replace Decision Framework: A Clear Checklist for Every Piece of Gear
Every hockey player hits this wall at some point. The gear isn't clearly dead, but something feels off. You're standing in a shop, trying to do math without the right numbers.
Here's the number you need: 50%. Fixing a piece of gear that costs more than half the price of a new one? Replace it. That's the standard industry threshold. It holds for hockey equipment just as much as it does for anything else. Add up the full repair bill — parts, labor, any shipping — then divide by the replacement price. Above 0.50? Stop patching. Buy new.
But the cost ratio is only part of the decision. The other half is how much that piece of gear matters if it fails at the wrong moment.
The Safety-First Override
One rule overrides every calculation: safety items play by different rules. Helmets, shin guards, shoulder pads — these don't get the 50% benefit of the doubt. A $30 repair on a helmet that took a serious impact isn't a bargain. It's a gamble. For protective gear, any structural damage or confirmed foam failure means replace. Full stop. Cost doesn't factor in.
The Quick Checklist
Run each piece of gear through these four questions:
Is the failure structural or cosmetic? Cosmetic wear — surface scratches, minor abrasion, single rips — points to repair. Structural failure — collapsed boot, cracked shell, separated blade — points to replace.
Is this a single-component problem or overall aging? A blown rivet or torn palm is fixable. Foam failing in three spots is not. Repeated issues across the same piece, or steady stiffness loss — that's the gear breaking down as a whole. Stop putting money into it.
Does repair cost exceed 50% of replacement cost? Cross that line, and you're paying to keep broken equipment alive.
What happens if it fails mid-game? Stick snaps: annoying. Helmet cracks: dangerous. The higher the risk, the stronger the case for replacement.
One final rule worth keeping: set your exit threshold before you repair. Decide up front — "if this fails again within 12 months, I replace it." That decision stops the sunk-cost spiral. A $40 repair can turn into $200 worth of patches on gear that should have been replaced a year ago. Draw the line early.
Maintenance Tips That Can Double Your Hockey Gear's Lifespan
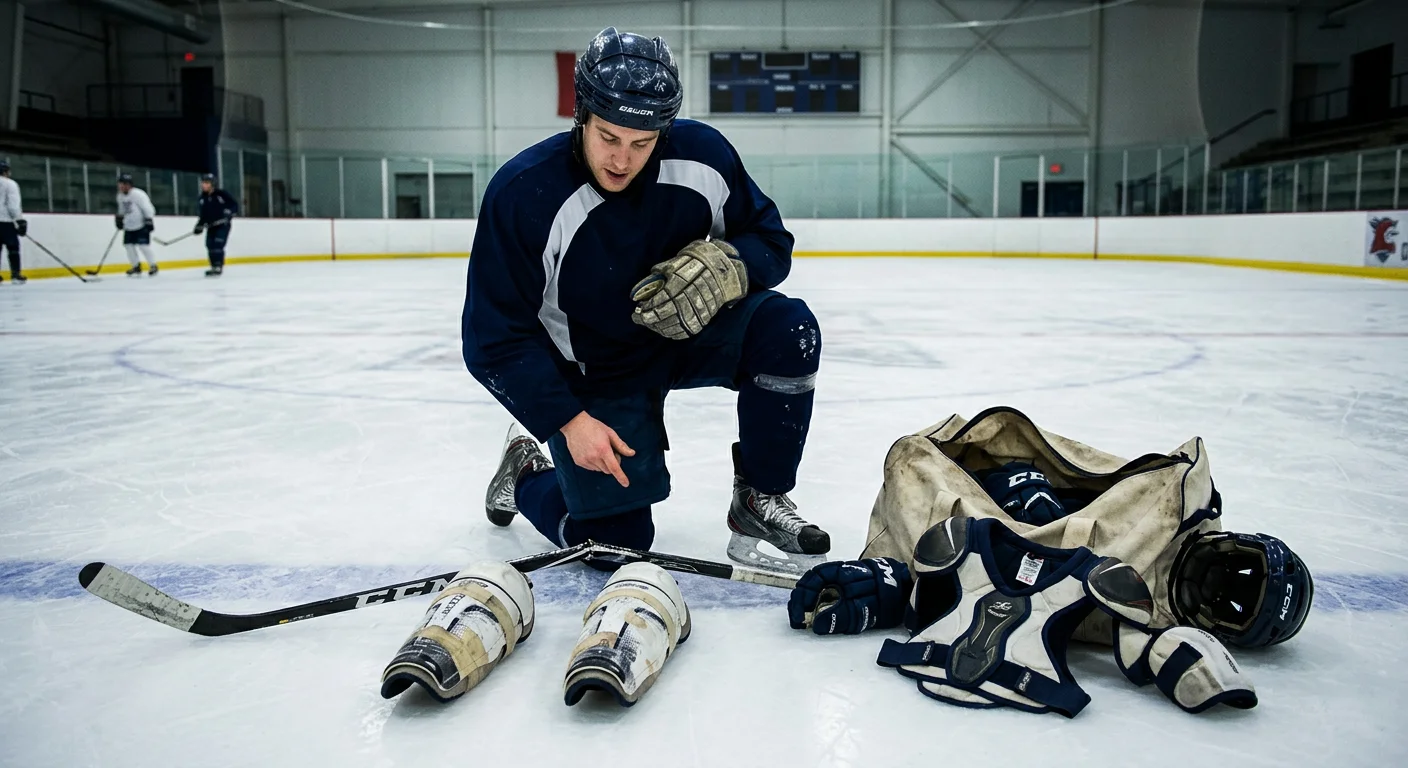
Five minutes after every session is worth more than five hours of repair work later. That's not motivation-poster math — it's just how hockey gear breaks down.
Moisture is the primary enemy. Sweat weakens composite bonds in sticks. It breeds bacteria in padding and pushes mildew into fabric. That's the single biggest cause of premature gear breakdown. The fix is simple: unpack everything right away and let it breathe. Pull your gear out of the bag the moment you're done. Hang jerseys, socks, and base layers to air dry. Wash gloves, elbow pads, shin guards, and shoulder pads on a gentle cycle inside a mesh bag. No mesh bag? Soak them 30 minutes in warm water with sport wash, then air dry. Wipe skate blades dry, put the guards on, and run a fan over your full kit for 24–48 hours.
A few non-negotiables that players keep skipping:
Re-tape your blade on a regular schedule. Fresh tape seals out moisture and stops edge chipping. It also adds real life to your stick — a solid maintenance routine can stretch non-competitive stick life by 20–50%.
Store gear in a dry, ventilated space. Hot car trunks warp composites. Cold garages make materials brittle. Both will wear your gear down faster than normal use.
Clean helmets and padding every 2–3 months if you skate 2–3 times per week. A deodorizing spray between deep cleans stops bacteria from eating through the foam ahead of schedule.
At the end of the season, run through this checklist before storing your gear:
Item | What to Check |
|---|---|
Skates | Blades rust-free, guards on |
Sticks | Shaft dry, fresh tape, no cracks or warping |
Protective Pads | Foam and plastic intact, straps and Velcro functional |
Helmet | Cleaned with mild soap — no solvents |
Gloves | Dry, deodorized, tears repaired |
Check your gear every 5–10 uses. After any hard impact, look it over right away. A quick check each week catches small problems before they grow. A deep clean each month resets the damage clock. The players who get the most out of their equipment aren't buying better gear — they're just taking care of what they have.
Youth Hockey Equipment: Why Growing Players Need a Different Replacement Timeline
Adult players replace gear when it wears out. Youth players replace gear because they grow out of it. Those are two different clocks — and both are always running.
A shin guard can look fine but leave two inches of knee exposed. That's not protection. It's just gear your kid is still carrying. Studies on ill-fitting gear show a 30% higher injury risk from guards that no longer reach the knee joint. The foam hasn't failed. The fit has.
That's the core difference with youth equipment: growth beats wear almost every time.
Kids aged 8–12 gain 2–4 inches of height per year. Feet can jump 1–2 sizes in a single season. At that pace, 60–70% of youth players need size upgrades each year. Not because their gear broke down — but because they did what kids do and grew.
Two Replacement Triggers, Not One
Run every piece of youth gear through both checks:
Fit check — Does it still cover what it's supposed to cover? Does it shift during movement?
Condition check — Any cracks, compressed foam, or worn straps?
One failure is enough. You don't need both.
Youth-Specific Replacement Timeline
Equipment | Adult Lifespan | Youth Adjustment | Replace When |
|---|---|---|---|
Helmet | 5–6.5 years | 1–2 years or +1–2" head circumference | Loose fit, expired certification |
Skates | 1–3 years | Every season | Cracks, poor edge hold, outgrown boot |
Shin Guards | 3–4 years | 1–2 years | Knee exposure, torn straps |
Gloves/Stick | 6–12 months | 4–8 months | Frayed palms, snapped shaft |
Shoulder/Elbow Pads | 2–3 years | 1–2 years | Gap at joints, restricted movement |
Where to Spend and Where to Save
A full starter kit runs $185–$710 . That's a real number — and the full kit doesn't need to reset every single year.
Always buy new: Helmet and skates. Both are fit-critical and safety-critical. A loose helmet shifts on impact and drops energy absorption by 20–40% . A cracked skate holder creates ankle instability that no sharpening schedule can fix.
Second-hand is fine: Shoulder pads, elbow pads, pants, and gloves — particularly for U7 players whose games are low-contact. Parent Facebook groups and used-gear sales can cut these costs by 40–60% .
Do a full kit reassessment each year. Measure HEAD circumference, chest, waist, calf, and foot size against the gear your child is wearing. Any mismatch over 10%? That piece goes — regardless of condition.
FAQ: Quick Answers to Common Hockey Gear Lifespan Questions
Fast answers. No fluff.
How long does goalie gear last? Chest and leg pads run 4–8 years. Blocker and trapper hold up 3–6 years. Most field players miss this fact — goalie gear sees fewer games, but each hit is harder and more focused. The impact per use is actually higher.
Can you use a helmet past 4 years? Yes — but watch the clock. HECC certification caps out at 6.5 years from manufacture. The material breaks down over time. It doesn't matter if the helmet never took a hit. One major impact? That clock resets to zero.
Is used gear worth buying? Only new-in-box with tags attached. It also needs 3–4 years of certification life left. Skip anything else. Used foam traps bacteria that won't wash out. Past hits leave damage you can't see from the outside.
What's the real cost of skipping maintenance? Air-dry your gear after each session. Tape your sticks on a set schedule. Do both, and you can save $500–$1,000 per year . Skate life stretches from one year to three. Stick life goes from three months to six.
Three replacement signals that apply to all gear types:
- Performance drops and you notice a clear difference in play
- Protective foam compresses and won't bounce back
- The fit no longer covers the joint it's built to protect
Conclusion
Your gear doesn't fail all at once — it fails pad by pad, blade by blade, while you're busy focusing on the game.
Here's the bottom line: safety trumps savings, every time. A cracked helmet or a skate boot that's lost its stiffness isn't just underperforming — it's working against you. That said, you don't need to replace everything the moment it shows a scuff. Use the lifespan benchmarks and the repair-vs-replace checklist in this guide. They help you make decisions that are both smart and safe.
The players who get the most out of their hockey equipment — in their wallet and on the ice — are the ones who inspect on a schedule, keep up with maintenance, and replace gear without hesitation when it counts.Brands offering OEM/ODM hockey equipment solutions often design products specifically to extend service life while maintaining pro-level protection standards.
So do a gear audit this week. Lay everything out. Run through the checklist. You might be surprised what you've been skating past.
Your next great game starts with knowing what's holding you back — and what's still got life left in it.