Most beginners walk into a hockey store feeling confident and overwhelmed at the same time. They're convinced that buying the most expensive gear will make up for never having stopped a puck before. Spoiler: it won't.For youth programs and clubs sourcing in bulk, connecting with reliable odorless ice hockey gear suppliers ensures that players start with clean, safe, and high-quality equipment.
The oversized skates won' t help either. You know the ones — two sizes too big because "he'll grow into them." And that senior-flex stick passed down from a cousin who played college hockey ten years ago? Same story.
The wrong hockey equipment doesn't just waste money — it builds bad habits in your body that take twice as long to fix.
So before you spend a few hundred dollars on gear that ends up hurting you or sitting in the garage, here are the five mistakes almost every beginner makes — and how to dodge each one.
Mistake #1: Buying Hockey Gear That's Too Big "For Growth Room"
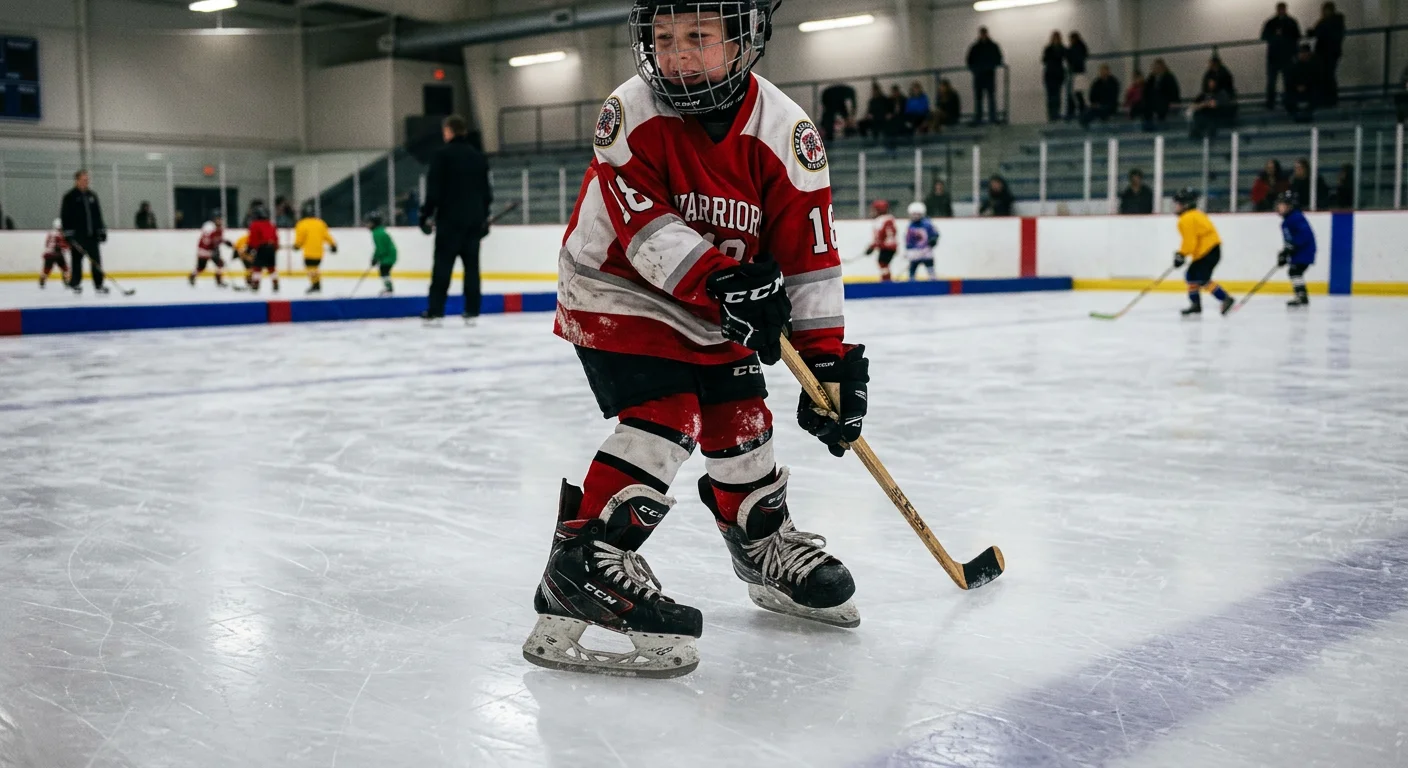
Here's a number worth remembering before you grab that larger size off the shelf: 0.5. Half a size too big is all it takes to wreck a kid's skating mechanics. Not two sizes. Not even one full size. Just half — and you're already seeing ankles roll inward, feet slide forward inside the boot, and a beginner fighting their own gear before they've learned to stop.
And yet. And yet. Every season, well-meaning parents buy skates a full size — sometimes two — larger than their child needs, smile at the cashier, and think: smart . Growth room. Value. Practicality.
It is none of those things.
What Really Happens When Gear Is Too Big
Let's go piece by piece, because this mistake doesn't stop at skates.
Skates (the worst offender):
- Skates even half a size too large cause the foot to slide forward on acceleration. The ankle loses contact with the boot's support zone. Then come the compensations — knees cave in, hips flare out, the whole lower body builds bad muscle memory. That takes years of private coaching to fix.
- Correct fit means toes brush the toe cap while standing, with a 3–4 mm gap once the knee bends. Growth allowance maximum? Half a size. That's the ceiling.
- Quick test: Have your child stand in laced-up skates and take a few short shuffle steps. The tongue shifts back and forth? The skates are too big.
Helmets: - A loose helmet doesn't just look sloppy. In a collision, the shell moves first. Then the HEAD hits the interior shell a second time — a literal double impact inside the helmet. That's how concussion risk rises. Every industry safety test assumes a correctly fitted helmet for a reason. - The front edge should sit 1–2 cm above the eyebrows. Push the helmet forward from the back with the chin strap unclipped. It slides past the eyebrows? It's too large.
Shin Guards:
- Coach Conroy's rule is blunt and worth repeating: "Do not buy shin pads they will grow into." Oversized shin guards press into the boot tongue or ride up over the cuff. That forces kids to skate with bent knees at unnatural angles — think "straight-legged waddling." Worse, the kneecap drifts outside the protective cup during falls. The pad isn't where it needs to be at the exact moment it matters most.
Gloves:
- Oversized gloves stop a child from closing their grip around the stick shaft. So they learn a pushing motion — end-of-arm prodding — instead of a real wrist-driven shot or deke. That habit locks in fast.
The Math Nobody Wants to Do
Parents skip this part because the upfront savings feel real and the future costs feel far away. That's fair. But look at the numbers.
Buying skates one size up to "get two seasons out of them" might save $80–150 per year . Sounds reasonable.
Except:
- Fixing two or three years of bad skating mechanics from ill-fitting gear takes 10–20 private coaching sessions
- Youth skating lessons in North America run $60–120 per hour
- That's a potential $600–2,400 correction bill — all to chase down the $150 you didn't spend
Plus, that math leaves out the emergency visit for a twisted ankle. It leaves out the missed season during recovery. And it leaves out the hardest part — a child who has started to believe they're just bad at hockey , because they've been battling their skates the whole time without knowing it.
The Right Fit, Spelled Out
Gear | Key Fit Rule |
|---|---|
Skates | Max 0.5 size growth allowance; 3–4 mm toe gap |
Helmet | 1–2 cm above eyebrows; zero sliding on head shake |
Shin Guards | Lower edge rests on boot tongue; never more than 1–1.5 cm over |
Gloves | 0.5–1 knuckle of space at fingertip; wrist roll must feel easy |
Pants | Only piece with minor flexibility — but stride must never feel restricted |
Correctly fitted hockey shin guards , hockey gloves , and ice hockey skates aren't a luxury. For organizations outfitting teams efficiently, investing in custom odorless ice hockey gear can reduce fitting errors and minimize post-practice odor issues.For beginner hockey players, correct fit is the foundation everything else builds on. Get it wrong, and no expensive stick or top-tier helmet can make up for the mechanics being slowly broken down underneath.
Mistake #2: Choosing a Hockey Stick That's Too Stiff or Too Advanced
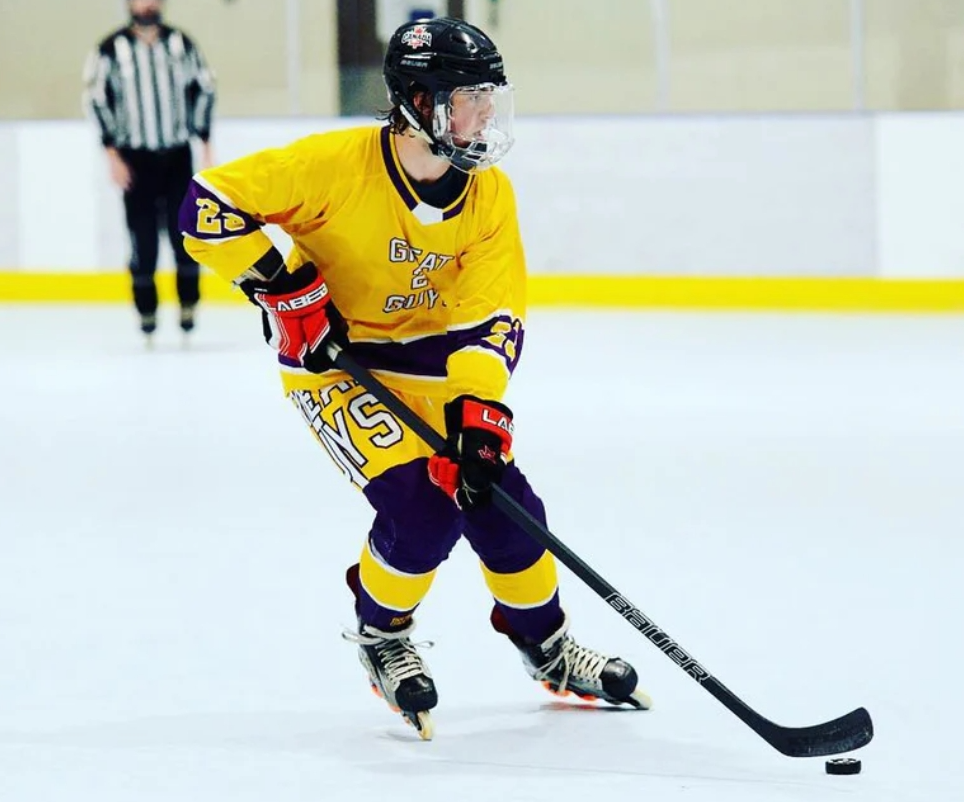
There's a specific kind of confidence that fills hockey pro shops. A 145-pound beginner picks up a 95 flex senior stick, gives it a quick thumb flex test, nods, and says "yeah, this feels right." It does not feel right. It feels like nothing — because that stick is not bending. That's the whole problem.
The Flex Formula Nobody Showed You
Stick flex has a real starting formula:
Recommended flex ≈ your body weight (lb) ÷ 2
So a 150 lb player starts around 75 flex . A 170 lb player, around 85 flex . Simple enough.
Here's where most beginners go wrong. You should go lower than that formula — about 5–15 flex softer — because your technique isn't generating the explosive load a stiffer stick needs to release. Your body mechanics at this stage just can't compress a stiff shaft enough to get any snap out of it. A 130 lb beginner doesn't need a 65 flex stick. They need a 50–60 flex stick. That gap decides whether the puck launches or just slides off the blade.
The Hidden Trap: Cutting Your Stick Makes It Stiffer
This one catches almost everyone.
Every 2 inches you cut off a stick adds +10 to its effective flex.
Cut 4 inches off an 85 flex stick and you're skating with a 105 flex. That's stiffer than what most NHL defensemen use. You're a beginner trying to learn a wrist shot.
The fix feels backwards, but it works: decide your final stick length first, then pick your flex. Trimming more than 3 inches? Drop one full flex category before you buy. So if you planned on an 85 flex, grab a 75 flex instead. The cut will bring it right back up to where you need it.
Signs Your Stick Is Already Too Stiff
Your wrist shots feel like pushing a bowling ball with a broomstick
The puck floats high — the stick is "lobbing" instead of loading and releasing
Receiving passes makes your palms sting because there's zero dampening
Soft touch passes need big, exaggerated arm movements to generate any effect
The Blade Curve Trap
Flex isn't the only advanced-equipment mistake. Beginners also copy the aggressive blade curves their favorite NHL forwards use — wide open-face, extreme toe curves like the P28. Those blade patterns are harder to control at any skill level. The margin for grip error is tiny. Backhand passes get unreliable fast. The puck pops off the ice at angles that make no sense.
Start with a mid-curve, moderately-open blade (think P88-style). It handles forehand, backhand, passing, and receiving with far more room for error. Build the core skills first. The aggressive blade curve will still be there once you're ready for it.
What to Spend
You don't need a $280 pro-grade full-carbon stick to learn hockey. You really don't.
Experience Level | Recommended Stick Type | Price Range |
|---|---|---|
Adult beginner | Fiberglass/carbon composite, correct flex | $60–130 |
Junior/youth beginner | Entry composite, junior flex sizing | $40–90 |
Avoid | Full-carbon "Pro/Elite," ≥85 flex, ≤400g | $220–350+ |
A mid-range composite stick is more forgiving, more durable, and — most important — it bends when you need it to . Clubs often collaborate with OEM/ODM odorless ice hockey gear manufacturers to provide consistent quality for all beginner players.That bend is the whole point. It's where your shot comes from. A beginner running a 100+ flex ultra-light carbon stick is asking the equipment to fight them. And it will.
Mistake #3: Using Ill-Fitted Hockey Skates That Sabotage Your Skating Foundation
Your skating technique isn't broken. Your skates are — or more to the point, they're the wrong size. They've been tearing down every skill you're trying to build.
Here's the sizing fact most beginners miss: hockey skates run 1 to 1.5 sizes smaller than your regular shoes. Some experienced fitters say to start 2 to 2.5 sizes down from your street shoe and work back up. So if you wear a US 9.5 in everyday sneakers, try a US 7.0 hockey skate first — not a 9.5, not an 8.5. A 7.0. That gap sounds absurd at first. But once you see how a skate boot holds a foot, it makes complete sense.
The common mistake? People walk in, give their shoe size, and buy that same size in a skate. The result is a skate at least one full size too large. Everything falls apart from there.
What "Too Big" Does to Your Skating
Loose skates don't just feel uncomfortable. They create a chain of mechanical problems that are hard to trace back to fit — unless you know what to look for.
On acceleration , your foot slides forward inside the boot before force reaches the blade. You lose that explosive first push — the one that matters in every game situation.
In turns , the ankle rolls inward or outward. The boot isn't locking the heel in place. The blade edge stops gripping. Crossovers feel unstable. Edge transitions feel random.
On stops — T-stops, hockey stops — the skate "floats." You feel yourself slowing down, but there's no crisp, controlled stop. The skate drifts instead of responding.
CCM 's official fitting guidance is clear: the heel must be locked with zero sliding. The toe should brush — not jam, not float away from — the toe cap. Go any looser and you give up power transfer, ankle stability, and blister prevention all at once.
Three Tests That Catch Sizing Problems Before You Buy
Skip the guessing. Three simple in-store tests tell you more than any size chart.
Test 1 — The Squat Test (simulates your skating stance)
Lace up the skates, feet shoulder-width apart. Do 3–5 slow squats until your thighs are close to parallel with the floor.
✅ Pass : Your heel stays planted in the heel cup the whole time. No upward sliding. No ankle pressure points.
❌ Fail : Your heel lifts 3–5 mm or more at the bottom of the squat. The boot is too large, or the heel shape doesn't match your foot.
Test 2 — The Forward Lean Test (simulates your skating posture)
Hinge forward from the hips at 20–30°, knees bent — this is your basic hockey stance. Hold it for 10–15 seconds.
✅ Pass : Standing straight, your toes brush the toe cap. Leaning forward, they pull back and stop pressing. Your ankle feels supported , not clamped or loose.
❌ Fail : Your toes still press hard into the toe cap while leaning forward — skate is too short. Or your whole foot slides forward inside the boot while leaning — skate is too long, heel unlocked.
Test 3 — The Lateral Step Test (simulates edge transitions)
Take 6–10 slow side-steps left and right on the floor.
✅ Pass : Your foot and boot move as one unit. No lateral sliding inside. No pinching on the pinky toe.
❌ Fail : Your foot shifts inside the boot during side-to-side movement. That's the same thing that happens mid-turn on ice — and it's why your edges feel unpredictable.
The Finger Test: One Quick Heel-Lock Check
Once laced up and in your hockey stance, slide a finger between your heel and the back of the boot interior.
Adults : Aim for close to zero space — one finger width at most. More than one finger? The skate is too long, or the heel shape doesn't suit your foot.
Kids : Up to one finger of space works for growth room, but that's the hard ceiling — not a starting point.
One More Variable Beginners Never Think About: Skate Sharpening
The size fits. The heel is locked. You get on the ice — and it still feels wrong. Before blaming your technique, check your ROH (Radius of Hollow) . That's the depth of the groove cut into your blade.
The standard range runs from 3/8" (very deep, very aggressive bite) to 1" (shallow, glide-focused). Most beginners get whatever the shop defaults to — and that default is often too aggressive.
For adult beginners, the recommended starting point is 5/8" or 3/4" ROH.
5/8" : Good balance of edge grip and glide. Works well for most adults between 60–90 kg.
3/4" : Shallower, less resistance, easier to get rolling. Better for lighter beginners or anyone whose edges keep catching too hard.
Too deep a hollow (3/8", 1/2") makes the blade grab ice on even a small ankle tilt. For a beginner still working out weight distribution, that means surprise trips and falls. They feel like bad luck. They're a sharpening problem. Too shallow (7/8", 1") and you can't get reliable grip for stops or starts — the ice just doesn't respond.
Get your skates sharpened? Say the number out loud. Don't assume they know. Also, get re-sharpened every 10–15 hours of ice time. Inconsistent edges quietly stall skill development — and there's no obvious reason you can point to.
A well-fitted pair of hockey skates is the direct connection between your body and the ice. Some programs purchase in bulk at wholesale price odorless ice hockey gear to outfit multiple players while keeping costs manageable.Every edge, every push, every stop runs through that fit. Get it right, and your beginner hockey player development has a real base to build on. Get it wrong, and you'll spend months blaming your feet, your balance, or your coordination — for a problem that started at the skate store.
Mistake #4: Skipping or Underestimating Essential Protective Hockey Gear
Let's talk about the part where people get hurt. Literally.
USA Hockey data shows that fitted, certified gear is one of the main reasons youth hockey's severe-injury rate stays so low — around 0.1–0.6 injuries per 1,000 player-hours . That number exists because of the equipment . Take the equipment away, and you're just a person sliding around on ice blades near other people sliding around on ice blades. Say that out loud. It sounds completely unhinged.
And yet. Beginners skip gear all the time.
The Pieces Most Beginners Leave in the Store
Shin guards are the most common skip. Emergency-department studies show 15–20% of ice hockey injuries hit the lower extremities — shins, knees — and weak padding is a common factor. An amateur slap shot travels 70–90 mph . Your shin bone has no opinion about that puck. It will fracture. A well-sized shin guard runs from the center of your kneecap to the top of your skate boot — 13–16 inches for most adult beginners — and overlaps your hockey pants by 2–3 cm at the top. No gap. Non-negotiable.
Neck guards get skipped because they feel hot and a bit medieval. Fair — they are a bit medieval. They're also lined with cut-resistant aramid fibers — the same material family as Kevlar — built for the moment a skate blade finds your neck during a pile-up. Many youth leagues now require them. Wear one anyway.
Athletic cups (Jock/Jill) often get swapped for regular compression shorts by people who have never seen what a hockey puck does at speed. Hockey-specific cups use a hard polyethylene shell rated for puck and stick impact. Regular compression shorts are rated for nothing except jogging and wishful thinking.
Mouthguards get worn for games and left behind at practices — where plenty of stick-and-puck incidents happen. A boil-and-bite mouthguard covering your upper teeth costs under $20. A chipped tooth costs far more. An avulsed tooth costs even more than that, plus the ongoing discomfort of smiling at your own reflection for a while.
Ice Hockey Gear ≠ Inline Hockey Gear
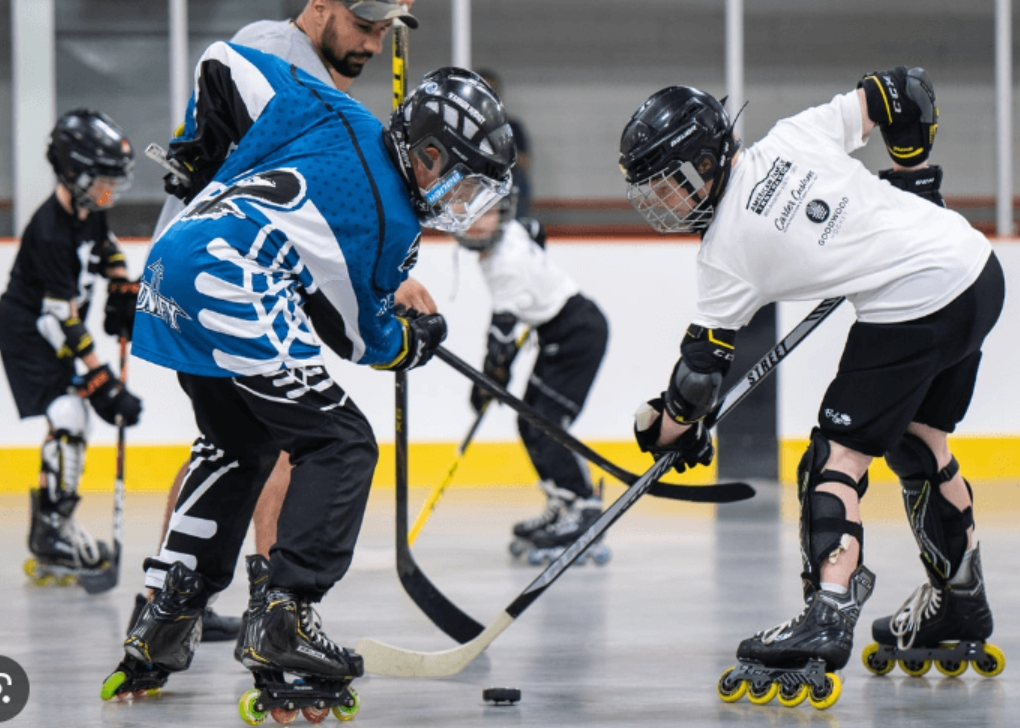
One specific trap worth naming: coming from inline hockey doesn't mean your existing gear is enough for ice.
Gear Item | Inline Hockey | Ice Hockey Need |
|---|---|---|
Shin guards | Slimmer, less calf coverage | Full shell + integrated knee cap |
Pants | Light shell over girdle | Heavy hip, tailbone, kidney padding |
Shoulder pads | Often minimal or skipped | Full chest, spine, clavicle coverage |
Helmet | Sometimes lighter multi-sport | CSA/HECC certified, mandatory |
Ice means harder pucks, faster collisions, and board impacts that inline rinks don't come close to matching. Light inline pants on ice means a much higher chance of your tailbone meeting the ice hard — and neither of you will enjoy it.
Certified ice hockey protective gear isn't overkill. It's what keeps a beginner on the ice — instead of in an urgent care waiting room, filling out paperwork and rethinking life choices.
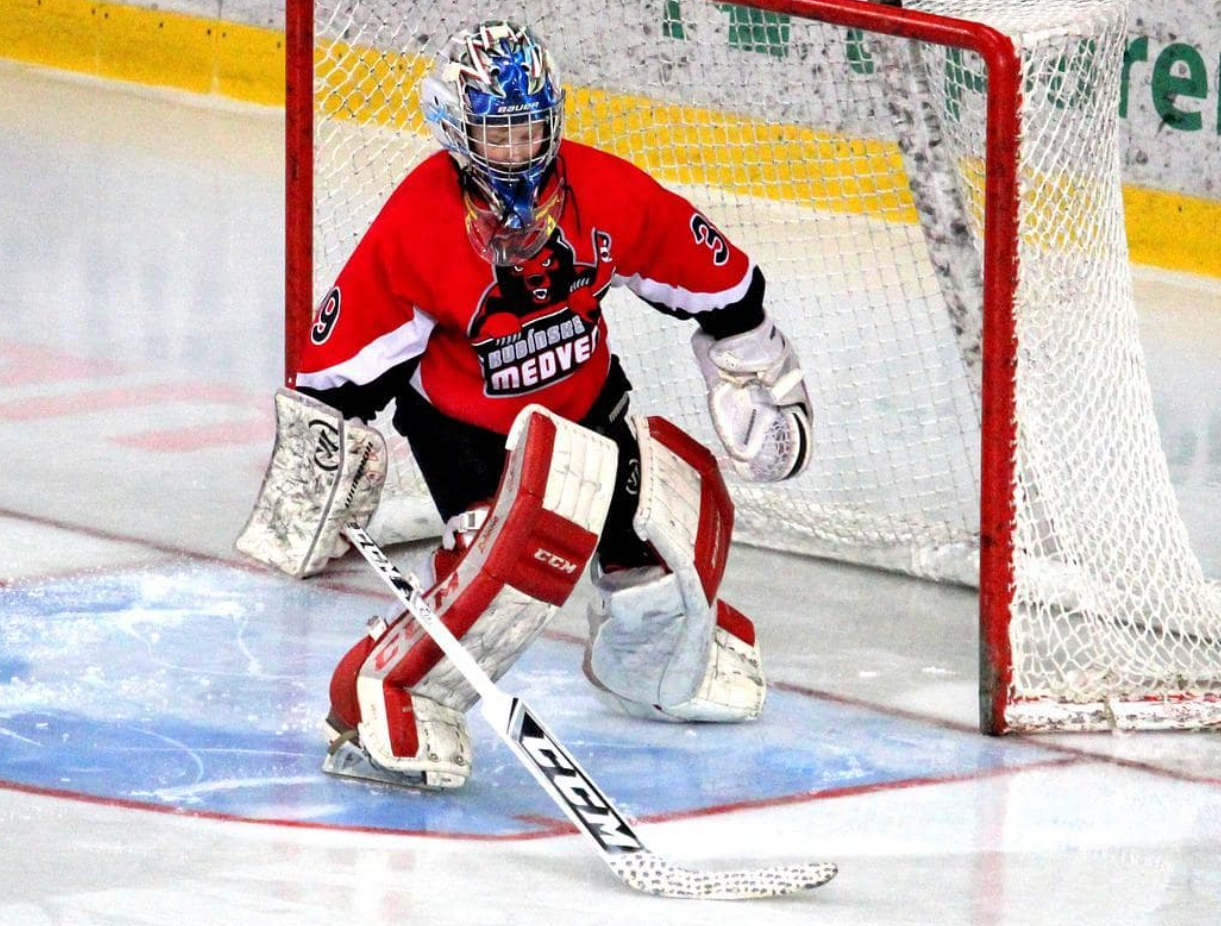
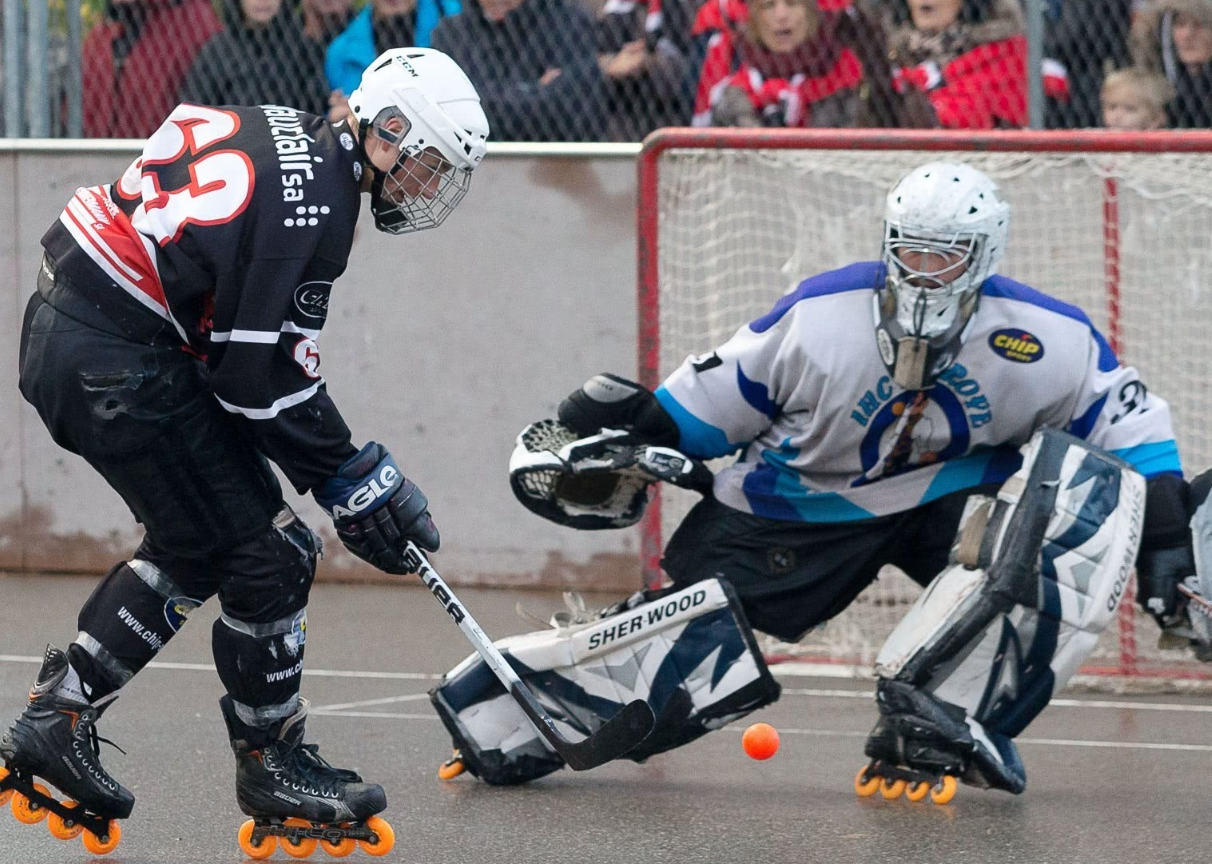
Mistake #5: Missizing Goalie Equipment and Destroying Butterfly Technique Before It Starts
Goalie gear is its own expensive mistake category. The wrong size doesn't just feel uncomfortable. It changes how a beginner learns to stop pucks at a fundamental level.
The butterfly technique — dropping both knees to seal the ice at the same time — needs gear that moves with you . Oversized leg pads break that before practice ends.
How Oversized Leg Pads Dismantle the Butterfly
Here's the mechanical reality: modern junior pads weigh 3.0–3.5 kg per pair . Intermediate pads run 3.5–4.0 kg . That extra 0.5 kg on a smaller goalie slows hip and knee flexion by 0.1–0.2 seconds in butterfly timing drills. That doesn't sound like much. It is everything.
Pads that are 1–2 inches too tall push the knee stack below the joint instead of under it. The goalie lands on bare ice instead of the padded knee block. So they hesitate. One pad drops, the other lags. The drop turns uneven — one knee first, then the other — instead of one clean explosive movement.
The 5-hole problem comes straight from that. In a correct butterfly, the thigh rises meet at the midline and seal the gap. Oversized pads push those thigh rises too high on the leg. The seal forms above the knee centerline. That leaves 1–3 cm of open ice at the bottom — a gap that shows up most in youth and narrow-hip goalies.
The correct benchmark : the knee must land dead center on the knee block, every single rep.
The Catcher Glove Problem Nobody Mentions
Jeff Hall of Stauber's Goalcrease says it straight: the catching hand runs on small forearm muscles. Give a young goalie a glove that's too large and heavy, and the forearm can't hold it steady. The shoulder takes over instead.
In butterfly position, that means the glove hand droops toward the hip instead of staying up and out in front of the torso. The goalie swings with the whole arm — 0.05–0.15 seconds slower than a proper wrist-driven reaction. High glove coverage disappears.
Quick test : Can the goalie close the glove 20–30 times in a row without forearm fatigue? In butterfly, do the fingers sit 8–12 inches in front of the torso , just above knee height? Glove droops below the knee or swings wide? It's too big.
The Stick Paddle Trap
Most beginners size their goalie stick standing upright in the store. That's wrong. The stick's job is sealing the 5-hole in butterfly — not in stance.
A paddle that's too tall forces the blocker elbow up and outward in butterfly. That creates a vertical gap between the pads and the stick blade. The chest pulls backward. The seal breaks. The drop gets delayed because the goalie has to re-plant the stick before going down.
The one test that matters : Drop to butterfly in full gear. The blade should lie flat between the pads. The blocker elbow should sit at 100–120 degrees . Blade tip lifts off the ice or the blocker shoulder rises? The paddle is 0.5–1.5 inches too tall . Adjust down in 0.5-inch steps until it stays flat.
The Full Missizing Pattern
These mistakes show up together almost every time:
1.Oversized leg pads → slow, uneven drop + open 5-hole
2.Oversized catcher glove → shoulder-driven arm swing + sagging glove hand
3.Over-tall stick paddle → broken 5-hole seal + chest pulled back in butterfly
4.Missing knee guards or wrong jock → goalie hesitates to drop all the way, reaches instead of blocks
Fit-to-Movement: The One Rule That Works
For youth goalies (ages 8–14) , coaches say size for today's knee alignment — not for a two-year growth window. Plan to refit every 1–2 seasons . Buying 1–2 inches too tall to "get more time out of the gear" means the butterfly drop stays slow, uneven, and inconsistent for that entire period. You're not saving money. You're costing the goalie a full development season.
Adult beginners have a bit more room — a +0.5 inch thigh rise overshoot works if the knee still lands square on the block and repeated butterflies cause no hip or knee discomfort. Go beyond that, and the same mechanical problems kick in.
Run this quick check in full gear before committing to any hockey pads fitting :
Drop 10–20 butterflies at moderate speed
Both knees hit at the same time? ✅ One lags? ❌ Pads are off
Thigh rises meet at center without pinching knees inward? ✅ Gap visible from front? ❌ Height or strapping is wrong
Glove stays up and forward through the drop? ✅ Drifts toward the hip? ❌ Glove is too large
Stick blade flat between pads? ✅ Blade tip lifts or blocker shoulder rises? ❌ Paddle too tall
Well-fitted goalie equipment doesn't just prevent injury. It's the physical foundation the butterfly technique stands on. Get the sizing wrong, and a beginner goalie spends a full developmental season fighting their own gear. They can't focus on reading shooters, sealing the ice, or making stoppable saves. The technique isn't failing. The equipment is.
The Right Way to Buy Beginner Hockey Equipment: A Fit-First Framework
Five mistakes. Five gear disasters waiting to happen. You're still standing in the parking lot of hockey equipment decisions, wondering if there's a system that works. There is. Three steps. The most important one costs you nothing — just the willingness to put something back on the shelf.
Fit → Safety → Skill Match. In that order. Always.
Step 1: Fit First — One Bad Fit, Full Stop
Here's the rule that overrides everything else: bad fit means put it back. It doesn't matter how cheap it is, how professional it looks, or how hard the salesperson nods. No fit, no deal.
For each piece of hockey protective gear , fit means something specific:
1.Hockey skates : Your bare foot needs no more than 0.3–0.5 cm of room inside the boot. More than 0.8 cm? Too big. Your heel should not lift at all once laced up. Try heat molding — one session improves fit by 10–20% and cuts down the break-in blisters that push beginners to quit early.
2.Hockey helmets : The front edge sits about one finger-width (1–1.5 cm) above your eyebrows. Shake your head. The helmet should not slide more than half a centimeter in any direction. Go for adjustable shell models with multi-point sizing. A mid-range helmet that fits well beats an expensive one that wobbles every hit.
3.Hockey gloves selection : Measure wrist to middle fingertip in centimeters, then divide by 2.54. That's your glove size in inches. Grip your stick — fingertips should sit 0.5–1 cm from the glove's end. Bend forward and touch your knee. The wrist cuff should not expose your wrist bone.
4.Hockey shin guards sizing : Stand in your skates. The bottom edge should land 1–2 eyelets above the skate tongue. Too short leaves your shin open. Too long jams into the skate cuff and forces bad knee angles.
Step 2: Safety — Meet the Standard, Then Stop
Fit confirmed? Now hockey helmet safety standards become your next filter. In North America, check the label for HECC or CSA certification. No certification? Hard no. Expired certification? Also a hard no — helmets have use-by dates, and those dates exist for a reason.
After certification, run the full movement check. Put everything on. Run through five motions: deep squat, crossover step, 90-degree pivot, shooting motion, and a controlled fall-and-roll. Check every seam where two pieces of gear meet. Your knees, elbows, and tailbone should stay covered at every angle. Target 1–3 cm of overlap between adjacent pads.
Good news: for most beginner leagues, mid-range hockey pads that fit well are enough. You don't need professional-grade materials for recreational hockey.
Step 3: Skill Match — Budget Within Your Reality
Inline hockey gear for beginners and ice hockey gear offer different protection levels. Inside ice hockey, gear splits into three tiers: Recreational, Competitive, and Performance. For a beginner hockey player skating once or twice a week, Competitive mid-range is the right call. Better than entry-grade, but still forgiving enough for someone still figuring out their edges.
Don't buy the cheapest skates or stick. Entry-level skates lack the ankle support new players need most. Too soft means ankles roll inward — same mechanical problem as skates that are too large. Skip the Elite tier. Stiffer, lighter, and less forgiving is the wrong mix for someone still learning how to stop.
Buying Online? Measure First, Order Second
About 30–40% of online skate orders come back the wrong size. That happens when people guess from shoe size. Don't guess. Measure:
Stand with your heel against a wall on a flat piece of paper
Mark the tip of your longest toe; measure wall to mark in centimeters
Check that number against the brand's own size chart — not a generic conversion
For junior hockey equipment , youth sizing allows up to 0.5–0.7 cm of growth room — but only if heel lock stays solid. Before you click purchase, confirm the retailer offers a 30-day indoor-try return policy. This matters most for skates, since heat molding voids most returns.
Beginner Hockey Gear Checklist: Everything You Need (Nothing You Don't)
Nobody hands you a list. That's the whole problem. You show up to buy hockey gear. Suddenly, nine thousand pieces of equipment surround you, plus a very enthusiastic salesperson. You walk out either way over budget or missing three things that get you kicked off the ice. Both happen all the time.
Here's the actual list — split by what you need now versus what can wait.
Skaters (Forwards & Defensemen): The Must-Haves
Every item below is either league-required or injury-preventing. Skip one and you'll regret it fast.
Gear | Why It's Non-Negotiable | Budget (New) |
|---|---|---|
Skates | The whole sport runs through these | $80–200 |
Helmet + full cage | Most amateur leagues require full cage, not just a visor | $80–160 |
Shoulder pads | Chest, clavicle, upper back coverage | $50–120 |
Elbow pads | Boards are unforgiving | $30–80 |
Hockey shin guards | Knee and lower leg protection | $40–100 |
Hockey pants | Hip, thigh, tailbone | $50–120 |
Jock/Jill + cup | Mandatory. Just mandatory. | $20–40 |
Neck guard | Required in most youth leagues | $15–30 |
Hockey gloves | Hand protection plus wrist mobility | $50–120 |
Stick | Mid-range composite — not the $300 carbon one | $30–100 |
Hockey socks (2–3 pairs) | Worn over shin guards; leagues often require matching colors | $20–60 |
Practice jersey | Clubs provide game jerseys | $15–40 |
Total new-gear budget: around $530–620. Go for quality used skates, pants, gloves, and shoulder pads instead. That drops the total to $300–450 — which is what most first-season beginners end up spending.
The Optional-But-Nice Column
These improve comfort. None are required for your first ice time:
Base layer top and leggings — moisture-wicking, anti-chafe ($20–60/set)
Mouthguard — boil-and-bite costs $10–30; a chipped tooth costs far more
Suspenders — keeps hockey pants from sliding mid-stride ($10–20)
Garter belt or velcro shorts — holds your hockey socks in place ($10–30)
Helmet fix-it kit — spare screws, a few washers ($5–15)
Goalies: A Different Budget Conversation
Goalie gear is a separate financial commitment. First-time goalies in full new equipment spend $1,150–2,590 — leg pads alone run $250–600. The good news: most recreational rinks and youth clubs offer shared goalie equipment. Use it while starting out. That's what it's there for.
Print this list. Check every box before you buy. Anything not on it can wait until season two.
Conclusion
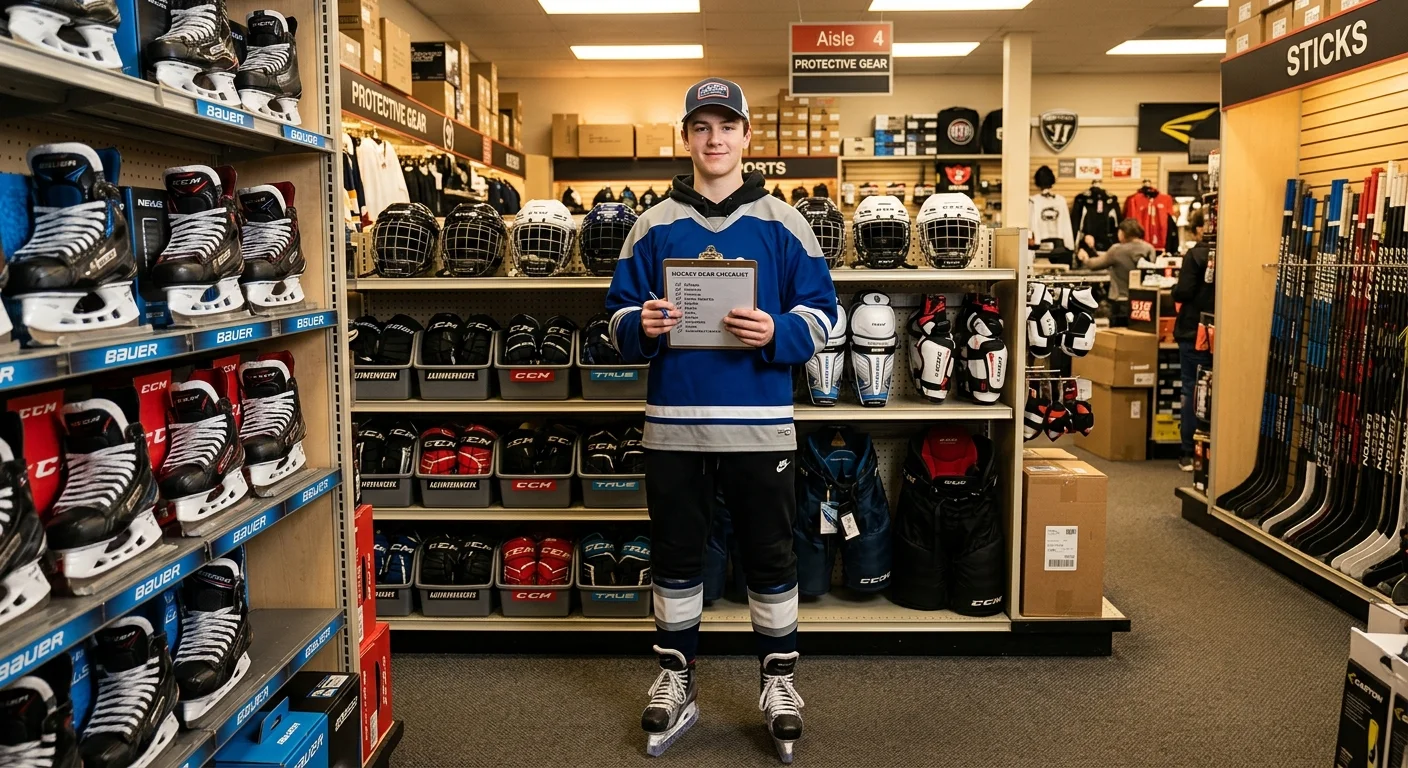
Here's what nobody tells you in the hockey aisle: the gear doesn't make the player — but bad-fitting gear breaks one .
Every mistake we covered traces back to the same stubborn instinct: buying bigger, stiffer, or cheaper because it feels like smart shopping. It isn't. Ill-fitted skates damage your stride before it even forms. A stick that's too stiff turns good intentions into bad habits. Protective gear that doesn't fit isn't protection. It's false confidence — with shin-shaped bruises waiting to happen.
You don't need the most expensive setup on the ice. You need the right setup for where you are right now .
So revisit the fit-first framework before you click "add to cart." Then browse berunclothes.com for beginner hockey equipment sized for real humans learning a real sport.Many teams prefer sourcing from odorless ice hockey gear manufacturers to guarantee quality, durability, and player satisfaction.
Your future self (and your shins) will thank you.