Table of Contents
That oversized shirt in your closet doesn't have to stay that way. Maybe you grabbed the wrong size online. Or someone gave you a gift that's too roomy. Your favorite tee might have stretched out over time. You can take control and shrink it down to a better fit—once you know what to do.
Different fabrics respond to heat and water in different ways.The methods you'll learn here are rooted in manufacturer techniques for dealing with oversized shirts, where fabric behavior, heat response, and shrinkage limits are evaluated long before garments reach consumer. Pure cotton? It'll shrink well with the right method. Polyester blend? You need a totally different approach. Get it wrong, and you risk ruining your shirt. Warped seams and uneven shrinkage turn a slightly-too-big shirt into an unwearable mess.
This guide breaks down proven methods for shrinking cotton, polyester, and blended fabric shirts. Each material has unique properties. You'll get step-by-step instructions for all of them. You'll learn how hot your water should be. You'll know how long to run the dryer. Plus, you'll see which fabrics give you the results you want and which ones won't budge much.
How to Shrink 100% Cotton Shirts: Maximum Shrinkage Method
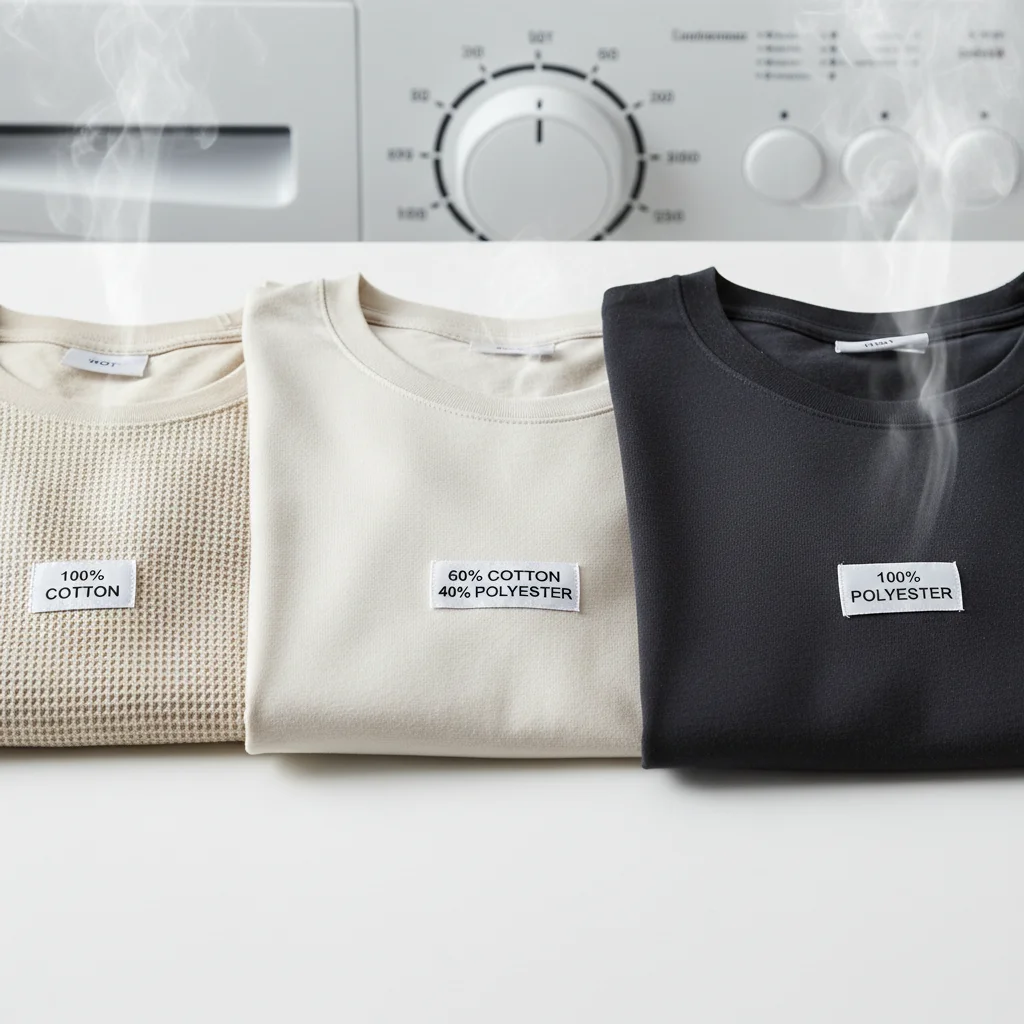
Pure cotton fabric reacts strongly to heat and moisture. The natural fibers in 100% cotton shirts tighten and pull together. Hot water and high dryer temperatures make this happen. Cotton is the easiest material to shrink on purpose.
You can expect good results. Most 100% cotton shirts shrink during standard washing. Push the process with maximum heat and you'll see significant size reduction:
A large shirt can lose 1-2 inches in both length and width. That's enough to drop a full size.
The Hot Water Wash Method
Set your washing machine to its hottest setting:
Turn your shirt inside out before washing. This protects any graphics, prints, or surface treatments from direct heat damage. Select the most intense spin cycle available. The strong spinning action helps fibers pull together faster.
Start the wash. The hot water soaks into the cotton fibers. It breaks down their structure. They become soft and ready to shrink.
The High-Heat Drying Phase
Transfer your wet shirt right away to the dryer. Set it to the highest heat setting. Run a full drying cycle without stopping.
High heat does the real work here. Temperature and tumbling action force those soft fibers to contract. They stay that way. The tumbling speeds up the process beyond what air-drying could do.
Check your shirt once the cycle ends. Need more shrinkage? Run it through again. Each extra cycle tightens the fabric more—but watch it. Over-shrinking creates a shirt that's too small. It might also warp.
The Boiling Water Method (Advanced)
This strong technique delivers maximum shrinkage fast. Fill a large pot with water and bring it to a rolling boil. Put your cotton shirt in. Make sure it's covered. Let it cook for 5-10 minutes .
Use tongs to remove the shirt—it'll be very hot. Transfer it right to your dryer on high heat. Run a full cycle.
What Affects Your Results
Not all 100% cotton shrinks the same way. Pre-shrunk or sanforized cotton fights shrinkage. Sports sweatshirt manufacturer already treated it. You'll get small results no matter how hot your water.
Raw, untreated cotton gives you the best shrinkage. Check your shirt's label. "Sanforized" or "pre-shrunk" means limited potential.
Fabric weave matters too. Dense cotton dress shirts shrink less than loose jersey tees. Higher-quality long-staple cotton holds its structure better. It shrinks less than standard cotton.
Plan for one or two wash-dry cycles maximum. Go beyond that? You risk permanent damage. Uneven shrinkage makes sleeves different lengths. It twists the torso section in odd ways.
How to Shrink Cotton-Polyester Blends: Fabric-Specific Techniques
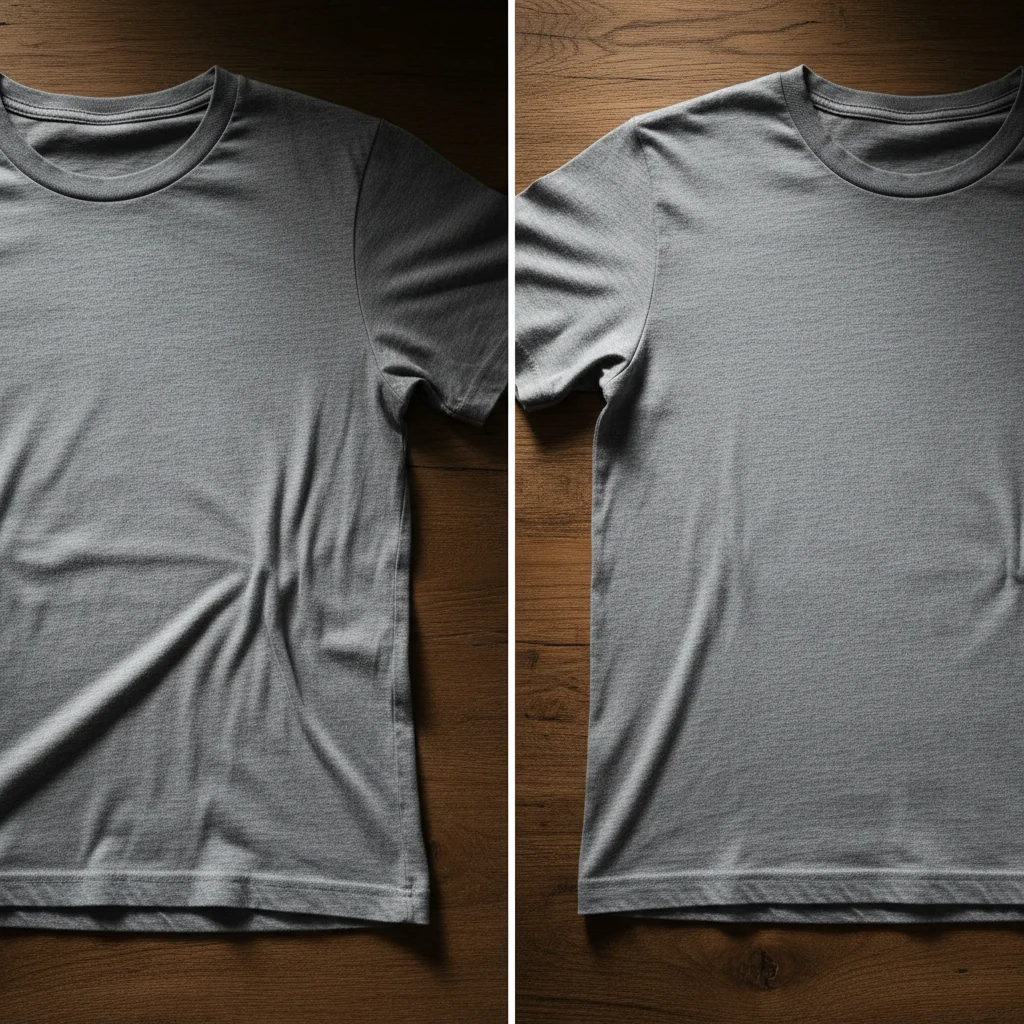
Blended fabrics fight back. Cotton-polyester shirts resist shrinkage. Polyester fibers don't respond to heat like cotton does:
That's far less than pure cotton's potential.
Here's why: cotton fibers loosen, swell, and absorb water under heat. They tighten up during drying. Polyester stays stubborn. Its synthetic structure takes much longer to react to heat. It needs long exposure to high temperatures before anything happens. Mix them together and you get a tug-of-war between two different fiber behaviors.
The Modified Hot Water Approach
Grab a 5-gallon basin. Fill it halfway with warm water—not scalding, just warm to touch. Submerge your shirt. Hold it down until it gets heavy enough to stay under on its own.
Let it soak for at least 15 minutes . This gives both fiber types time to absorb moisture. Cotton reacts fast. Polyester takes longer. Check the water temperature during the soak. Has it dropped to cold? Add more warm water.
Drain the basin after the soak. Lay your shirt flat on a bath towel. Roll them together from one end. Press down hard on the rolled towel. You're squeezing out excess water—this helps create even shrinkage later.
The Monitored Drying Strategy
Move your shirt to the dryer right away. Here's where blends get tricky. Use your high heat setting if your blend is cotton-dominant. Got more polyester content? Drop to a cool, gentle setting instead.
Set a timer. Pull your shirt out every 5 minutes to check progress. This step is critical. Cotton fibers finish shrinking fast. Polyester takes more time. You need to catch the moment both components reach your target size together.
Keep checking until the shirt is dry. Yank it out the second the cycle stops. Leaving it in there creates wrinkles that heat sets for good.
Managing Your Expectations
Pre-shrunk blends don't budge much. Check your label before starting. "Pre-shrunk" or "Sanforized" means cotton-poly blend sweatshirts manufacturers already treated the cotton portion. You won't get much movement no matter what you do.
Non-pre-shrunk blends give you better odds—but still limited. That first wash on a new shirt produces the most visible change. After that? You've maxed out what the fabric will give you.
Watch for uneven results. Cotton sections might shrink while polyester areas stay put. This creates odd puckering around seams or twisted hemlines. Stop the process if you see this starting to happen.
How to Shrink Polyester and Synthetic Fabric Shirts: Managing Expectations
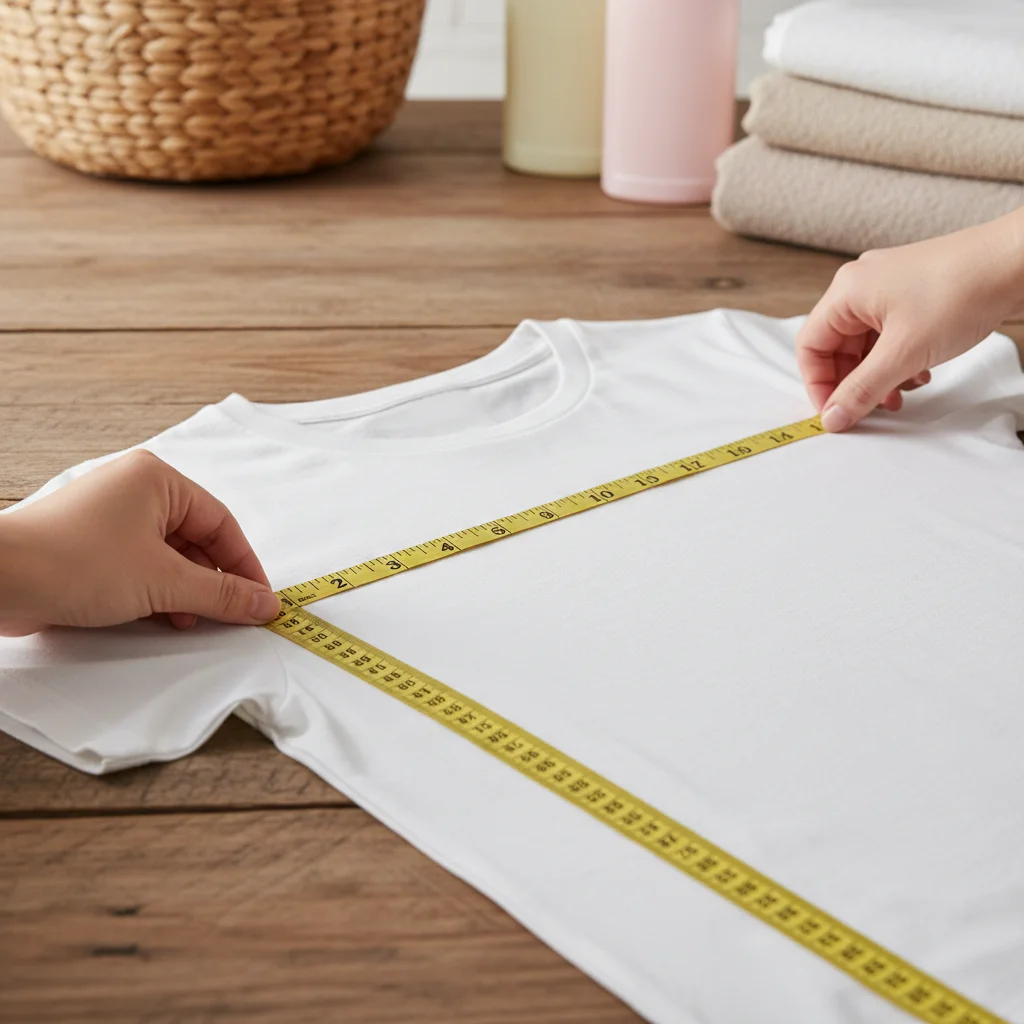
Polyester won't play along. Skip the complex washing rituals and high-heat treatments. They don't work on synthetic fibers like they do on cotton.
You can boil it, blast it with heat, run it through twenty cycles. The result stays the same: a shirt that's still too big.
The science is simple. Polyester and other synthetic fibers don't absorb much water. Cotton soaks up moisture, swells, then contracts when it dries. That's where shrinkage happens. Polyester doesn't absorb enough moisture to trigger this process. The structure stays locked in place.
For polyester and synthetic fabric shirts suppliers, this stability is intentional—these materials are selected and processed to maintain fit consistency across production, not to allow post-wash shrinkage.
Nylon behaves the same way. Less than 1% shrinkage, no matter what you try. Other synthetic fibers might give you 4%-8% movement —still minimal. Chemical synthetic fabrics? They won't budge at all.
Why Standard Methods Fail
Temperature doesn't matter much here. Hot water, cold water, medium water—polyester doesn't care. The fibers stay stable through all of it. Yarn density won't help. Weaving tension won't help. Dyeing processes won't help either. These factors influence natural fibers. Synthetics ignore them.
You might have a cotton-polyester blend instead. Check your label. These blends show 3.5%-5.5% shrinkage at best. The cotton portion responds to heat. The polyester portion holds firm. You get uneven results. That 5% shrinkage might hit the sleeves but skip the torso. Or vice versa.
The Real Solution
Accept the limitation. Polyester shirts that are too big need tailoring, not washing tricks. Take it to a tailor for proper alterations. Or donate it and buy the right size. Trying to force shrinkage wastes your time. Plus, excess heat can damage the fabric.
Need a shirt you can shrink? Choose 100% cotton next time. It delivers 4%-10% shrinkage every time. That's the real difference between natural and synthetic fibers. Polyester just won't work for DIY sizing fixes.
Step-by-Step Shrinking Process: Complete Visual Guide
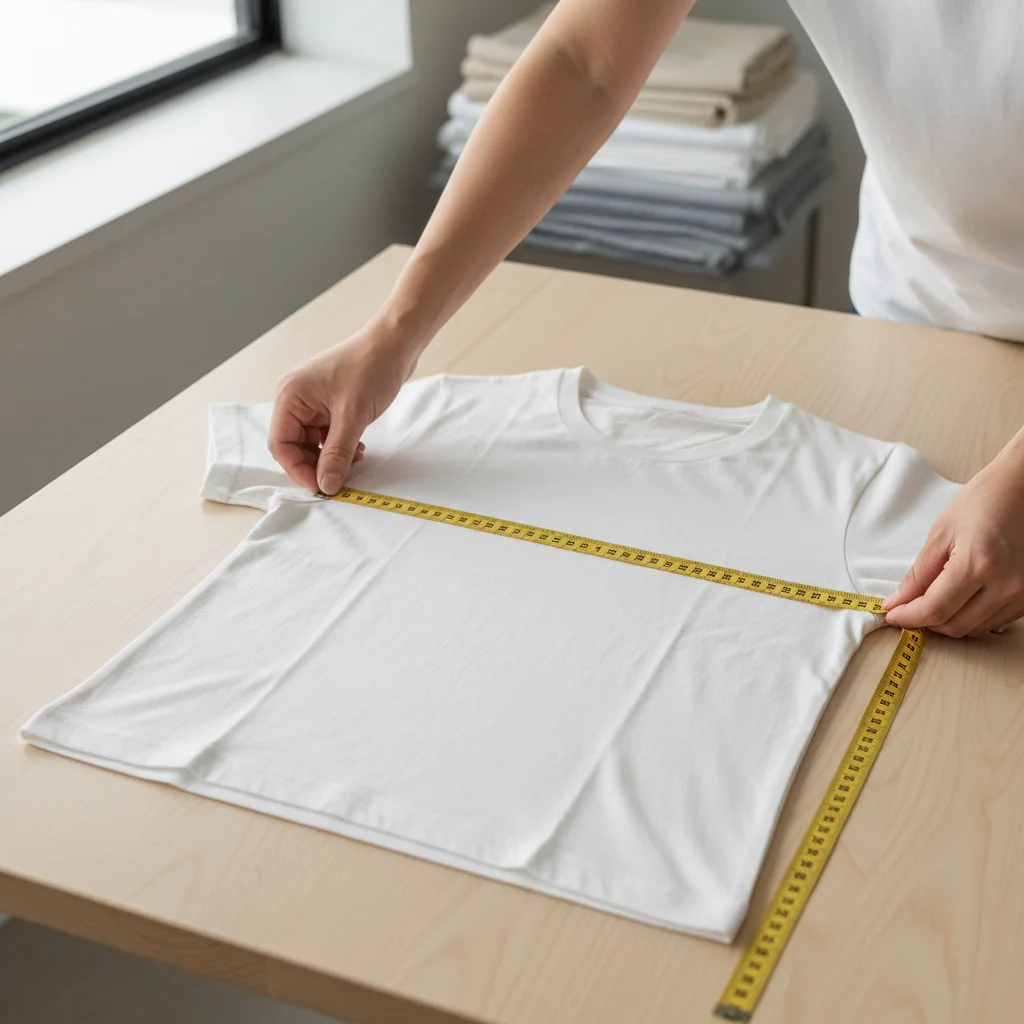
Shrinking your shirt right needs careful attention at every stage. People fail because they skip a key checkpoint or miss a temperature change. This guide shows you the process with clear markers. You'll know exactly when to stop, adjust, or keep going.This step-by-step control process closely reflects the fabric testing and pre-treatment procedures used by professional sportswear manufacturers and shirt factories to manage shrinkage consistency before mass production.
Pre-Shrinking Preparation Checklist
Empty all pockets. Remove detachable parts—collar stays, metal buttons, decorative pins. These parts heat at different rates and create warped spots.
Check your care label again. Look at the fabric makeup. 50% cotton or higher works with heat methods. Below 50% cotton needs the modified approach we covered earlier.
Measure your shirt before starting. Lay it flat on a hard surface. Record the shoulder-to-shoulder width across the back. Measure collar to hem length down the center. Write these numbers down. You'll compare them after each cycle to track progress.
Turn your shirt inside out now—not later. This protects printed designs, embroidery, and surface finishes from direct heat. One wash with graphics facing out can crack or fade them for good.
The Controlled Washing Phase
Fill your machine with the hottest water available. Wait for the tub to fill before adding your shirt. Drop the shirt in. Watch it sink and absorb water—this takes about 30 seconds for cotton, longer for blends.
Set your cycle to maximum agitation and longest duration . Standard cycles don't provide enough action. The tumbling motion works with heat to compress fibers. Short cycles waste shrinkage potential.
Start the wash. Don't walk away yet. Listen for the agitation to begin. Check through the lid or door window at the 5-minute mark. Your shirt should be moving around in hot water, not bunched against one side.
Drying Checkpoints
Transfer your wet shirt to the dryer right after the wash ends. Wait even 10 minutes and the fibers relax. This cuts your shrinkage potential. Speed matters here.
Set your dryer to high heat . Add a dry towel to the load—it soaks up extra moisture and speeds things up. Start the cycle.
Visual monitoring becomes key here. Stop the dryer at 10-minute intervals . Pull your shirt out each time. Lay it flat. Measure the same points you recorded earlier. Compare the numbers.
The Measurement Protocol
Visual Quality Inspection
Pull your shirt out once it hits your target size. Check it right away under good lighting. Look at these specific areas:
The Cool-Down Phase
Never fold or hang your shirt while it's still hot. Heat-set wrinkles become permanent creases. Lay it flat on a clean surface for 15-20 minutes . Let it return to room temperature on its own.
Once cool, try it on. Move your arms through full range of motion. Sit down, stand up, reach overhead. The fit should feel snug but not tight. Fabric pulling across shoulders or bunching at the waist means you've shrunk it too far—there's no reliable way to reverse this.
Store your newly-sized shirt right away. Hanging works best to prevent wrinkles. Future washes should use warm or cold water only and medium dryer heat to keep your achieved size without more shrinkage.
Critical Factors That Affect Shrinkage Results
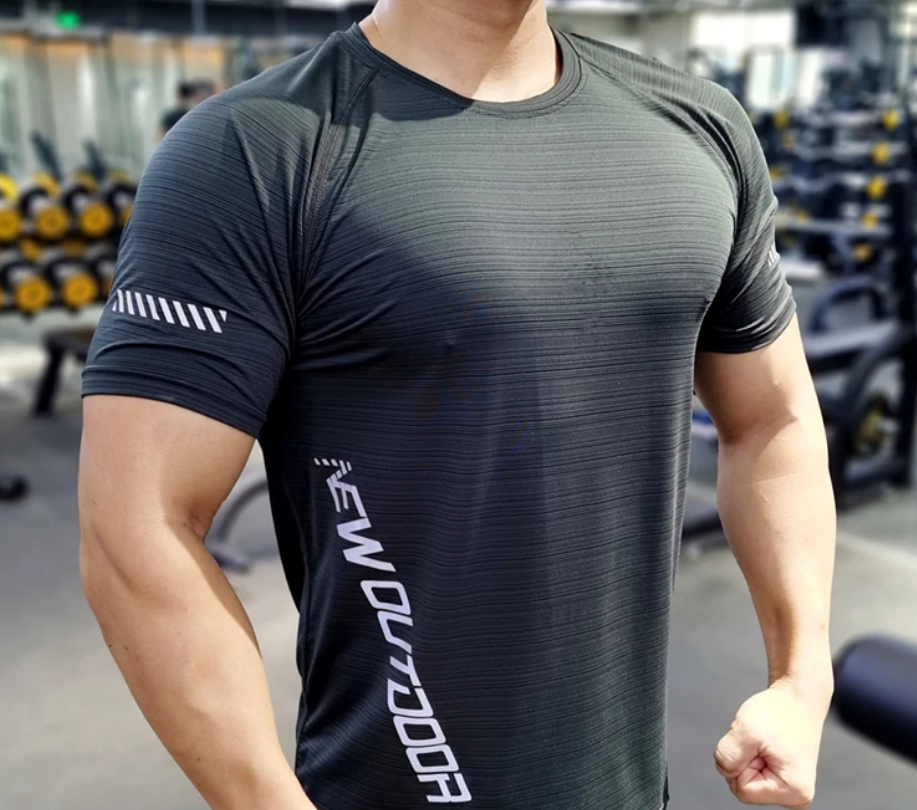
Fabric composition controls everything. The mix of natural and synthetic fibers in your shirt sets a firm limit on shrinkage. Hotter water or longer dryer cycles won't change the chemistry.
Fiber Content Ratios
That cotton dress shirt you bought? Check the label. "Pre-shrunk" or "sanforized" means cotton sports sweatshirts manufacturers already forced the fibers to contract during production. You're working with 2-5% shrinkage maximum. Nothing you do will change that.
Raw, untreated cotton gives you the full range. Each wash cycle pulls those natural fibers tighter. The first hot wash produces the biggest change—5-8% size reduction in a single cycle.
The polyester fibers act like anchors. They don't absorb water. They don't contract under heat. Cotton fibers try to shrink. Polyester holds position. The result? You get uneven shrinkage. Twisted seams. Warped hemlines.
Fabric Weight and Weave Density
Lightweight jersey tees (4-5 oz per square yard) shrink faster and more than heavyweight oxford shirts (6-7 oz). Loose weaves give fibers room to compress. Tight weaves resist change. The threads already sit packed together.
Check your shirt's fabric density by holding it up to light. See gaps between threads? High shrinkage potential. Dense, opaque fabric with a hard-to-see weave? Limited movement available.
Previous Wash History
Brand new shirts shrink most on the first hot wash. Already washed your shirt three times in cold water? You've locked in the current size. Heat won't produce big changes on heavily-worn fabric. Those fibers already settled into their final positions.
Temperature, pressure, and time matter—but just within the limits your fabric type allows. For more guidance on caring for your athletic garments, see our guide on washing sportswear without damaging fabric.
Conclusion
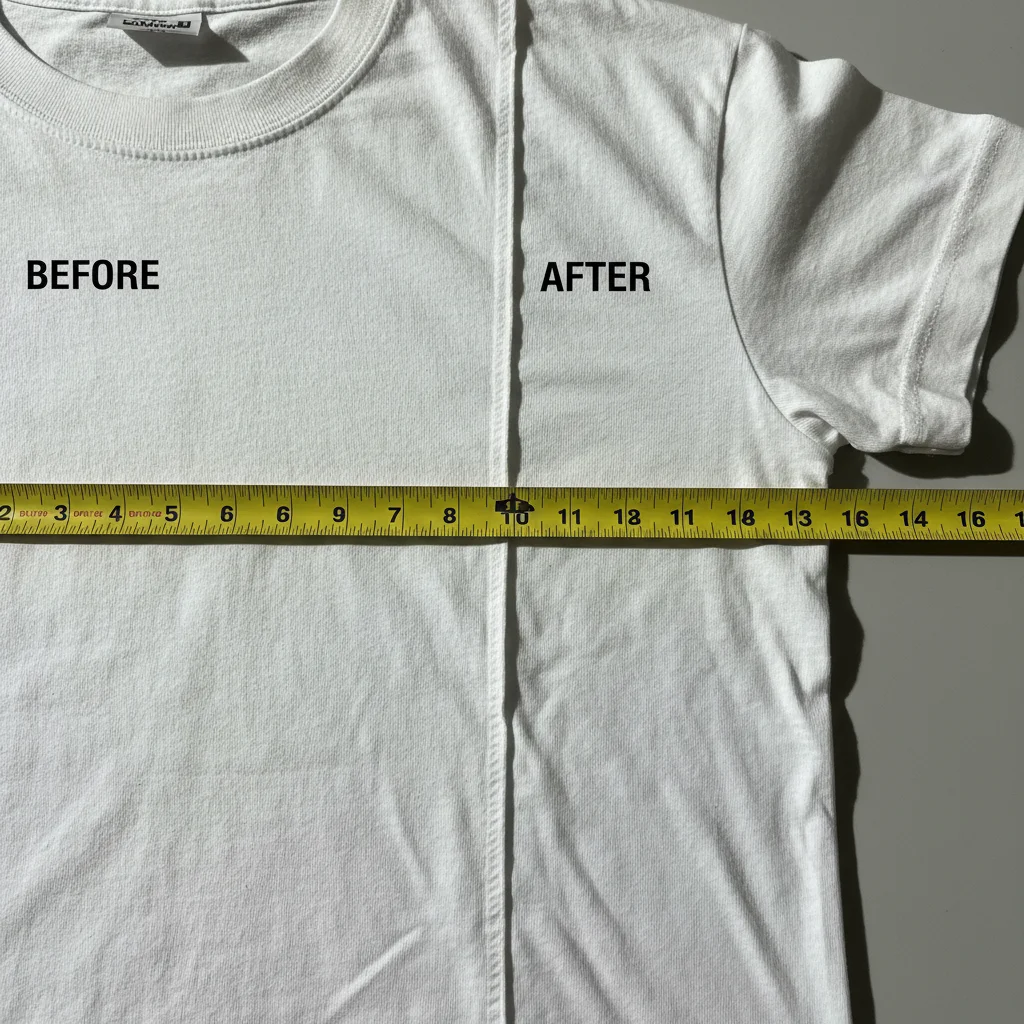
Shirt shrinking methods are simple. You just need to understand your fabric and respect its limits:
Here's what matters most: test on a hidden area first. Measure throughout the process. Accept that some shirts won't cooperate. That's not failure. That's fabric shrinkage techniques working as the science predicts.These principles mirror the common shirt shrinking methods used by sportswear manufacturers, where fabric type, heat tolerance, and shrinkage limits are tested and controlled long before a shirt ever reaches the consumer.
Got an oversized shirt in your closet? Start with the method that matches your fabric type. Set a timer. Stay nearby. Five minutes of not paying attention can ruin a garment or create the perfect fit. Your fitted shirt is one wash cycle away. Now you know how to get there without guessing.