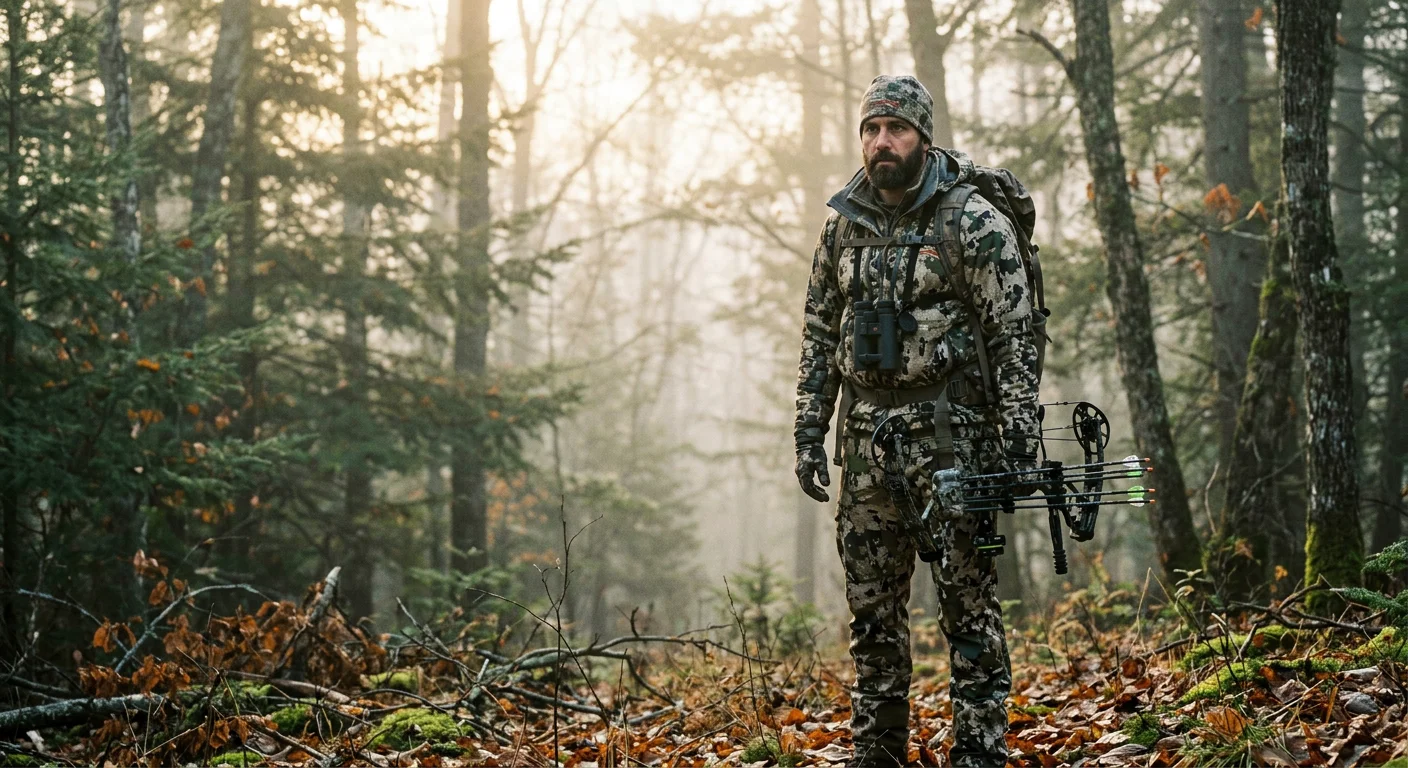
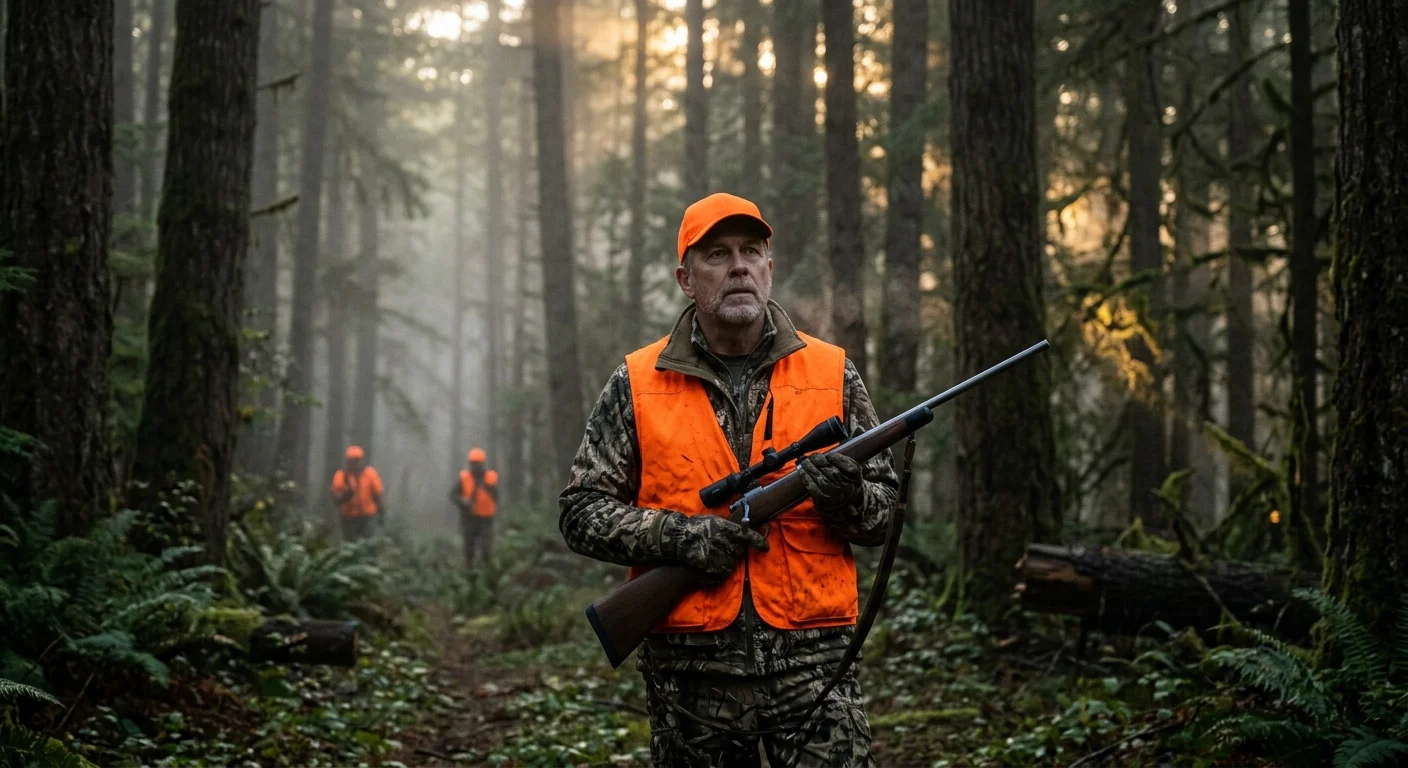
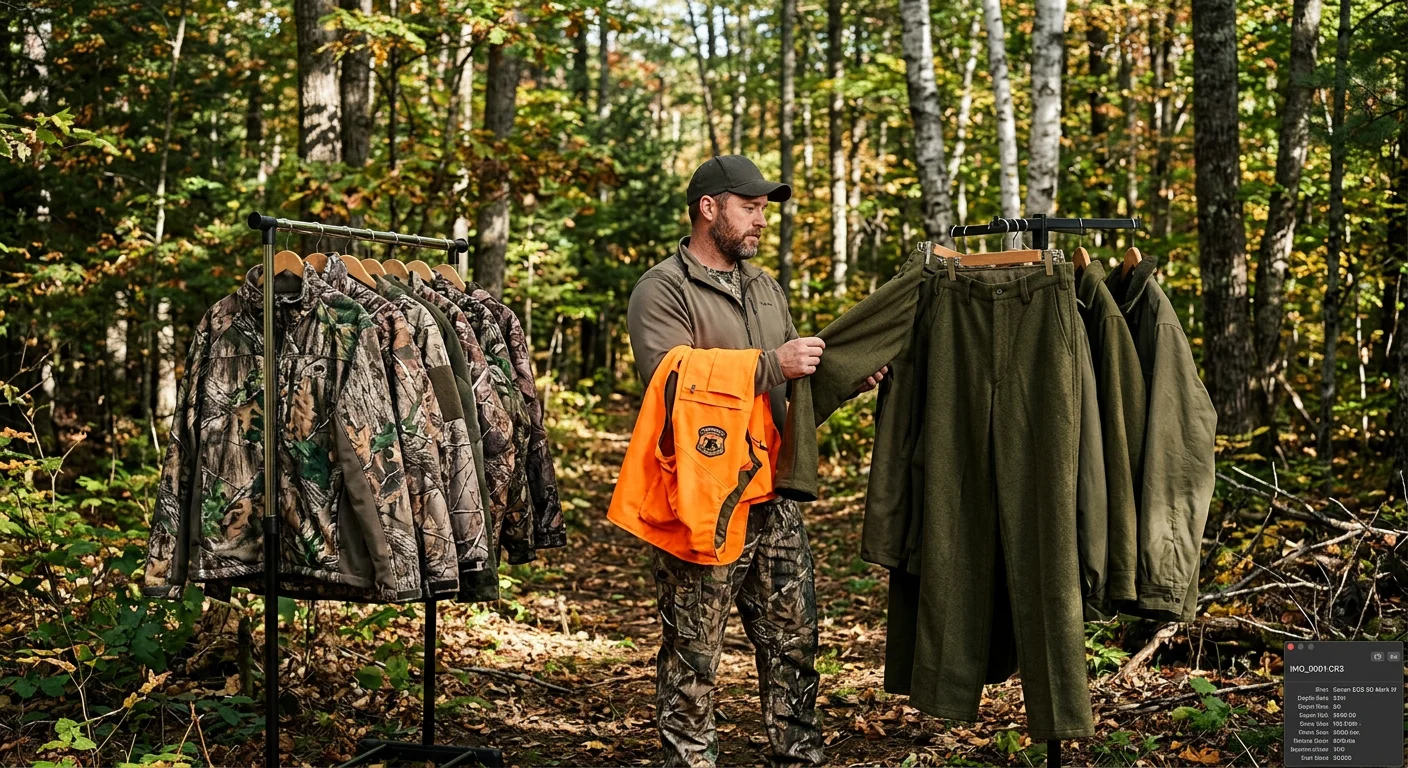
You spent good money on last season's camo, scouted your stand for weeks, and then the rain moved in — and so did the misery. A soaked base layer. A jacket that sounds like a potato chip bag every time you raise your rifle. A deer that vanished before you ever got a shot.
Picking the right waterproof hunting clothing for the wet season goes beyond staying dry. It's about staying lethal in the field.
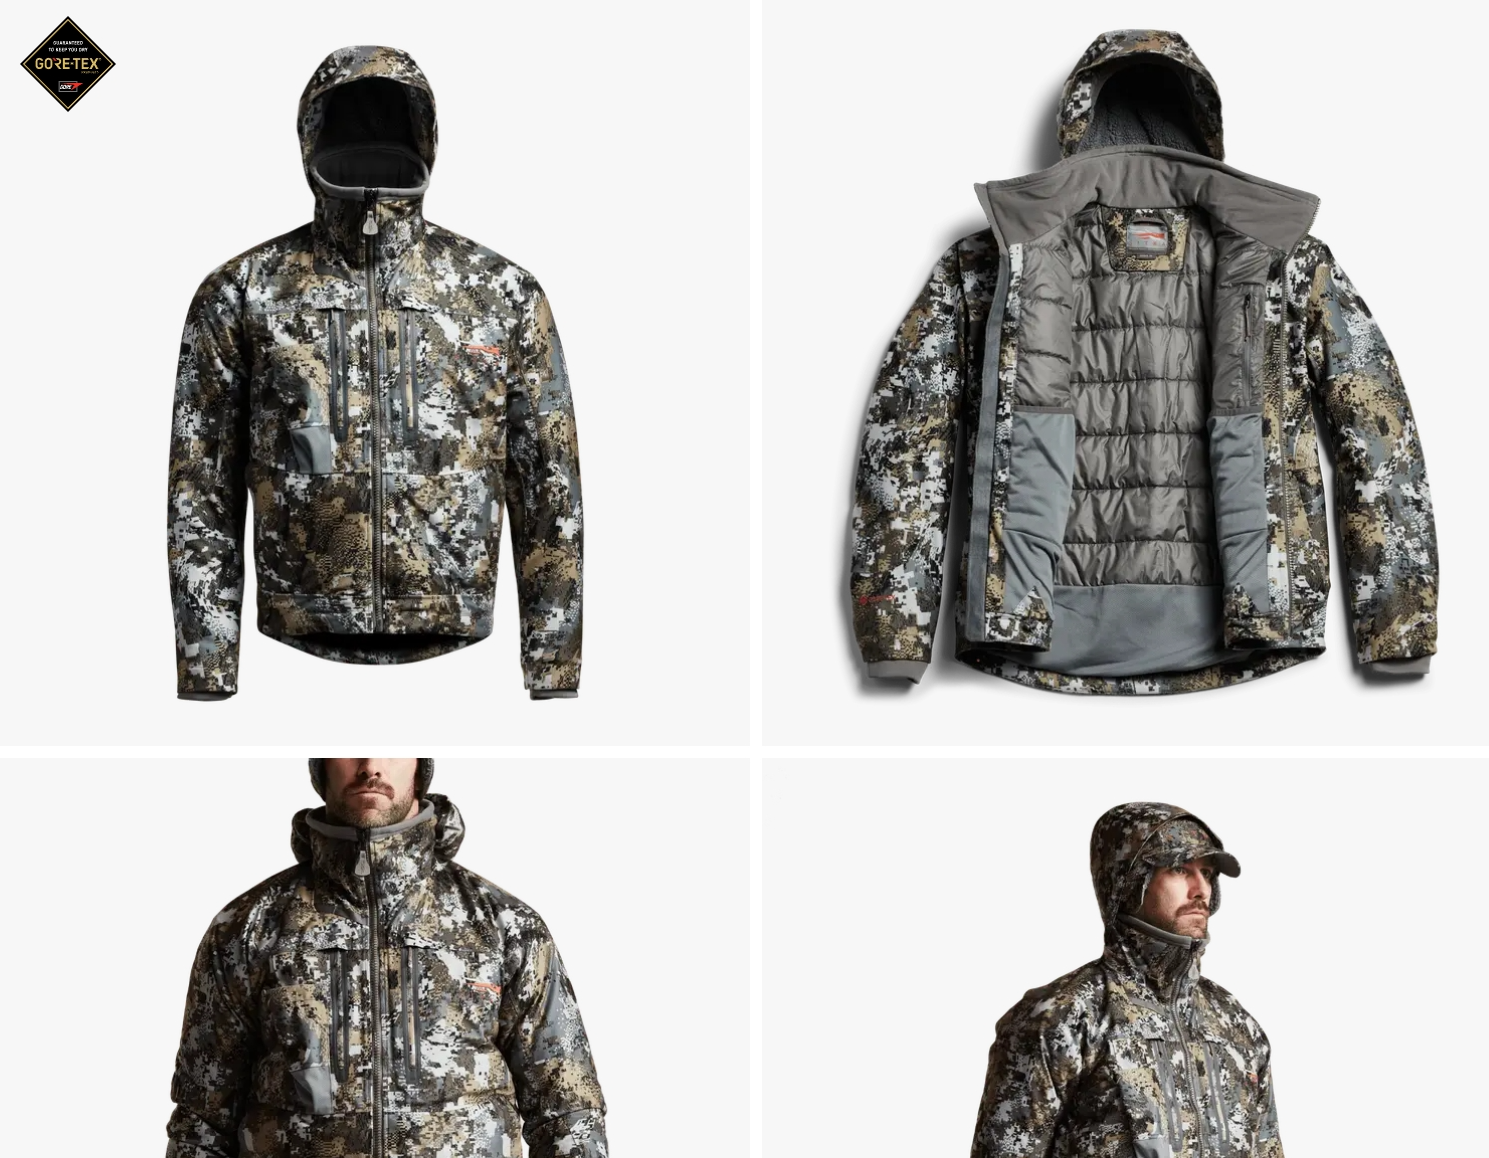
A Gore -Tex hunting jacket built for serious field work performs differently than a bargain rain shell that gives out at first light. Many hunters source their high-performance waterproof jackets from specialized hunting clothing suppliers who focus on durable field-tested fabrics.One fills your tag. The other sends you back to the truck empty-handed.
Here's a full breakdown of every variable that counts:
Fabric technology — what separates real protection from marketing claims
Breathability trade-offs — sweat kills scent control, and the wrong gear makes it worse
Silent materials — noisy fabric costs you shots
Layering strategy — how to build a system, not just throw on layers
Real-world performance — what holds up when conditions turn ugly
Use this to make one smart investment, not three expensive ones.
Breathability vs. Waterproofness: Finding the Right Balance for Active Wet-Season Hunters
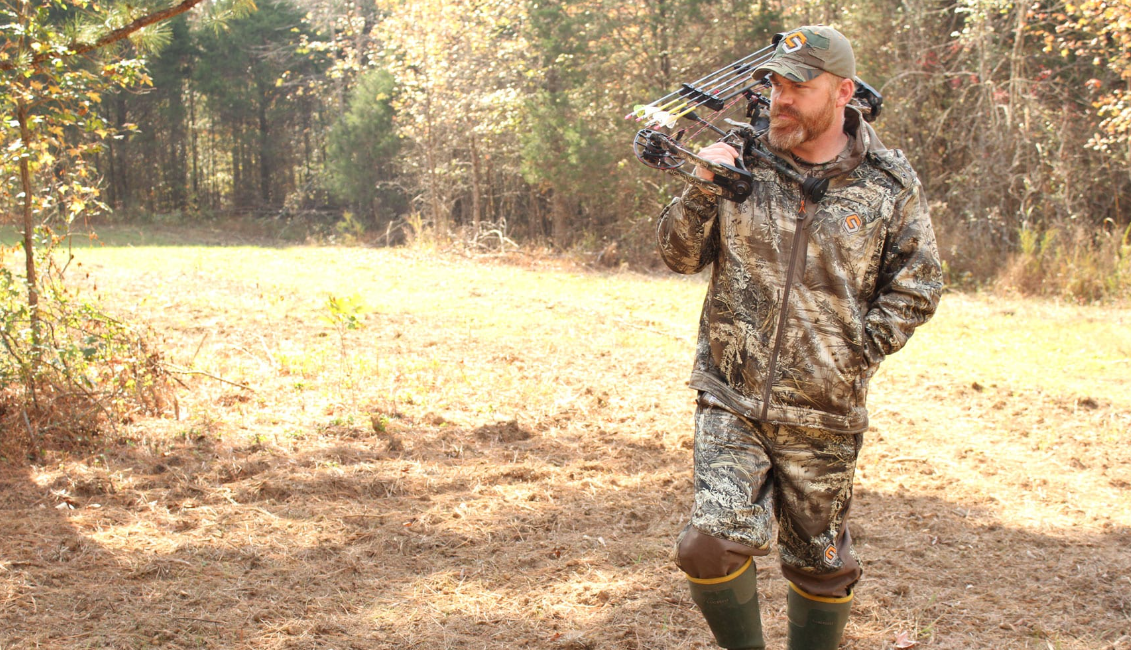
Here's something most gear companies won't tell you: chasing the highest waterproof rating on the market can make you wetter in the field — from the inside out.
Most hunters think the equation is simple. Higher waterproof number equals drier hunter. But real wet-season performance doesn' t work that way.
The Numbers That Matter
Heavy rain puts out 2,000–5,000 mm of water pressure. A solid hunting shell rated at 10,000–15,000 mm handles that with room to spare. Go above 20,000 mm and you're solving problems most hunters never face — a knee grinding into wet ground, a pack's shoulder straps channeling runoff. Top-tier waterproof jackets often come from OEM/ODM waterproof hunting clothing partners that specialize in layering technologies and fabric performance.For deer woods and mountain terrain, that extra rating is overkill.
What you lose at that ceiling is breathability. A jacket rated 20,000 mm waterproof / 5,000 g/m²/24h breathability traps sweat hard during any serious physical effort. After two hours of hard hiking, you're soaked — not because rain got in, but because heat never got out. Field testing backs this up: a saturated DWR outer layer drops a garment's breathability by 30–50% , even with the membrane itself still doing its job.
What follows is a wet base layer, dropping temps, and wind. That combination carries the same hypothermia risk as getting rained through. The threat just comes from a different direction.
Match the Spec to Your Hunting Style
Hunting Type | Waterproofing | Breathability |
|---|---|---|
Treestand / blind (low movement) | 15,000–20,000 mm | 5,000–8,000 g/m²/24h |
Hill country deer, mixed walk/wait | 10,000–15,000 mm | 10,000–15,000 g/m²/24h |
Elk backcountry, heavy pack-out | 10,000–15,000 mm | 15,000+ g/m²/24h |
The practical rule: keep your waterproof and breathability ratings as close to each other as possible . A 15,000/15,000 jacket outperforms a 20,000/5,000 jacket on any hunt that requires you to move. Balanced specs beat lopsided ones every time.
Structural Ventilation Fills the Gap
Even a well-balanced membrane hits a limit under full exertion. That's where pit zips earn their place. Open them on a hard climb, and core heat flushes out fast. Close them for the stalk. Look for underarm zips at least 25–30 cm long — long enough to use with a pack's shoulder straps still on.
For serious mountain work, side vents running from the lower rib to the hip become critical. A loaded pack seals your entire back panel. Side ventilation becomes your only active cooling at that point. Mesh-lined chest pockets do the same job — crack them open on the push, seal them up once you go still.
The best breathable waterproof hunting jackets now use hybrid panel construction. Full waterproof membrane covers the shoulders and hood, where rain hits hardest. Higher-breathability softshell fills the underarm and side panels, where sweat builds up most. It's not a compromise. It's the smarter design.
Silent Waterproof Hunting Gear: Why Fabric Noise Can Cost You the Hunt
Fabric noise is a gear problem most hunters don't think about until it costs them a shot.
You draw on a whitetail at 20 yards. Your jacket crinkles like a grocery bag. The hunt is over. That sound — sharp, synthetic, out of place in a quiet November woodlot — is enough. The deer flags and disappears. The turkey melts into the brush. You're left standing there replaying every crease and fold of that draw.
That's the core failure of traditional hard-shell waterproofing. Three-layer construction with a smooth nylon or polyester outer face is built for maximum water resistance. Leading hunting apparel manufacturers design these jackets with both water resistance and sound suppression in mind.Not silence. Hunters on forums have been saying it for years: "None of it is whisper quiet." That's not an exaggeration. It's a real warning worth taking seriously.
How Loud Is Too Loud — And Where It Matters Most
A quiet forest runs at 30–40 dB(A) . A hard-shell jacket sleeve flexing under draw pressure hits 50–60 dB(A) . That gap — 10 to 20 decibels of sudden, unnatural sound — sits well above the threshold that triggers a flight response in deer and turkey at close range.
The critical distance is 10–30 yards . Inside that window, bowhunters and turkey hunters have almost zero margin for error. A noise spike above ambient by just 5–10 dB is enough to trigger an immediate alert. One draw, a knee shift in the stand, a slow turn to track movement — any of these in a stiff hard-shell becomes a noise event.
Silent Waterproof Fabrics: What to Look For
Brushed-face fabrics — those with a micro-suede or peach-skin outer texture — break up and absorb friction sound. Instead of a sharp crinkle, you get a muffled drag that blends closer to background noise. Real-world testing describes well-made brushed-shell rain suits as "not much more than the wind" — a clear step down from the plastic-bag sound of conventional hard-shells.
Knit-face soft-shell waterproofing goes further. A fleece-bonded or stretch knit outer layer backed by a waterproof membrane drops noise by a wide margin. Bowhunters describe these as "nearly silent" through full draw cycles — including shoulder compression and sleeve drag, which expose standard shells the most.
Wool is still the benchmark for close-range silence. Its fiber structure absorbs sound rather than bouncing it back. Add a lightweight soft-shell rain layer on top, and a wool mid or outer shell becomes the top pick for high-pressure hunts where animals are alert and spook at the first odd sound.
Match Your Fabric to Your Hunt
Hunting Type | Recommended Fabric | Avoid |
|---|---|---|
Bowhunting / turkey (<30 yd) | Knit-face soft-shell, brushed-face, wool | Any noisy hard-shell |
Mixed walk/stalk (50–150 yd) | Quiet brushed hard-shell | Standard smooth nylon shell |
Mountain / backcountry (150+ yd) | Full hard-shell acceptable | N/A — wind covers the difference |
The Dressing Room Test That Works
Before you buy, run this sequence in the store. Draw your bow arm across your chest. Drop to a half-kneel. Stand back up and rotate your torso. You hear the jacket making noise through any of that — in a loud retail store — it will sound far worse in dead-calm timber at first light. Silent waterproof hunting gear earns that label in motion, not hanging on a rack.
How To Choose the Right Camo Pattern for Wet Season Terrain
Wet terrain doesn't just change how you move — it changes how everything looks. Saturated soil goes dark. Foliage gets heavy and loses its brightness. A pattern that read great in September can make you stand out like a billboard by November. The background itself has shifted. Your camo needs to shift with it.
The Core Problem With Wet Terrain
Water darkens everything. Wet leaves, wet bark, wet mud — they all drop a shade or two in tone. A camo built around bright, high-contrast colors works for dry conditions. In wet cover, that same pattern gets too loud against a heavier, muted background. What broke up your outline in August now draws the eye straight to you.
The fix is simple: go darker, go matte, go matched to the current vegetation stage — not what the terrain looked like when you scouted it in dry weather.Some hunters opt for custom hunting apparel's camo patterns tailored to their local hunting environment for better concealment.
Match the Pattern to the Terrain Type
Terrain | Pattern to Use |
|---|---|
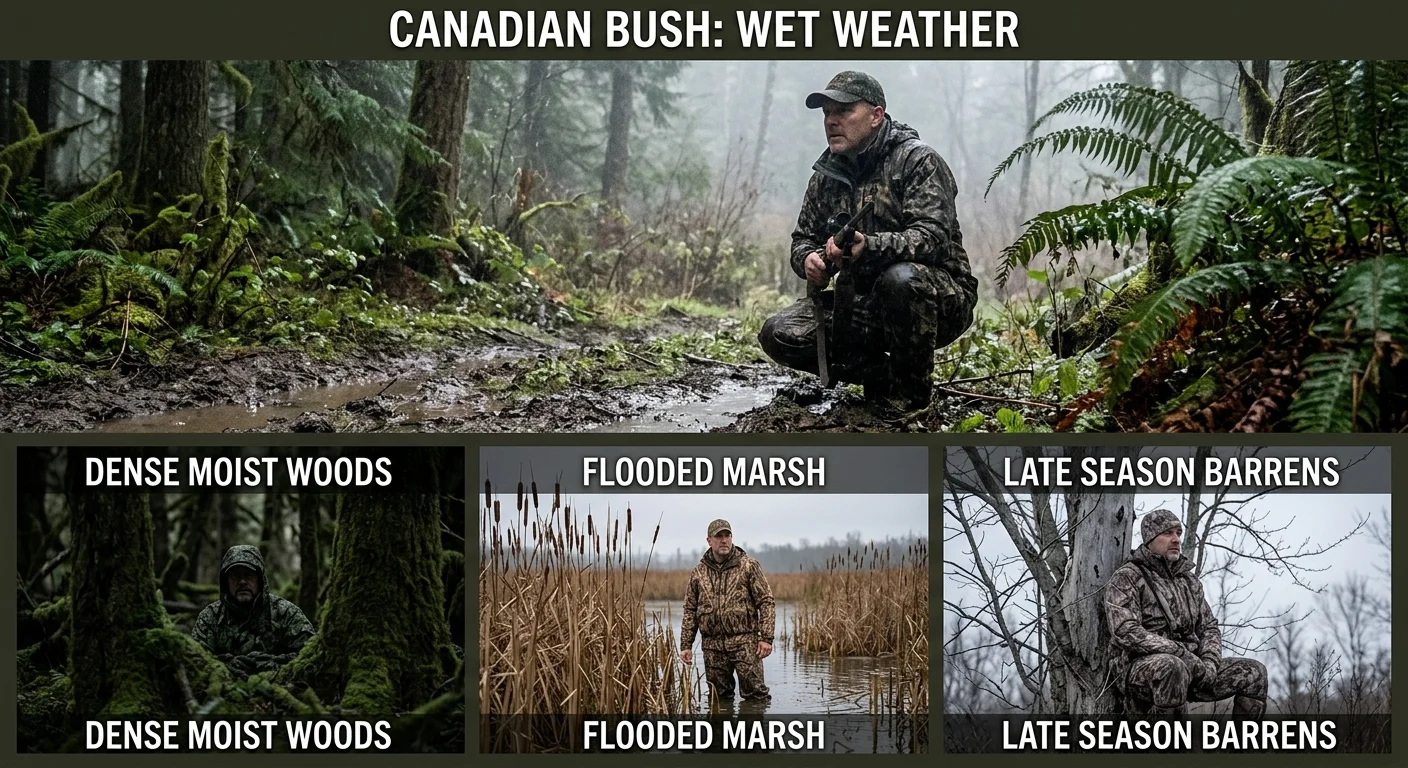
Wet woodland / forest | Deep greens and dark browns — leafy, shadow-heavy |
Flooded marsh / wetlands | Waterfowl or marsh camo matched to reeds, cattails, muddy banks |
Open fields / wet grassland | Muted tans and faded greens — not bright, saturated tones |
Late-season, leaf-off | Dull browns and grays — the canopy is open, the background is bare |
Follow the Season, Not Just the Terrain
The wet season isn't static. Vegetation moves through stages, and your camo needs to track with it.
Early wet season (leaf-on): Rich greens and dark browns. Dense canopy, thick understory. Match the heavy foliage.
Mid-season (transition): Muted greens, faded browns, subtle grays. Cover is thinning. Bright patterns start to isolate you.
Late wet season (leaf-off): Browns and grays. Nothing else. The background is exposed. Green reads as a target.
Species-Specific Camo Calls
Deer hunting in wet conditions calls for woodland or transitional patterns. At the start of the season, go green-heavy. After leaf drop, shift to muted gray-browns. In a treestand, deer see you from below and at an angle. Your pattern needs to blend with branches, shadows, and slivers of sky behind you — not just the trunk you're leaning against.
Duck and waterfowl hunting has the clearest answer: marsh or wetland camo, full stop. Reeds, cattails, muddy shoreline — these define your backdrop. Dedicated waterfowl patterns are built around that environment.
Turkey hunting runs from leaf-on into early transition. Start with green-dominant patterns. Shift toward browns and grays as the understory opens up. Turkeys are hunted close. Their eyesight is sharp. Outline disruption matters more here than it does at distance.
One Practical Rule Before You Buy
Go with macro/micro patterned camo over single-tone or flat uniform prints. The macro elements break your outline at distance. The micro detail dissolves it up close. In variable wet cover — moving through open edges and dense pockets — that layered structure adapts where a flat pattern can't.
Also check the fabric finish. Matte, non-reflective materials are non-negotiable in wet conditions. A glossy outer shell catches light off standing water and wet leaves. That flash alone can blow your position on a calm, overcast morning. Sound and movement are already suppressed — don't let your gear give you away.
Default decision tree for wet terrain:
1. Wet woodland with cover → deep green/brown woodland camo
2. Flooded marsh, reeds, cattails → waterfowl/marsh camo
3. Late-season, leafless, wet → brown/gray transition or late-season pattern
Fit, Mobility & Layering: Sizing Your Waterproof Hunting Jacket and Pants
Most waterproof hunting gear doesn't fail because the membrane breaks down. It fails because the hunter bought the wrong size.
Fit is the part of the gear equation nobody talks about. It ruins more hunts than bad weather does. A jacket that binds at full draw. Pants that drop every time you step over a log. A shell sized for your bare chest that chokes your mid-layer the second temperatures fall. These aren't small problems. They are performance failures.
The Layering Math Your Shell Has to Accommodate
Your outer waterproof shell doesn't fit your body. It fits your system — base layer plus mid-layer, all moving together. That changes the numbers.
A jacket worn over a merino base and a grid fleece mid-layer needs +6–10 cm of chest circumference beyond your bare measurement. Your pants need +4–8 cm at the waist and seat. Add at least 2–3 cm of ease at the thigh and knee with that mid-layer underneath. Most hunters size their rain shells one full size up for a true over-insulation system.
Get that math wrong in either direction and you pay for it in the field:
Too small: Compressed insulation loses 10–30% of its effective warmth . Your range of motion tightens. You can't raise your bow arm with a clean, full motion. Pants bind at the crotch on every high step into a stand.
Too large: Excess volume billows in wind and creates the fabric noise covered earlier. Oversized sleeves pump cold air in and out with each draw stroke. A hem that's too wide catches on your stand harness at the worst possible moment.
How to Test Fit Before You Buy
Don't test gear in a T-shirt. Walk into the store — or pull it out of the box at home — wearing the full cold-wet system you'll hunt in .
For the jacket: - Zip it all the way. Slide a flat hand between your chest and the zipper. You want 2–3 cm of clearance — snug enough to feel, loose enough to breathe. - Raise both arms straight up. The hem should not expose more than 5 cm of mid-layer at the waist. - Simulate a full bow draw with your heaviest glove on. No binding at the front shoulder seam. No pulling across the upper back. Sleeve cuffs should stay near your wrist — not creep to mid-forearm. - Simulate a rifle mount: buttstock to shoulder, elbow flared. No rear-shoulder seam bite. - Put on a neck gaiter or mid-layer hood underneath, then rotate your HEAD. You should clear 70–80° in each direction before the hood interferes.
For the pants:
- Stand relaxed with layers and belt on: two fingers of space at the waistband — not maxed out.
- The rear cuff should hit mid-heel of your boot while standing. Drop into a deep squat — the cuff should still cover the top of your boot with 3–4 cm of overlap . That's enough to shed water off the shell and away from your boot collar.
- Deep squat, flat-footed: no hard pull at the knees, seat, or crotch.
- High step over an imaginary 50 cm log: the waistband should drop no more than 2–3 cm . Feel seam stress at the crotch with your mid-layer on? Size up.
The Pattern Features That Do the Heavy Lifting
The right size gives you room. The right construction keeps that room usable under load.
Articulated knees and elbows are pre-bent into the pattern. They cut the resistance that builds as joints flex over thick mid-layers. On pants, articulated knees let you hold a kneeling shot position — 90 to 110 degrees of knee flexion — without the fabric pushing back.
A gusseted crotch adds a diamond or extra panel that spreads seam stress across a wider area. This matters most for saddle hunters and steep sidehilling, where inner thigh pressure builds with every step.
Underarm gussets or a bi-swing back panel stop your jacket body from riding up on overhead reaches — into a stand, up a rock face, or at full draw. Without them, the torso lifts and exposes your mid-layer every time your arms go above shoulder height.
One Practical Rule
Stuck between two sizes? Base the call on your hunting style:
Static sits with heavy layering → go with the roomier shell. The layers need space, and you're not moving enough for a little extra volume to matter.
Spot-and-stalk, long hikes, bowhunting in tight blinds → stay close to your true size in an athletic, articulated cut. Bulk and noise work against you here. A well-articulated pattern gives you the mobility without the extra fabric.
The right fit isn't about comfort. It's about not giving the animal a reason to leave before you get your shot.
Building a Complete Wet-Season Layering System Around Your Waterproof Shell
Your waterproof shell is not a solution. It's the final piece of a system. Without the right pieces underneath it, even the best Gore-Tex hunting jacket leaves you cold, wet from the inside, and done by noon.
Three layers. Each one with a specific job. Get the sequence right and they work together. Get it wrong and they work against each other.
The Three-Layer Framework
Base layer — moisture management
This layer has one job: move sweat off your skin before it cools you down. Lightweight polyester or merino wool in the 150–200 g/m² range handles this best. Quality fast-dry synthetics go from near-soaked to wearable dry in under 30 minutes. Cut matters too. You want a fitted shape through the shoulders and waist — but not so tight that pack straps or a gun sling push folds of wet fabric into your skin.
Mid layer — heat retention
The mid layer traps body heat and lets vapor keep moving outward. Which mid layer you need depends on what you're doing:
Condition | Mid Layer | Weight |
|---|---|---|
Hard movement, +5–15°C | Light fleece or grid fleece | 100–150 g/m² |
Mixed effort, 0–10°C | Medium fleece or light synthetic | 200–300 g/m² |
Static sit, below 0°C | High-loft synthetic or 800-fill down | 100–133 g/m² |
Fleece stays functional at 10–20% moisture saturation. It dries fast and keeps air moving. Synthetic insulation holds more warmth per gram, but it doesn't breathe as well. For long sits, that trade-off works in your favor. For hard pushes uphill, it works against you.
Outer shell — rain and wind
Three-layer construction — face fabric, waterproof-breathable membrane, and bonded liner — delivers the best long-term performance in sustained rain. Two-and-a-half-layer shells cut weight, usually coming in under 350 g . That's the right pick for high-effort mountain hunts where every gram counts.
Match the System to the Hunt
Backcountry elk — hard movement, cold and wet
The problem here isn't rain. It's the sweat you generate getting to where the rain is. A hunter grinding uphill in a full shell and mid layer builds heat faster than any membrane can vent it.
The fix: start the climb in base layer and thin fleece. Leave the shell stowed. Pull it back on at the ridge — you've stopped moving and the wind has found you. Also carry a lightweight synthetic vest (40–60 g/m²) for stationary glassing sessions. It goes on over the shell in under 30 seconds and comes off just as fast.
In warmer wet conditions (5–15°C), drop the mid layer on the ascent. Let the base and shell manage it. A mid layer you never put on stays dry.
Treestand deer — cold, static, hours of exposure
The opposite problem. You're not generating heat. You need to capture it and keep it.
Walk the last 200–300 meters to your stand in base layer. Cut the sweat before you go vertical. Once you're up, add your insulation — medium fleece inside, high-loft synthetic or down jacket outside. Then seal the shell tight around it. Pack a dry backup base layer top. Sweat even a little on the approach, swap it before you settle in. That one move adds hours to your usable sit time and cuts your hypothermia risk on a long, cold, rainy morning.
Waterfowl blind — sustained wet, lower half exposure
Water finds every gap. The lower body takes the worst of it — mud, splash, rain running off the blind, standing water underfoot. Pair a heavy base layer bottom ( 180–220 g/m² ) with fleece or insulated pants inside your waterproof shell or wader system. Go synthetic insulation over down here — it holds warmth even when damp. At or below freezing, a 5 mm neoprene wader or an insulated breathable wader with a thick wool or synthetic sock underneath is the combination that gets you through a full morning on the water without paying for it in the truck on the drive home.
One detail that matters across all three scenarios: close every gap at the waist . Cold air hitting the kidney zone drains core heat faster than wet fabric does. Tuck, cinch, or overlap — but don't leave a gap.
Weight, Packability & Durability: Matching Gear to Your Hunting Style
Two hunters buy jackets with identical waterproof ratings. They walk into the same rainstorm. One finishes the week. The other dumps his gear in the truck bed on day two. The difference isn't the membrane — it's whether the gear fits how that hunter moves.
The Weight Split: Ultralight vs. Heavy-Duty 3-Layer
Packable shells and heavy-duty 3-layer suits serve completely different purposes.
Ultralight packable shells use 20–40D nylon with fabric weights around 45–80 g/m². A full jacket-and-pants system weighs 350–650 g . Compress the jacket and it stuffs down to 1–2 liters. That fits in a cargo pocket, clips to a hip belt, or drops into the top lid of a pack. Waterproof ratings land in the 10,000–15,000 mm range. Breathability reaches up to 20,000 g/m²/24h . Your heart rate is up. Rain is closing in fast. This is built for that moment.
Heavy-duty 3-layer suits come in at 1.0–1.7 kg combined. Face fabrics run 40–80D. Waterproof ratings push up to 20,000–30,000 mm. Compression gets you 3–5 liters at best. You wear these — you don't stash them. A stand hunter logging 30+ days a season in wet timber? That weight trade makes sense.
Match the Build to Your Hunting Style
Hunting Style | Right Choice | Combined Weight |
|---|---|---|
Backcountry / mobile | Ultralight packable shell | 500–650 g |
Treestand / blind | Heavy-duty 3-layer | 1.2–1.7 kg |
The mobile hunter's math is simple: every 100 g saved on rain gear buys more endurance across a five-day pack-in. A 500 g system that needs minor repairs after a season still beats a 1.5 kg system you start leaving in camp.
The stand hunter's math is different. Press your knees into wet bark for hours. Drag your seat across a metal platform all morning. Light fabrics break down fast under that kind of abuse. A heavier, reinforced shell pays for itself in two seasons.
Where Durability Lives: High-Wear Zones
Weight savings mean nothing if the fabric blows out in the spots that take the most punishment. Three zones matter most:
Knees and seat: Lightweight hunting pants use 30–40D main fabric with 70–100D reinforcement panels at the knees and seat. Mountain terrain is harder on gear. Those contact points need 150–330D Cordura® nylon — built to handle kneeling on shale and sitting on wet rock.
Shoulder and upper back: Carry a 20–30 kg pack and unprotected shoulder fabric breaks down in one to two seasons. Look for ≥100D shoulder panels with bartack reinforcement at the stress points. That's the same construction standard found in load-bearing tactical gear.
Seams under strain: Reinforced knees need double or triple stitching. Stress points — crotch, knee flex, shoulder attachment — need visible bartack clusters. Two to three per point is the baseline for gear built to hold up over time.
Premium hunting fabrics rated at Martindale abrasion resistance ≥20,000–50,000 cycles hold up through multiple hard seasons. A Best Waterproof Hunting Clothing manufacturer listing "reinforced knees and seat with Cordura" but no denier number? Use this as your guide: 100–150D is the entry point, 200–330D is serious, and 500D+ is maximum protection — with a real cost to packability and noise level.
Waterproof Hunting Clothing Across Price Points: What You Get at Each Level
Spend $150 on a rain suit and you'll stay dry. Spend $700 and you stay dry — plus you move faster, sweat less, make less noise, and carry gear that survives five hard seasons instead of two. That gap only matters based on how you hunt.
Here's what each tier actually delivers.
Entry Level: $100–200 (Full Jacket + Pants System)
This is honest gear for honest use cases. A jacket like the Huntworth Winsted — brushed face, waterproof film, around $100 — handles real rain. Pair it with matching pants and your total sits around $160–200 . It works well at a treestand. Your biggest physical demand there is climbing in before light and sitting still until noon.
The trade-offs are real, though. PU or low-end proprietary membranes land in the 5,000–10,000 g/m²/24h breathability range. Walk hard for 45 minutes and the interior turns into a steam room. DWR coatings degrade within one to two seasons of regular use. Smooth nylon outer faces generate that grocery-bag crinkle — and that noise costs bowhunters shots. Total system weight runs 1.0–1.4 kg and compresses to 3–5 liters . Fine for the truck bed. Awkward on a five-mile pack-in.
Best for: Vehicle-based hunting, short walks to fixed stands, light seasonal rain.
Mid-Range: $200–400
This is where the gear starts working with you instead of just covering you. Three-layer construction becomes the standard here. Breathability climbs to the 10,000–20,000 g/m²/24h range. YKK waterproof zippers replace basic closures. You also get articulated patterning — pre-bent knees, underarm gussets — for better movement. Outdoor Life's multi-day testing placed systems like the Kuiu Chugach TR in this tier as top all-around performers for hunters covering real ground.
Weight drops to 0.7–1.1 kg combined and compresses to 2–3 liters . That's all-day packable. DWR holds through two to four seasons with basic washing and periodic re-treatment.
Best for: Mixed-movement deer and elk hunting, multi-day backcountry trips on a realistic budget.
High End: $400+
The Sitka Dew Point jacket weighs 9.3 oz (264 g). The pants add another 10–12 oz. The full system comes in under 0.6 kg and stuffs into a jacket pocket. Gore-Tex or equivalent 3-layer ePTFE membranes push breathability to 20,000+ g/m²/24h while holding full waterproofing. Forloh's Allclima 3L earns "quietest rain jacket" ratings from independent reviewers. Hillman AlphaShell pants alone run $449, with full systems clearing $800–900.
DWR performance holds through four to six seasons of frequent use. Fit engineering covers helmet-compatible hoods, single-hand adjustment systems, and Tall/Short inseam options built for steep terrain and saddle hunting.
The honest math: Hunt more than 15 wet days per season and cover ground on foot? The high-end system earns its price over a five-year window — often costing less per season than replacing a mid-range suit every two years.
Best for: Serious mobile hunters, backcountry elk, bowhunters prioritizing silence and weight.
Practical Features Checklist: What To Look For Before You Buy
Before you spend a dollar, run through this list. Not as a formality — as a filter. Every item here has a real-world consequence if you get it wrong.
Waterproofing specs that matter:
- Minimum 10,000 mm hydrostatic head for standard rain. Extended wet-season hunts need 15,000–20,000 mm
- Breathability at ≥10,000 g/m²/24h for moderate movement. Push to 15,000–20,000 for hard hiking
- Taped seams at shoulders, hood brim, underarms, and crotch. Bare thread seams leak — no exceptions
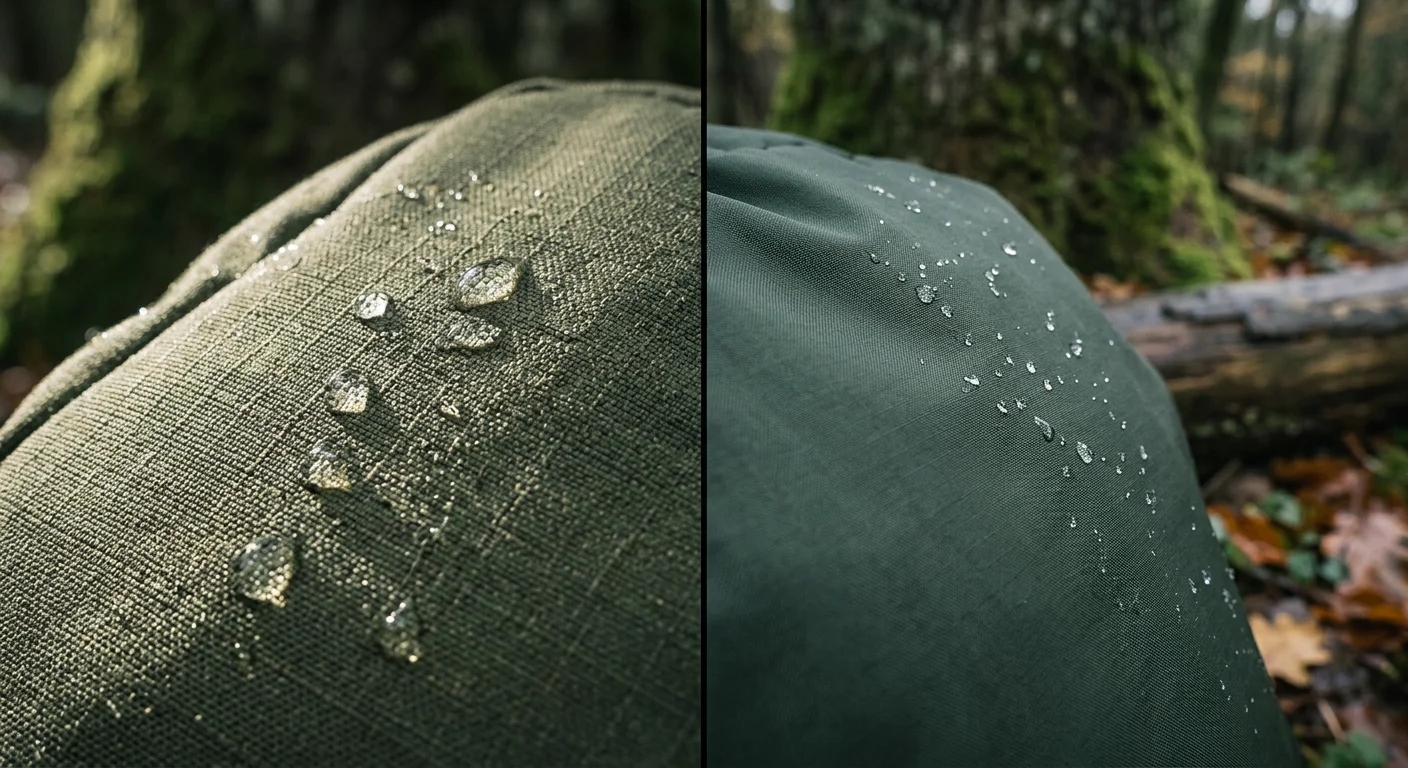
- Fresh DWR coating: water should bead and roll. Not soak in and spread
Hood: Look for three-way adjustment — forehead cord, rear cinch, chin drawstring. Brim extension of at least 5–7 cm . Try it with your hunting hat underneath before you buy.
Zippers: Storm flap with 3–4 snap closures minimum . Oversized rubber pulls let you operate them with gloves on. Reverse-coil pocket zippers close tight and stay sealed.
Pockets: Hand warmer openings angled 30–45° , lined in fleece, wide enough for gloved hands. Chest pockets should fit a 5–6 inch phone plus a call . Smooth interior lining matters too — hard plastic edges make noise and cost you a shot.
Cuffs and hem: Velcro cuff closures seal against gloves with no ripping sound. The rear hem sits 5–10 cm longer than the front . That extra length covers your lower back while you sit in a stand.
Do the at-home test before you commit. Put on your full layers. Simulate a draw or rifle mount. Do a deep squat, then a high knee raise. Five minutes of movement reveals fit failures that would otherwise cost you a shot in the field.
Conclusion
The wet season doesn't have to be something you dread.
Every choice in this guide matters. Breathability ratings, silent fabric construction, camo pattern selection, layering strategy — all of it leads to one simple truth. The right waterproof hunting clothing keeps you in the field longer, quieter, and more effective. No other gear upgrade comes close.
Stop chasing the cheapest rain suit. Don't just grab whatever's on the shelf. Learn your hunting terrain. Understand your waterproofing technology. Then spend your money where it counts. A well-built breathable waterproof hunting jacket combined with a smart layering system does more than keep you dry. It gives you a real edge over other hunters in the field.For outfitters or guided hunting groups, evaluating waterproof hunting clothing wholesale price options can make outfitting multiple hunters more cost-effective.
Now put what you've learned to use. Pull out your current kit. Check it against this guide. Find the weak spots and fill them before the rain season hits.
The deer don't take days off for bad weather. Neither should you.