Table of Contents
You've finished your gym clothing designs. You've talked to gym clothing manufacturers. Now you're ready to place that first bulk order.
Here's the hard truth: one quality problem of gym apparel could turn your $50,000 inventory into worthless stock. This happens fast—within weeks.
I've watched activewear brands fail because of simple mistakes. Leggings lost their compression after three washes. Moisture-wicking shirts trapped sweat like sponges instead of releasing it.
What separates successful brands from failures? It's not luck. Test your gym clothing fabrics before production starts. Check quality at every step.
This guide shows you the exact testing framework that works for successful activewear companies. You'll learn stretch and recovery tests that predict how long garments last. You'll see seam strength checks that stop embarrassing tears during workouts.
Some tests you can't skip. Others can wait. You'll learn which is which. You'll also learn how to build a testing timeline that catches mistakes early—while fixes cost hundreds, not hundreds of thousands.
Launching your first collection? Scaling an existing line? These testing steps protect you from quality disasters. Think of them as your insurance policy.
Why Pre-Production Testing Matters for Gym Clothing Quality
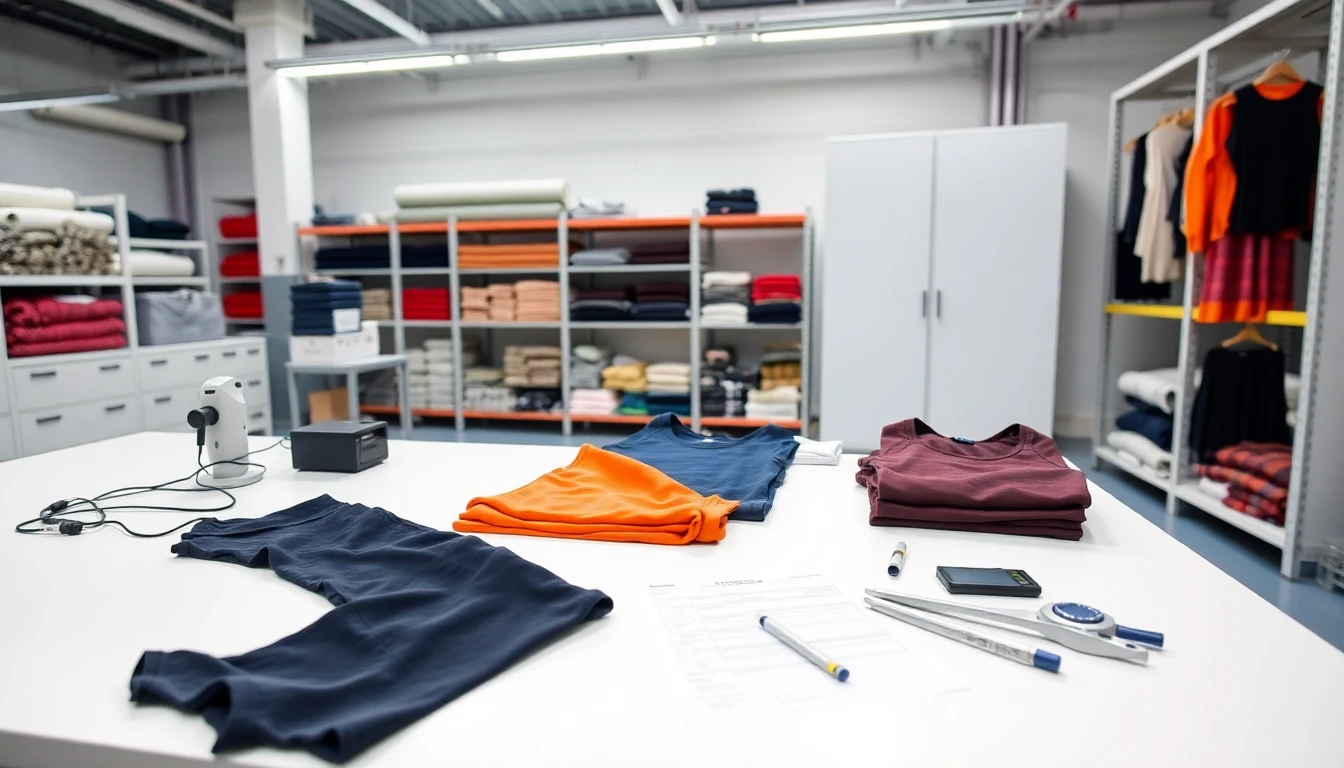
Pre-production testing isn't optional. It's what stands between a profitable launch and financial disaster.
Plan for 4-6 weeks of testing before production starts. This includes 2-3 sample rounds. Each round takes 7-10 days. Sounds like a long wait? Compare that to finding problems after you've ordered 5,000 units.
The financial math is brutal:
Skip testing: Risk losing your entire inventory investment
Test first: Catch issues when fixes cost hundreds instead of tens of thousands
Industry data shows inline inspection cuts final defects by 30-50% versus checking finished products alone
What Testing Prevents
Compression leggings need to hold 18-22 mmHg pressure from ankle to thigh. Test with a pressure gauge across body zones before production. Otherwise, you won't know if your manufacturer hit this mark. Your customers will figure it out though—the fabric bags at the knees during their first squat.
Shrinkage kills brands. The limits are clear: fabrics shrinking less than 2% need no relaxation treatment. Between 2-4% requires machine relaxation. Above 4%? Store fabric tension-free for 24-48 hours before cutting.
Seam failures embarrass customers. Stretch fabric across seams during testing. Look for gapping or thread stress. This simple check stops a nightmare: leggings splitting during a yoga class.
Transparency issues destroy trust fast. Bend over in sample leggings under bright light. Can you see through them during stretch? Your customers will too. No second chances here.
Size consistency sets professional brands apart. A medium waistband at 68 cm needs to stay within ±0.5 cm tolerance. Test this across your sample batch.
Testing finds problems while fixes are cheap. After production starts? You're stuck with the results.
Key Physical Tests for Activewear Fabrics
Physical tests show how fabric performs during workouts. These checks tell you if your product will succeed or fail.
Stretch and Recovery: The Foundation Test
ASTM D2594 is the standard for measuring elasticity. Your fabric needs spandex or elastane blends—5-20% of total composition works best. This creates 4-way stretch.
Recovery rate is what matters most. Quality gym activewear bounces back to 90% or more of its original size after stretching. Test this by stretching fabric to 80-100% multiple times. Then measure how much it returns.
Yoga and pilates need higher recovery rates than running gear. Runners need free movement. Yoga needs fabrics that hold shape during still poses.
Abrasion Resistance Testing
The Martindale test measures wear and tear through cycles to failure. Run your samples under standard conditions. Count cycles until breakdown.
Target benchmarks:
- Yoga fabrics: 20,000+ cycles minimum
- Running fabrics: 15,000+ cycles acceptable
Nylon lasts longer than polyester. Surface treatments like Polartec boost resistance even more. Look for two failure types: pilling on the surface and breakdown after multiple washes.
Bursting Strength for Dynamic Stress
This test copies stress at joints—elbows and knees get hit hardest. It measures force needed to tear fabric under stretch. You'll find weak points before customers do during burpees or deep squats.
Pilling Resistance Grading
ASTM D3512 rates surface fuzzing on a 1-5 scale. Grade 5 means no pilling. Grade 1 means heavy fuzzing. Tumble your samples, shake them, then check the damage.
Quality spandex blends fight pilling through smart fiber choice. Your fabric should last hundreds of wash cycles—not just dozens.
Dimensional Stability Under Stress
Run five wash cycles. Measure size changes. Good fabrics shrink less than 1%.
Polyester and nylon blends beat cotton every time. They degrade less and recover stretch better. The fabric keeps its shape after workouts and washing.
Color Fastness Testing: Stop Fading and Bleeding
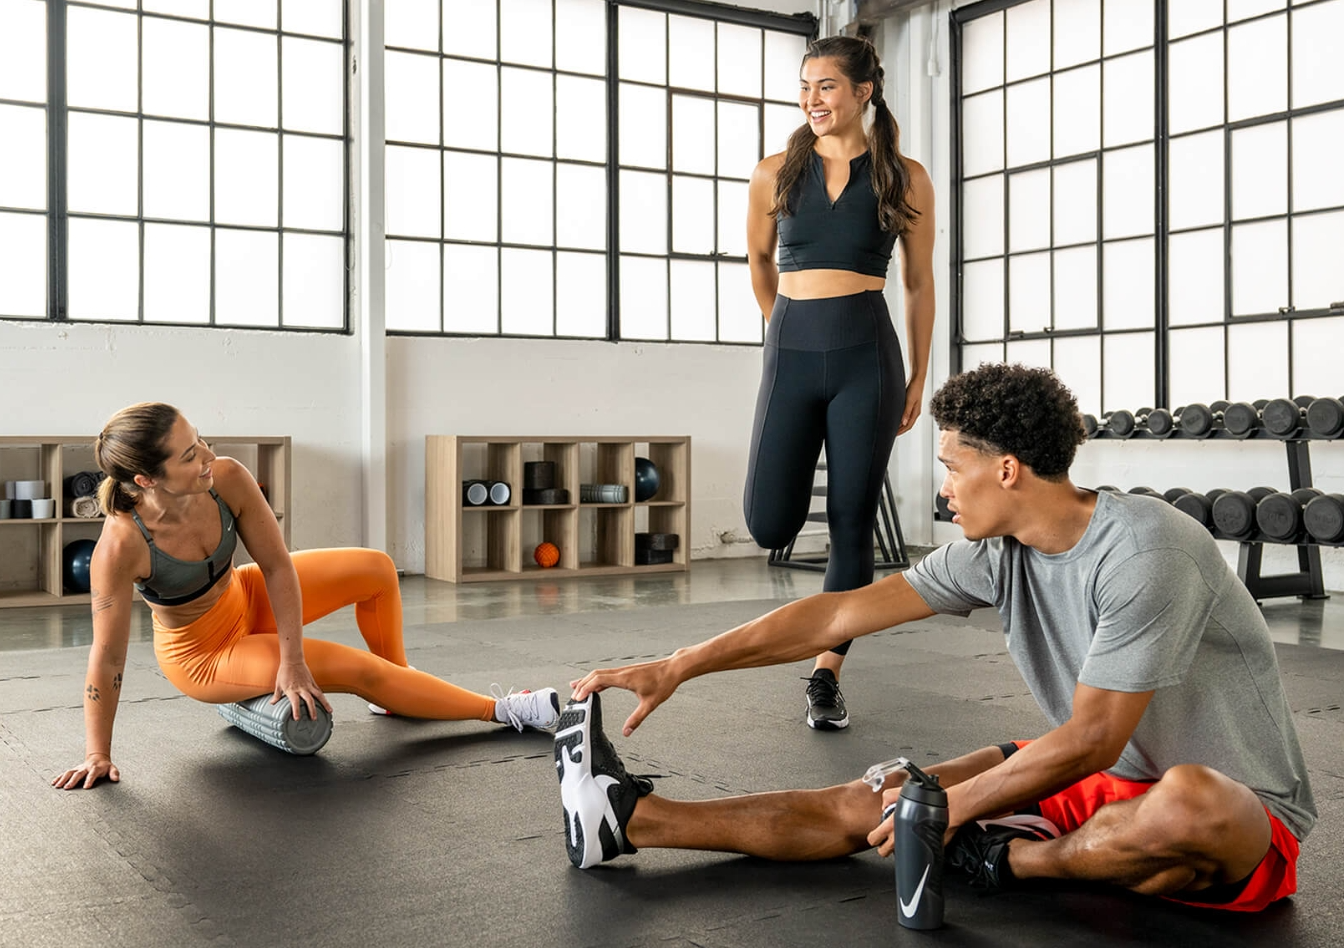
Faded gym shirts destroy your brand reputation faster than any other defect. Customers spot color loss right away—after one wash, maybe two. Colors bleeding onto other clothes? You'll get angry emails and chargebacks.
AATCC 61 2A is the standard wash test. This test mimics fast home washing under controlled conditions.
The test setup:
Temperature: 38-40°C (100°F), tolerance ±2°C
Duration: 45 minutes at 40 ±2 rpm rotation
Detergent: AATCC Standard Reference type at 0.15-0.2% strength
Steel balls: 10-50 stainless balls (6 mm diameter) create mechanical action
Adjacent fabrics: Multifiber strip sewn to your sample catches bleeding
Labs attach cotton, wool, nylon, polyester, acrylic, and acetate strips to the fabric. After washing, they grade both fading and staining on a 1-5 scale.
Grade 5 means no change. Grade 1 means big problems. Quality activewear needs Grade 4 minimum for shade change and staining.
Dark colors need stricter standards. Navy, black, and deep red must hit Grade 4 for shade change and staining across all fibers. Test these after 3-5 wash cycles.
Light shades get more flexibility—Grade 4-5 expected with little bleeding risk.
Stop Color Failures Before Production
Reactive and disperse dyes rated Grade 4-5+ work best for gym wear. Check gym apparel supplier data sheets before approving dye lots.
Control soaping temperature at 95-98°C for 15-20 minutes. Add enough detergent and chelator to strip loose dye bits. Keep final rinse pH between 6-7. Higher pH increases bleeding.
Deep shades need extra protection. Add cationic after-fix at 1-3% owf (polyamine or polyamide types). Exact salt and alkali ratios during dyeing lock in more dye.
Set your standard: reject any lot showing staining below Grade 4 on cotton or nylon.
CTA Section 1Functional Performance Testing for Athletic Wear
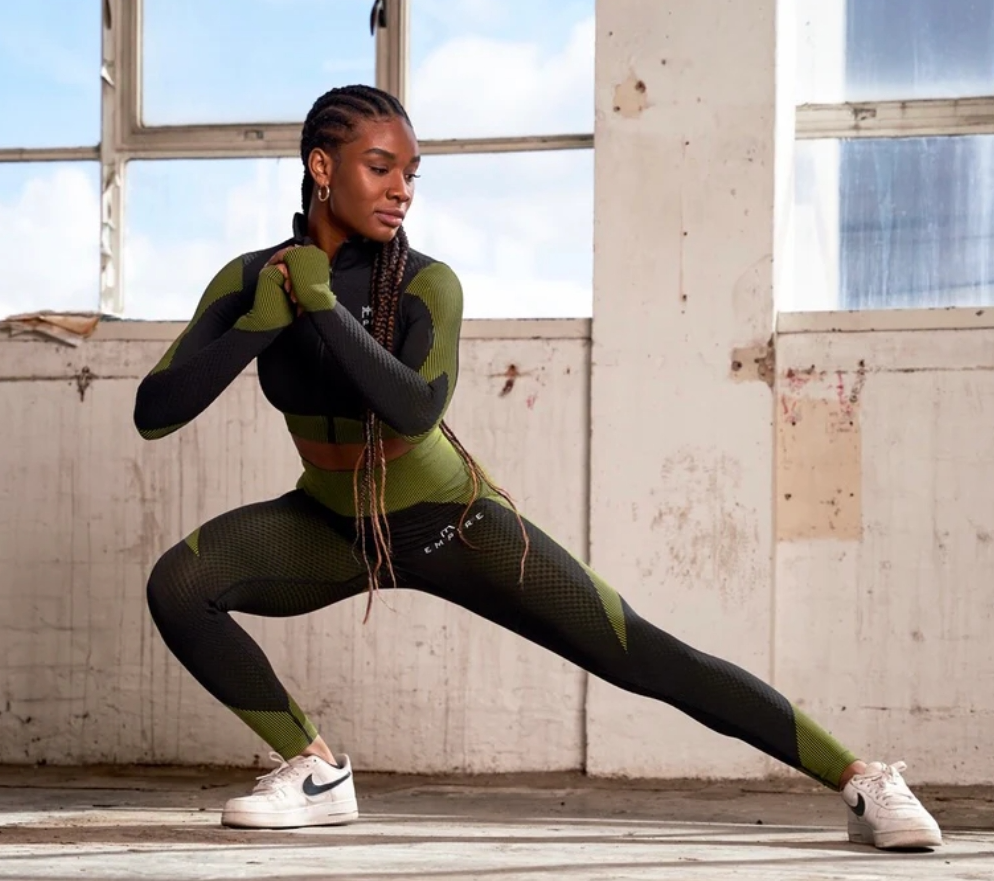
Moisture sits on skin during a HIIT session. Air can't move through tight fabric. The shirt clings like plastic wrap. Your customers feel this right away. Testing catches it before they do.
Functional tests measure what matters during workouts. Breathability controls comfort. Moisture management stops that clammy feeling. These aren't nice-to-have features. They separate gym clothes from regular clothes.
Breathability Assessment: Let Skin Breathe
ASTM D737 and ISO 9237 measure air permeability. The test pushes air through fabric at controlled pressure. You measure flow speed in mm/s.
Performance targets by activity level:
High-intensity training (running, HIIT, sports): >150-300 mm/s at 25 Pa pressure differential
Mixed training and casual wear: 120-200 mm/s
Yoga and low-intensity movement: 80-150 mm/s
The trade-off is real. Higher breathability means better cooling. Lower breathability gives more coverage and support. You can't maximize both.
Test equipment like Textest FX 3300 or SDL Atlas Air Permeability Tester gives you precise readings. Set pressure differential at 100 Pa or 125 Pa. Some brands specify 25 Pa. Use a 20 cm² test area. Condition samples at 21±1°C and 65±2% RH for 24 hours before testing.
Smart designers vary breathability by body zone. Front chest and back center panels need >200 mm/s for runners. Underarm mesh inserts should hit >300 mm/s. Yoga leggings can drop to 80-150 mm/s at the hips and thighs. This lower breathability stops transparency issues.
Mesh structures and lighter fabric weights (120-170 g/m²) boost airflow. Heavier knits (180-260 g/m²) with higher stretch reduce it. But they add support.
Moisture Wicking Performance
AATCC 197 and AATCC 79 measure how fast fabric pulls sweat away from skin.
Grade wicking by distance and speed. Quality gym clothing fabrics wick water >10 cm in 10 minutes. Both horizontal and vertical. Elite performance fabrics absorb a water droplet in under 2-3 seconds.
Drying time matters just as much. Load fabric with 200-300 g/m² of water to mimic heavy sweat. Track how long it takes to return to 20% or less of initial moisture content. Target: 40-60 minutes under lab conditions.
MVTR (Moisture Vapor Transmission Rate) measures in g/m²/24h. This shows how much water vapor passes through fabric.
MVTR benchmarks:
Standard woven athletic wear: >5,000 g/m²/24h
Mid-range performance shells and running jackets: >10,000-15,000 g/m²/24h
Premium competition gear and waterproof breathable outerwear: >20,000 g/m²/24h
Real-world results speak for themselves. MVTR above 10,000 g/m²/24h gets feedback like "doesn't feel stuffy" and "dries fast" from runners and cyclists. Speed-dry t-shirts that go from wet to near-dry in 30-40 minutes usually show MVTR >8,000 g/m²/24h. They also absorb water in under 3 seconds.
Test both metrics together. Wicking pulls moisture from skin. MVTR releases it to air. Miss one and you get problems. Sweat pools on fabric surface. Or moisture gets trapped inside.
Seam Strength and Construction Quality Testing
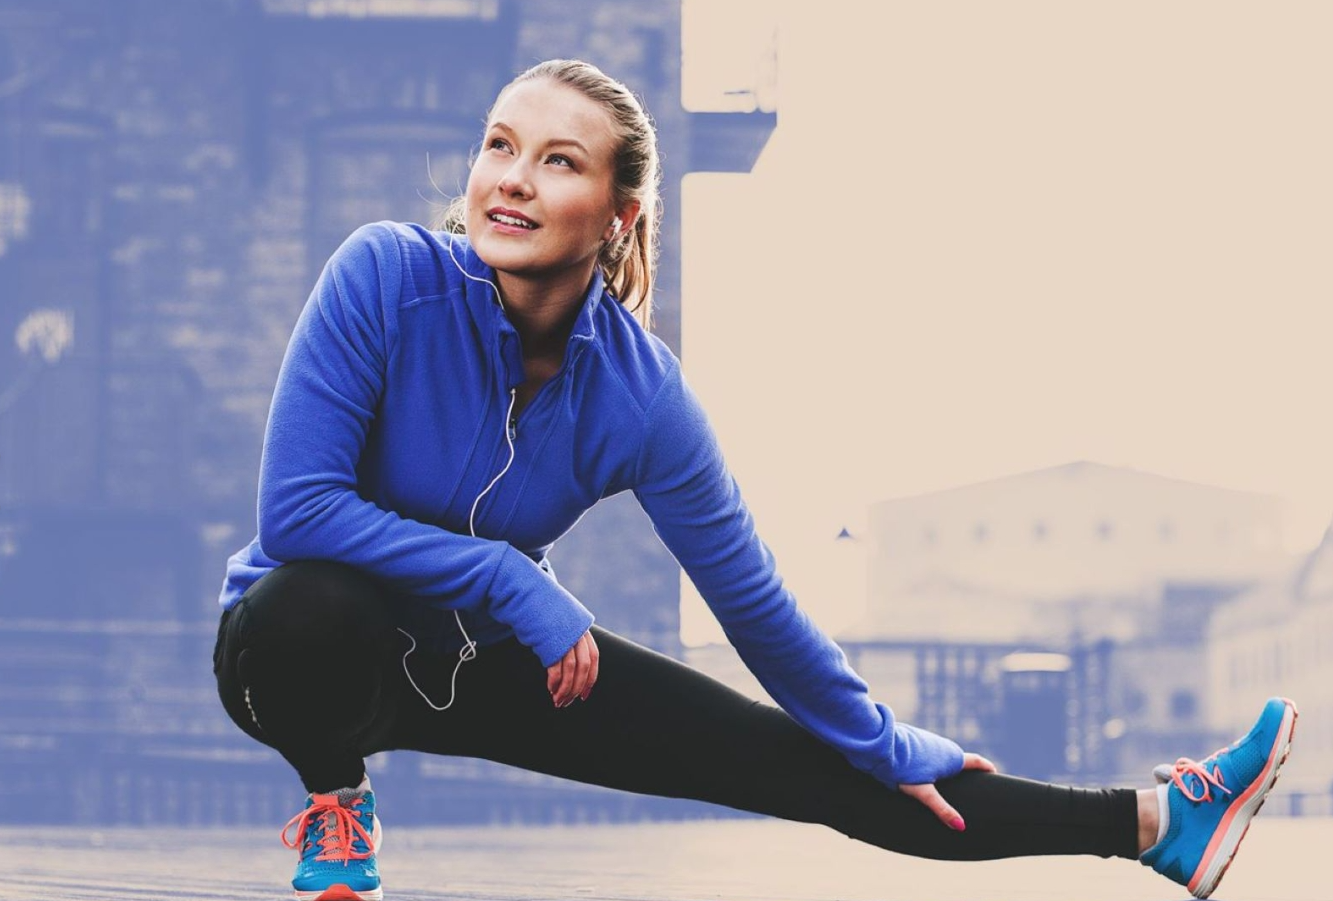
A seam failure during a workout isn't just embarrassing. It kills your customer's trust in your brand. One split at the inner thigh during a squat class? You get a one-star review and a refund request. Scale that across dozens of units and you've got a PR crisis.
ASTM D1683 measures seam breaking force. The test pulls fabric at a right angle to the seam until it fails. You get two numbers: seam breaking force in Newtons and seam efficiency percentage.
Seam efficiency formula:
(Seam strength ÷ fabric tensile strength) × 100
Most garments hit 60-80% efficiency. Anything above 80% marks premium construction. It's hard to achieve. The best outcome? Fabric tears before the seam does. That's 100% efficiency.
Test setup uses a 400 × 100 mm fabric strip. The seam runs across the width. Grip both sides and pull until something breaks. Record the maximum load.
Target benchmarks for gym wear:
Light athletic shirts and shorts: ≥50-80 N minimum
Medium-weight gym leggings and jackets: ≥80-120 N
High-stress areas (crotch seams, underarms): ≥100 N preferred
Stretch fabrics need different testing. Don't pull to break. Stretch to a set load. Then relax to 5 N and measure seam opening. Gaps mean problems.
Construction Factors That Boost Strength
Stitch density makes the biggest difference. Add one more stitch per centimeter. Seam strength jumps 25-30%. Count stitches on your samples. Verify manufacturer hit your specs.
Double chainstitch beats lockstitch for joining seams. Higher breaking strength across the board. Thread size matters too. Coarser threads add strength but show more on the surface.
Lap seams expose more thread to wear than safety-stitch seams. Looper threads in double chainstitch wear faster than lockstitch threads. Choose construction based on stress zones.
Test for seam slippage using EN ISO 13936. Put constant load on the seam. Measure how much yarn slides. Or use the needle clamp method. Measure force needed to pull a probe through the seam line.
Zippers fail in predictable ways. Run 500-1,000 open-close cycles at testing speed. Watch for tooth loss, slider jamming, or tab breaks. Metal zippers should handle >100-150 N on the slider before breaking. Plastic zippers handle less but cost less too.
Check tape-tooth junctions carefully. Separation here means the whole zipper fails. Teeth and slider can work fine. Doesn't matter.
Step-by-Step Pre-Production Testing Timeline
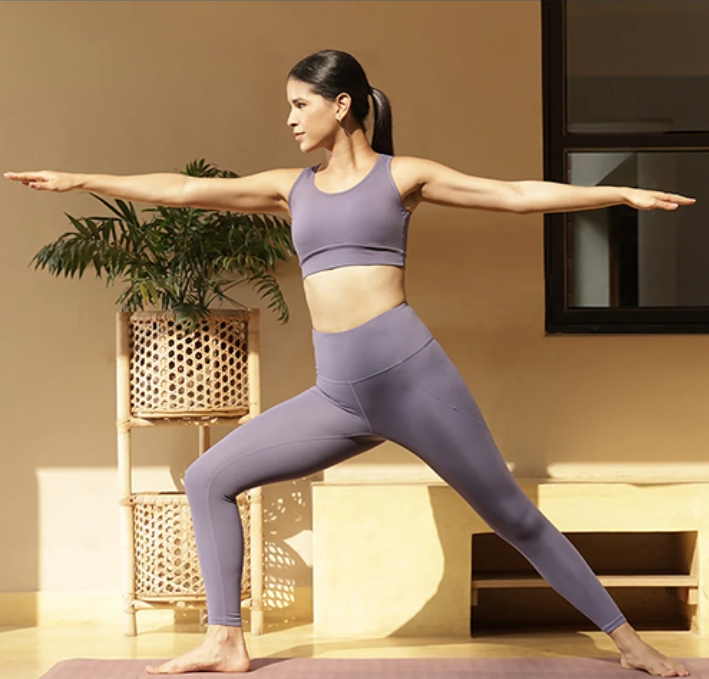
Break your testing into four phases. Each phase builds on the last. Skip one and you risk missing critical defects.
Total timeline runs 28 days. This covers material checks through final quality control. Budget an extra 3-5 days for unexpected issues or retests.
Timeline Overview CardsPhase 1: Materials Selection
Fiber content checks, GSM testing, supplier audits
Phase 2: Sample Making & Testing
Physical tests, wash testing, shrinkage measurement
Phase 3: Performance Validation
Stretch testing, environmental tests, color fastness suite
Phase 4: Final QC & Reporting
Dimension checks, durability scoring, test report generation
Phase 1: Materials Selection (Days 1-5)
Start with fiber content checks. Your supplier claims 65% polyester, 35% spandex? Verify it. Labs use burn tests or FTIR spectroscopy to confirm exact percentages. Wrong fiber content changes everything. Stretch recovery fails. Moisture wicking drops. Durability suffers.
Measure fabric weight next. Use GSM (grams per square meter) testing. Target range for gym wear sits between 180-220 GSM. Lighter fabrics (<180 GSM) risk transparency. Heavier fabrics (>220 GSM) trap heat and reduce breathability.
Audit 3-5 suppliers during this phase. Check for ISO 9001 certification. Request production timelines. Lead times under 7 days show strong operational capacity. Ask for previous client references. Call them.
Phase 2: Sample Making & Initial Testing (Days 6-12)
Order 5-10 sample pieces. Small batch size keeps costs low while covering size variations. Request samples in your top-selling sizes—small, medium, and large.
Run basic physical tests right away. Tensile strength needs to exceed 300N. Tear strength should hit at least 20N. These numbers tell you if fabric survives normal wear stress.
Wash testing starts now. Run three full cycles at 40°C with standard detergent. Measure shrinkage after each wash. Acceptable range: less than 3% total shrinkage. Anything above 3% means you need relaxation treatment before cutting.
Phase 3: Enhanced Performance Validation (Days 13-21)
Real-world testing separates average products from great ones. Stretch samples 100 times. Then wash them 5 times. Measure how well they hold up. Quality fabrics maintain 90%+ of original performance.
Test environmental toughness next. Expose samples to 60°C heat for 24 hours. Then test at 90% relative humidity for 48 hours. Check for color bleeding, shape distortion, or fabric weakening.
Complete the full color fastness suite:
- Dry rubbing: Grade 4-5 minimum
- Wet rubbing: Grade 4-5 minimum
- Washing resistance: Grade 4 minimum
- Light fastness: Grade 4 after 20 hours UV exposure
Dark colors—black, navy, deep red—need Grade 4 across all tests. No exceptions.
Phase 4: Final QC & Reporting (Days 22-28)
Recheck every size dimension. Length and width tolerances must stay within ±1 cm. Measure 100% of your sample batch. One off-spec sample means you need to adjust production specs.
Calculate your full durability score. Combine results from tensile strength, tear resistance, wash durability, and color fastness. Target score: 85/100 or higher.
Generate a detailed test report. Expect 20-30 pages. This covers data tables, sample photos, and test methods. Include 5-10 specific improvement tips for your manufacturer.
Budget 2-3 days for report review and gym apparel manufacturer discussions. Use this time to negotiate fixes for any failures. Get written confirmation of changes before approving production.
This 28-day timeline works with standard pre-production runs of 10 pieces. Compress it and you'll miss problems. Extend it and production delays cost you market timing.
Quality Testing Checklist and Documentation
Documentation separates amateurs from pros. A verbal deal with your manufacturer? Worthless. 3,000 defective units can arrive, and you have no proof. Written records create accountability.
The AQL (Acceptable Quality Limit) standard gives you clear pass/fail criteria. Built on Mil STD 105E Level II, these numbers define "acceptable quality":
AQL defect tolerances:
AQL Defect CardsCritical defects make the product unsafe or unwearable. A seam splits during normal movement? Critical. Major defects harm function but not safety. Think wrong size labels, excessive shrinkage beyond spec, or color bleeding that ruins other clothes. Minor defects are cosmetic. They don't affect performance.
Build Your Master Documentation System
Start with a Technical Design Record. This document locks in every specification before production begins. Add approved fabric swatches, construction details, measurement charts, and colorways. You and your manufacturer both sign it. Need changes later? Get written approval through a Material Change Form.
Your quality checklist needs these core documents:
Control Plan - Maps every quality checkpoint. Starts at raw material inspection. Ends at final packing. Lists who checks what, when they check it, and what standards they use.
Initial Production Inspection (IPI) form - Use this before mass production starts. It verifies all materials arrived. Confirms they match your specs. Shows they passed physical tests. Get signatures from your purchasing team, gym clothing factory manager, and quality inspector.
Periodic Testing Schedule - Sets testing intervals throughout production. Example: Pull 5 random samples every 500 units. Test dimensional accuracy, seam strength, and color fastness. Document results right away.
Quality Inspection Forms That Work
Your QA inspection form captures defects in real-time. Each form needs:
Inspection number and date
Inspector names (minimum two people)
PO number and factory reference
Defect classification system with codes
Code your defects. MM01 might mean "incorrect gym apparel manufacturer marking." This standardizes reporting across different inspectors and factories. Your team can track patterns. MM01 appears on 15% of inspections with Factory A but 2% with Factory B? You know where the problem lives.
Track these failure modes:
Design Failure Mode Effects Analysis (DFMEA) predicts where your design might fail. Compression panels that create too much pressure? Flag it before sampling. Process Failure Mode Effects Analysis (PFMEA) catches manufacturing risks. Your factory uses new cutting equipment? PFMEA documents potential accuracy issues. Plus, it outlines mitigation steps.
Test Case Documentation Standards
Write specific test scenarios with measurable outcomes. Vague instructions like "check if fabric stretches well" waste time. Try this instead:
Test Scenario ID: ST-001
- Test steps: Stretch fabric to 100% elongation in both directions. Hold for 30 seconds. Release.
- Expected result: Fabric returns to within 5% of original dimensions within 60 seconds
- Acceptance criteria: Pass if recovery ≥95%. Fail if <95% or visible deformation remains
- Implementation date: [Your date]
Document pre-conditions too. "Fabric must be conditioned at 21°C and 65% RH for 24 hours before testing." This prevents variables from skewing results.
The Requirement Traceability Matrix (RTM) connects business needs to test cases. Your customer needs moisture-wicking performance? RTM shows which test cases verify this requirement. It maps requirements → specifications → test IDs → results. You can prove every feature got tested.
Bug Reporting System
Create a standard bug report template. Each defect report includes:
Exact steps to reproduce the problem
What should happen (expected result)
What happened (actual result)
Photo or video evidence
Severity rating (Critical/Major/Minor per AQL)
Priority level for fixing
Status tracking (Open → Assigned → In Progress → Closed)
Assign severity based on impact. A color bleeds onto other garments during washing? Critical severity, high priority. A crooked hem that doesn't affect wear? Minor severity, low priority.
Test Execution Reports Close the Loop
After each testing round, generate an execution report. This summarizes what you tested. Shows what passed. Shows what failed. Lists what happens next.
Report structure:
- Project name and date range
- Tester names
- Description of this test cycle
- Total test cases executed
- Pass/fail summary with percentages
- List of defects found (linked to bug reports)
- Test coverage metrics
- Conclusions and recommendations
Include specific next steps. "Recommendation: Retest seam strength after supplier implements double-needle stitching at stress points. Target completion: 7 days."
Store everything in the cloud. Google Drive or Dropbox work fine. Create folders by production run. Inside each run folder: test plans, inspection forms, bug reports, execution summaries, and approved sample photos.
Documentation review isn't optional. It's your evidence during disputes. A manufacturer claims they met your specs but units failed? Your signed Technical Design Record and test reports prove what was agreed. They show what was delivered.
Common Quality Issues and Prevention Strategies

Five quality problems kill most gym clothing brands. Different gym clothing manufacturers face them. Different fabrics face them. Different price points face them. The same failures repeat. The difference? Some brands catch them fast. Others learn after losing thousands of dollars.
Fading That Destroys Brand Trust
The gym apparel Manufacturers cut corners on dye quality. They rush the fixation process. Colors fade. Low-grade dyes test below Grade 3-4 for colorfastness. Your bright red tank top turns pink after three washes.
The fix starts with dye selection. Reactive dyes push colorfastness to Grade 4-5. They bond with fabric fibers. Not just sit on the surface.
Boost fixation agent concentration by 20-30% during dyeing. This locks more dye molecules into place. Control post-treatment washing at pH 4-5. Higher pH strips dye out faster.
Cost reality: Premium dyes add 15-25% to material costs. But rework rates drop 30%. You save 10% total versus using cheap dyes and dealing with returns.
Shrinkage Above 3% Kills Fit
Cotton-heavy fabrics create the biggest shrinkage problems. Fabrics with over 70% cotton shrink 4-8% without treatment. Pure cotton knits hit the highest rates.
Steam pre-shrinking controls this. Run fabric through at 100°C for 30 minutes at 0.5 MPa pressure. Shrinkage drops below 2%.
Smart blending works too. A 65/35 cotton-polyester mix shrinks just 1.5-2.5%. Add 5% spandex to 95% cotton. You get elastic recovery above 90%. The garment holds its shape through multiple washes.
GB/T 8629 sets the standard at 3% maximum shrinkage. Industry data shows 5-10% of gym wear batches exceed this without proper controls.
Seam Failures at High-Stress Zones
Crotch seams and underarm seams fail most often. Stretching forces exceed 200N at the crotch during squats. Underarm friction hits 0.4+ during running.
Double-needle reinforcement stops most failures. Run two parallel stitches 2.5-3mm apart at stress points. Combine flat-felled seams with top stitching. Seam strength jumps 40%.
Thread choice matters as much as stitch pattern. Polyester core-spun thread handles 30N/tex breaking force. Nylon thread? It adds 25% more abrasion resistance.
Cotton garments show 5-7% seam failure rates without reinforcement. Proper construction drops this below 1%.
Pilling That Makes Fabric Look Cheap
High cotton content causes severe pilling. Keep cotton below 50% of total fiber content. A 70/30 polyester-nylon blend keeps pilling resistance at Grade 3-4.
Singeing removes surface fibers before they ball up. Run fabric through flames at 20-30 m/min speed. Exposure time: 0.5-1 seconds. Follow with shearing and raising. Set blade clearance at 0.3mm. This cuts pilling rates 50%.
Singeing adds 8-12 yuan per square meter to costs. Customer complaints drop 60%. You recover costs within six months through reduced returns.
CTA Section 2Testing Equipment and Lab Selection Guide
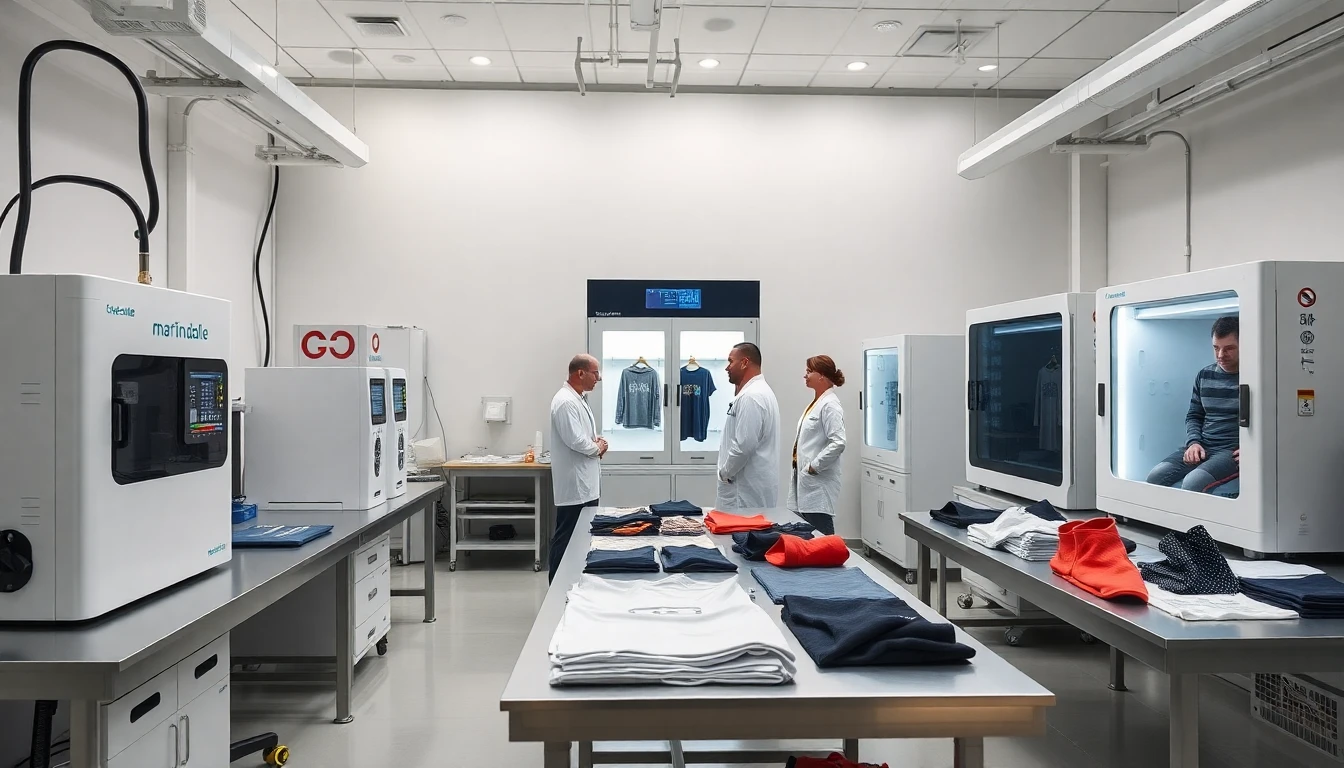
Equipment choices make or break your testing program. Buy the wrong machines and you waste $50,000 on tools that sit unused. Pick the right setup and you catch defects that would have cost you ten times more.
Essential Testing Equipment and Price Points
Four machines form your core testing toolkit:
Martindale Abrasion Tester runs $5,000-$15,000. This machine measures fabric wear resistance through repeated rubbing cycles. Choose ISO 17025 compatible models. Advanced sensors give you precision. Calibration records must trace back to national standards.
Tensile Testing Machine costs $10,000-$50,000. It pulls fabric until it breaks. This shows you maximum stress tolerance. You get stretch tests, compression tests, and seam strength checks with this machine. ASTM standard compatibility is a must. High repeatability separates quality machines from junk.
Xenon Lamp Aging Chamber ranges from $20,000-$60,000. This equipment simulates years of sunlight exposure in days. You get controlled temperature, humidity, and UV radiation. Pick models with calibration certificates. ISO and ASTM compliance protects you during disputes.
Environmental Testing Chamber runs $15,000-$40,000. It controls temperature, humidity, and cleanliness during tests. Your fabric samples need stable conditions. Otherwise results vary by 15-20%. Verify chamber performance every three months. This maintains ISO 17025 requirements.
Build vs. Outsource: The Real Numbers
| Approach | Initial Investment | Cost Per Sample | Smart Choice When |
|---|---|---|---|
| In-House Lab | $50,000-$100,000 | $100-$500 | Testing >50 samples/month; ISO 17025 compliance needed long-term |
| Third-Party Testing | $0 | $500-$2,000 | <20 samples/month; quick validation without internal control |
| Hybrid Model | $20,000-$50,000 | $300-$1,000 | Frequent core tests in-house; specialty tests outsourced |
Testing frequency drives your decision. Under 10 samples per month? Outsource everything. You save 80% on upfront costs. Between 10-50 samples? Go hybrid. Build basic testing capability. Send complex tests to labs. Above 50 samples? Self-built labs hit ROI in under 12 months. Accuracy control improves 30%.
Choosing Third-Party Labs
Three labs dominate gym clothing testing:
SGS holds ISO 17025, ASTM, and CLIA certifications. Turnaround runs 7-10 days. Expect $800-$1,800 per sample. Global recognition matters for overseas sales.
Intertek carries ISO 17025 and NRTL/OSHA credentials. Testing takes 10-14 days. Pricing sits at $700-$1,500 per sample. Their industrial testing expertise works well for equipment compliance simulation.
Bureau Veritas maintains ISO 17025 and ASTM standards. Services complete in 7-12 days. Costs range $600-$1,600 per sample. Best value for environmental and material testing.
Audit Your Supplier's Testing Capability
Walk into their facility with this checklist:
Verify equipment exists. Martindale testers, tensile machines, aging chambers should be visible and working. Check calibration stickers. Records must show regular intervals based on what the manufacturer recommends.
Review operator credentials. ISO 17025 requires trained personnel. Ask for certificates. Competence matters more than years of experience.
Inspect calibration documentation. Every instrument needs traceable records. Centrifuges, incubators, humidity analyzers all require performance checks within set limits.
Check environmental controls. Temperature and humidity monitoring systems should run all the time. HEPA filtration for clean spaces. Storage condition logs prove proper sample handling.
Test their system integration. Can their lab information system talk to your quality management software? Open and closed system flexibility prevents data bottlenecks.
Industry Standards and Certification Requirements
Gym clothing must meet strict global standards. These benchmarks tell real gym apparel manufacturers apart from unreliable ones.
ASTM International sets the bar for North American markets. ASTM D6193 tests how fabric changes after washing at home. ASTM D5034 tests how strong fabric is and how much it stretches. Your manufacturer must prove they meet both standards before you start production.
ISO standards run global trade. ISO 9001 certification shows a company has quality systems that work. 81,264 sites worldwide held ISO 27001 certification in 2023. This number jumped 14% year-over-year. Retailers demand certification before they stock your products.
European buyers want OEKO-TEX Standard 100. This certification keeps harmful substances out of textiles. Labs test for formaldehyde, heavy metals, pesticides, and banned dyes. The label gets you into EU markets worth billions.
Athletic Performance Standards vary by market:
AATCC (American Association of Textile Chemists and Colorists): Sets moisture management, antimicrobial, and UV protection testing protocols
EN (European Norms): EN ISO 13934 covers tensile properties; EN ISO 12945 measures pilling
GB (China National Standards): GB/T 21655.1 defines moisture permeability for textiles
Testing takes 1-4 weeks. The timeline depends on which company you use. SGS and Bureau Veritas both work in 140+ countries. They finish most athletic wear certifications in 2-3 weeks. Intertek does rush testing in 7-10 days for extra fees.
Plan to spend $2,000-$5,000 per certification cycle. This pays for lab fees, documentation, and follow-up testing. You'll need 2-3 cycles if you launch multiple fabric types at once. Budget for each one.
Real-World Case Studies from Leading Brands
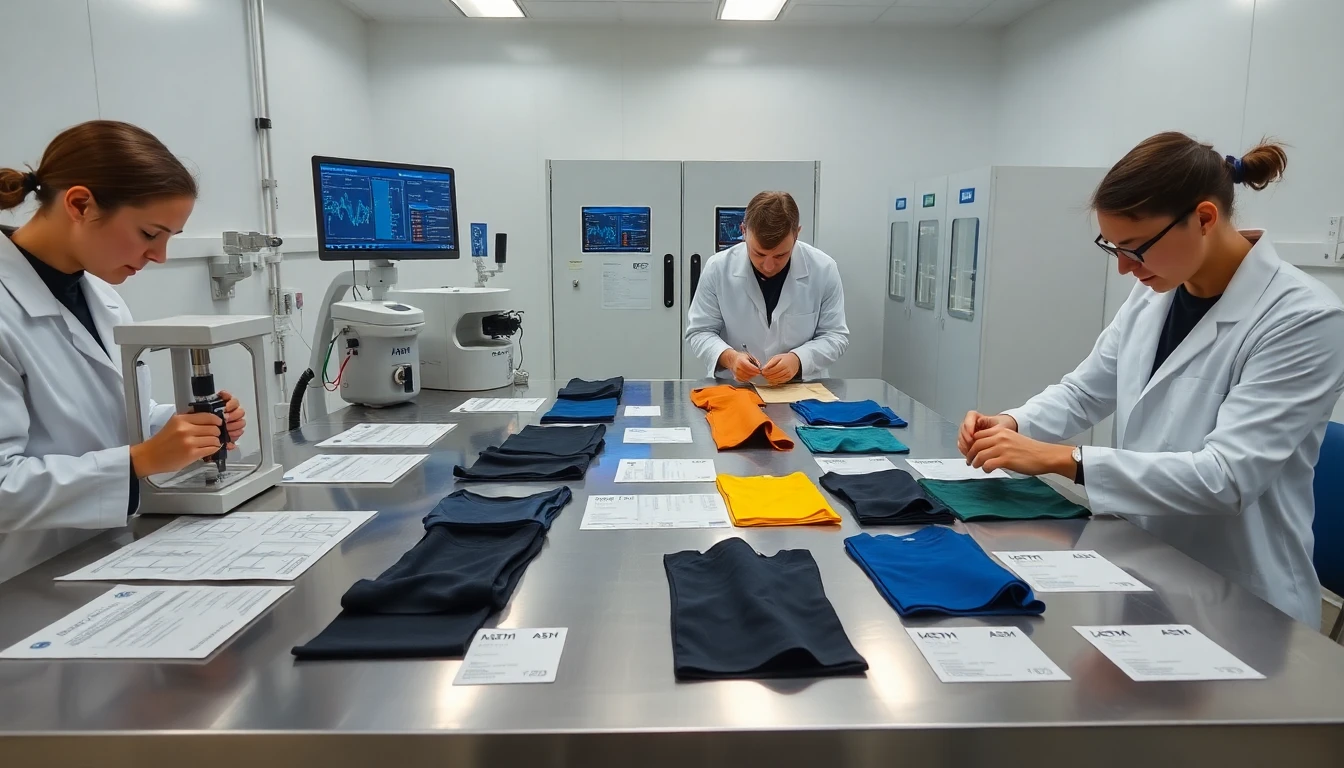
Under Armour tested women's athletic wear before their big 2015 campaign. They checked fabric performance across body zones with real athlete feedback. The result? Sales jumped 28% next quarter. The testing data showed them where compression needed fixes and which moisture-wicking standards mattered most. They used this to expand their entire women's line.
The campaign worked because Under Armour caught quality problems right away. They didn't guess. They tested seam strength at stress points. They checked moisture management performance against what female athletes needed during training.
What Successful Brands Do Different
Top activewear companies build testing into their timelines. They don't skip it to save time. Lululemon runs tough pilling tests on all fabrics. Their leggings keep Grade 4-5 ratings after 50+ washes. Customers see the difference. That's why they pay more.
Nike tests how well dark fabrics hold color. They use Grade 4 minimums across all fiber types. Their Dri-FIT tech gets MVTR testing above 15,000 g/m²/24h. These aren't just marketing words. Lab results back them up and stop complaints.
Gymshark built their brand on sizing that stays the same. They test every production run for size consistency. Medium waistbands stay within ±0.5 cm. Buy the same size six months later? You get the same fit. Trust grows from this.
The pattern stays the same: thorough testing before production stops costly failures. Your first batch comes out right. Customers get the quality they want. You skip the nightmare of 3,000 bad units in your warehouse.
Conclusion
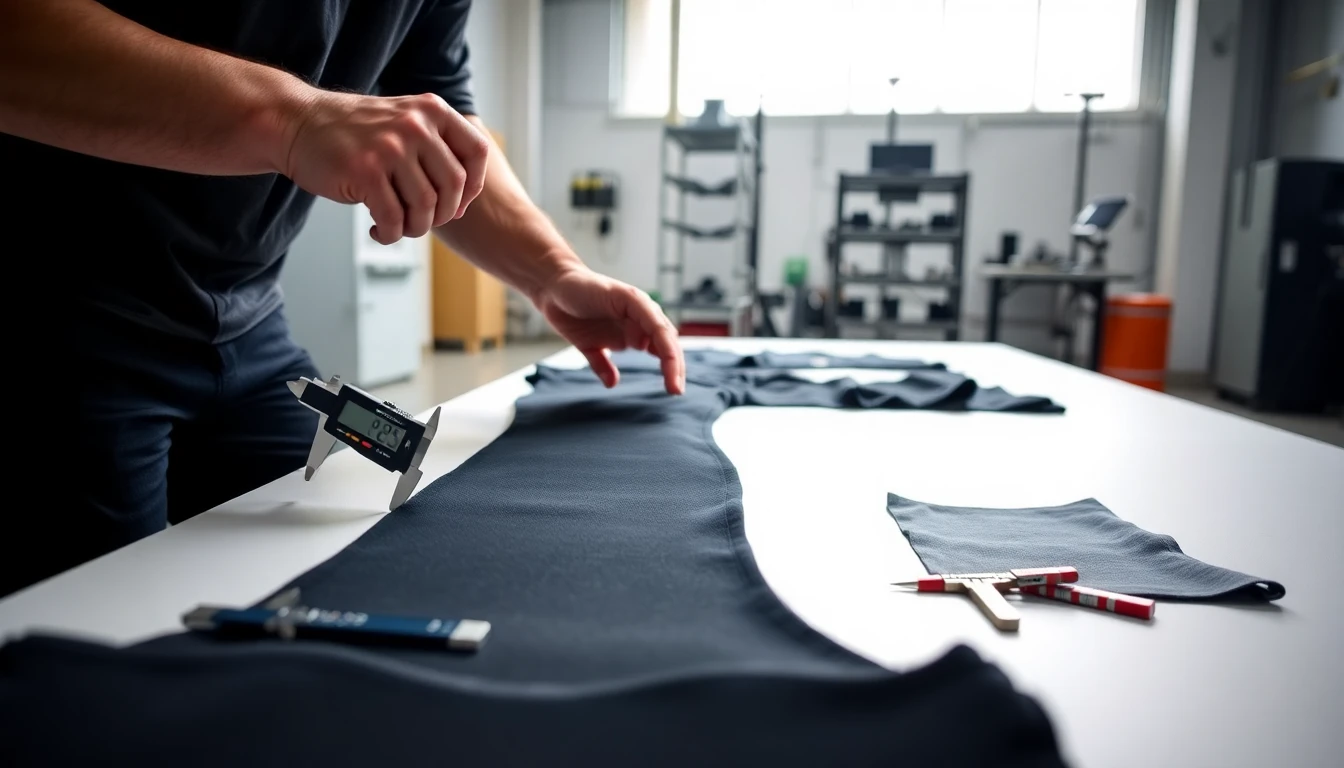
Quality testing of gym apparel is more than a checkbox in your production process. It's your insurance against product failures that can kill your brand before launch. A successful gym clothing line versus a warehouse full of returns? The difference often lies in those critical weeks of pre-production testing.
Start with the essentials: fabric durability testing, stretch recovery, and seam strength evaluation. These three tests catch 80% of potential failures. Then add functional tests based on your specific product features. Think moisture-wicking performance and colorfastness testing. Cut corners here and you gamble with your entire investment.
Your next step? Download the testing checklist from this guide. Schedule a call with at least three accredited testing labs. Build your quality timeline backward from your launch date. Give yourself 6-8 weeks minimum for full testing. Rush this phase and you'll fail like most brands do.
The brands that dominate the activewear market aren't just lucky. They refused to skip the unglamorous work of testing gym clothing quality before mass production. Now it's your turn to join them.
CTA Section 3 - Final